- Companies
-
- Admin
- Account Options
- Pricing settings
- PDF and Email Template system preferences
- Locations
- Brand Customisation
- Product Categories
- Product Groups
- Enable Time Billing
- Customising Assets
- Custom Fields
- Delivery Resources
- Delivery Options
- Reporting Preferences
- Sales & purchase settings
- Calendar Settings
- Messaging settings
- Repeated Invoice frequency
- Company Settings
- Credit Settings
- Sales Regions
- Asset Settings
- Ticket settings
- Relationships
- Proposal-based Quotes
- Customising Training
- Prefix/Sequences settings (Record Numbering)
- Creating SMS Templates
- Invoice Settings
- Creating Email Templates
- Creating Letter Templates
- Using Letter Templates
- Using SMS Templates
- Using Email Templates
- Setting up Teams
- System security
- Users
- Activate a new User account
- Log into a User account
- Managing Connections
- Calculating Landed Costs
- Resources
- Payment Methods
- Payment Terms
- Couriers
- PDF Templates
- Service Reports
- Quote Form Templates
- System Quote Preferences
- Credit Control
- Setting up Teams
- Regional Settings
Creating Email Templates
As well as the time and efficiency benefits of email templates, with CRM you can insert merge codes into your Emails to pull field values from data stored in your system and insert it into your messages.
Email Templates are also used in a number of Automated Workflows in CRM.
You can customise the system templates, create your own, or do a bit of both.
Create a new Template
- Navigate to Admin > Settings > Activities & Calendar > Email Templates.

- Click on New Email Template in the top right corner.

You can also view and manage all of your Email Templates from this page.
- The new template form will open.
- Remember to click on Save & Close when you are done.
![]()
Modify an existing Template
Your database comes with a range of existing templates – you can continue to use these, customise them to suit you or deactivate them and create your own.
- Navigate to Admin > Settings > Activities & Calendar > Email Templates.
- Click on any existing template to open it.
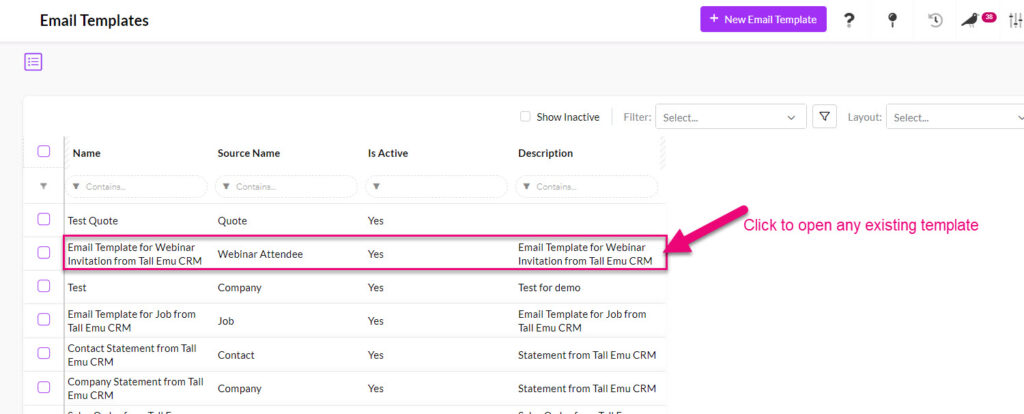
- Click on the Edit button at the top of the screen.

- You can now make changes to the template and press Save & Close when you are done.

Key fields
Following is a summary of some of the key fields to populate when you create a new Template.
![]()
- Template Name – enter a specific name that will make it easy to find and use this particular template in future e.g. Reminder for accounts overdue by more than 30 days.
- Description – you can add more details in this field so other users understand where and when they should use this template.
- Source Name – this is the module in CRM where you would like to use the template and where it will be made available for use:
- You can only link a Template to 1 Source.
- Once a Source has been saved, it cannot be changed.
- Subject – enter a subject line, just like you would any other email.
- Is Active – as we are creating a new Template, tick this box.
- Body – enter your message text here.
Remember to click on Save & Close at the top of the form.
Following is a detailed guide to other aspects of creating Email Templates.
The Sender field is populated with a list of Users and Teams in your database that you can select from.
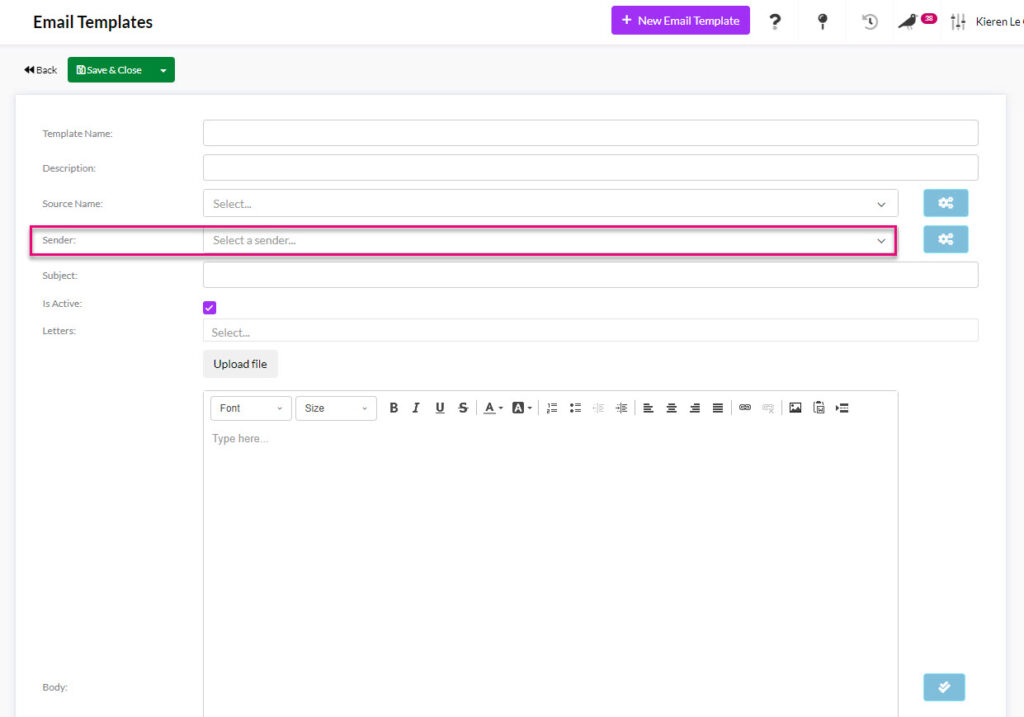
- You can select a default sender for the Template here or leave this field blank.
- When it comes time to use the Template, you can add a sender or change the default sender that is populated.
Add an image
- Using the formatting toolbar in the Body, click on the button to add an image.

- A new box will then give you options for adding the image file.
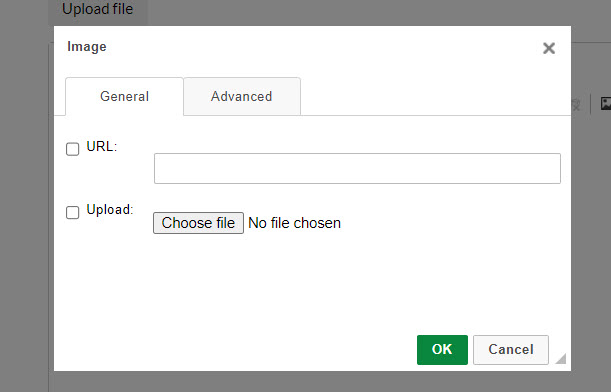
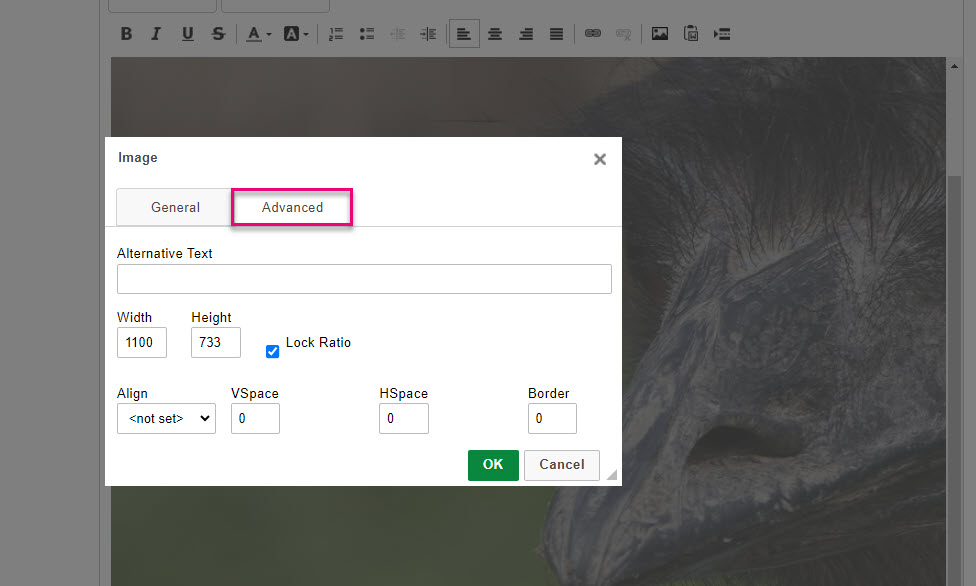
- Clicking on the Advanced tab in the box reveals further options to format the image.

Edit an existing image
You can edit the properties of an existing image by double-clicking it, which will bring up the Advanced tab of the editing box.
You can add hyperlinks to a URL, email address, phone number or anchor in the text body.
Add a link
- Using the formatting toolbar in the Body, click on the button to add a link.

- A new box will then give you options for adding the link – select a Link Type and the form will automatically adjust to capture the required information.

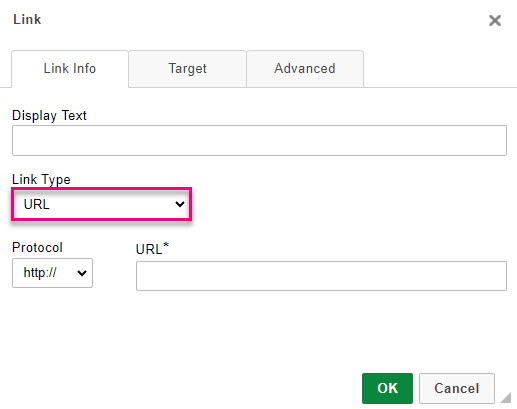
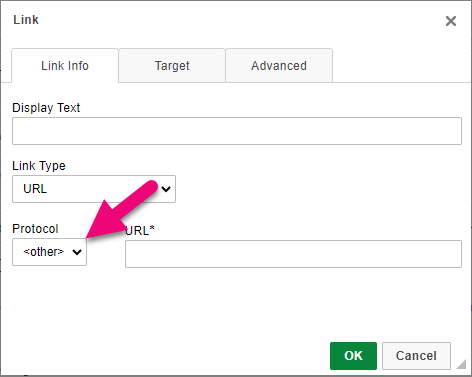
Adding a URL link
- Note that if you are adding the Url merge code to insert a link to an online Quote, Sales Order or Invoice, you will need to set the Protocol to “Other”.
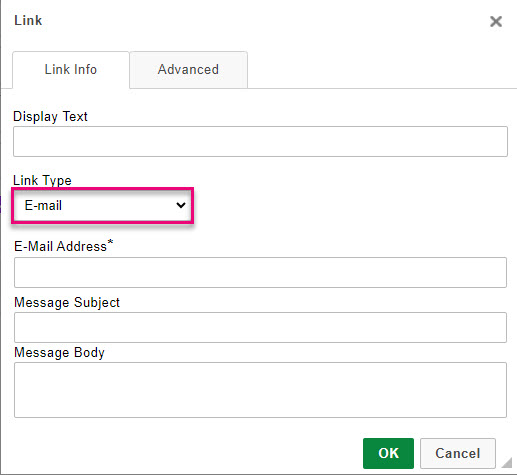
Adding an Email link
Depending on the type of link chosen, the Target and Advanced tabs may display different options.
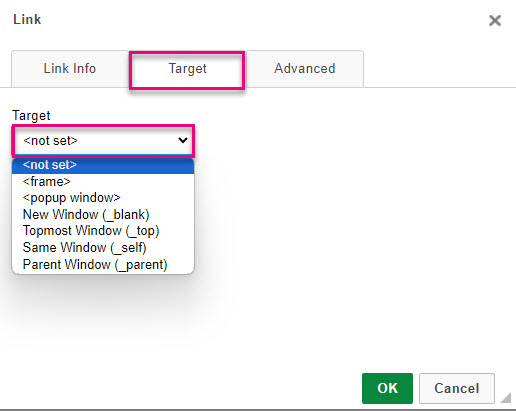
Target tab for a URL
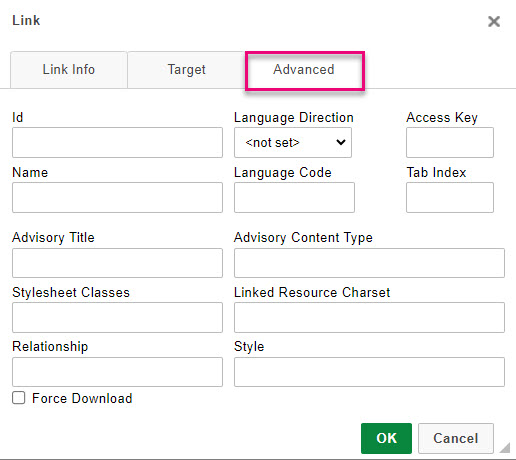
Advanced tab for a URL
Edit an existing link
- Double-click on an existing link to bring up the edit box.

Remove a link
- Select the link and then click on the unlink button on the toolbar to remove it.

Via the formatting toolbar in the Body, you can access a range of different tools to adjust:
- Fonts & sizes
- Font colours and highlights
- Bullet points & numbering
- Indenting options
- Alignment options
- Text styling options
Following is a festive example of some of these options.

You can add merge codes in both the Subject and the Body.
Get merge codes
There are 2 groups of merge codes you can work with:
- Base Source/Source: merge codes for the CRM module you are attaching the Template to via the Source field e.g. Opportunity is being used in this example.
- Sender: merge codes for the CRM User who is sending the email i.e. the Sender. Every User also has a Contact record in CRM, so the details from that record can be pulled in to automatically populate an email signature.
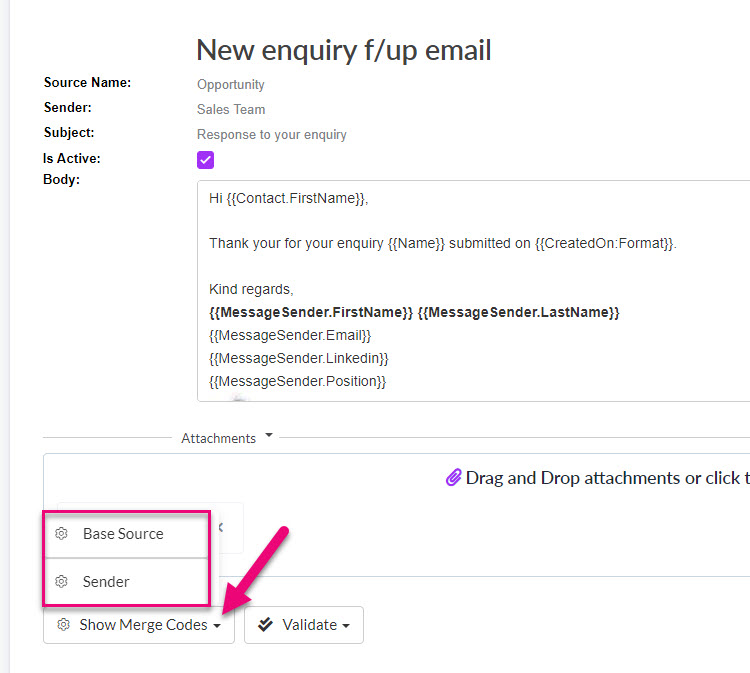
Accessing merge codes on a saved Template
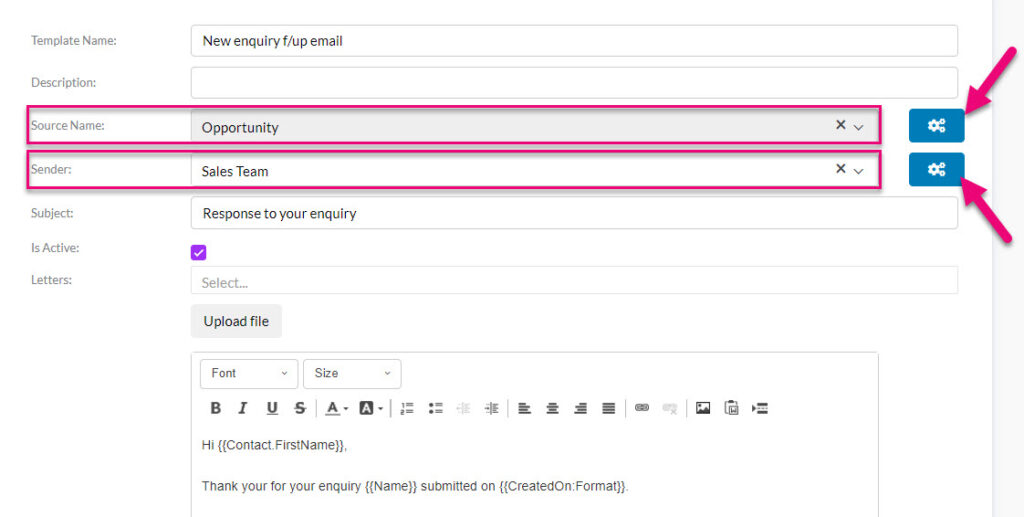
Accessing merge codes when editing a Template
- Clicking on any option to access merge codes will open them in a new tab.
- Any codes shown in bold/purple mean that you can click on them to reveal a subset of codes nested beneath that particular option.
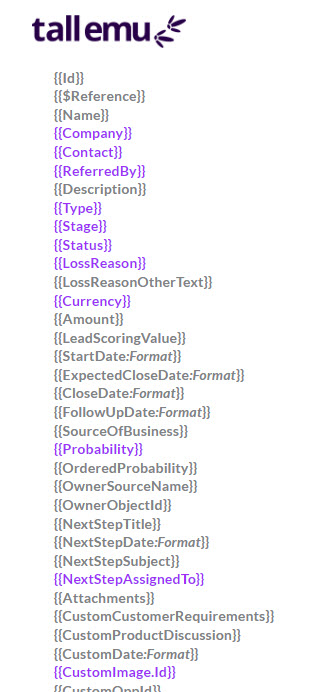
Source merge codes example for Opportunity
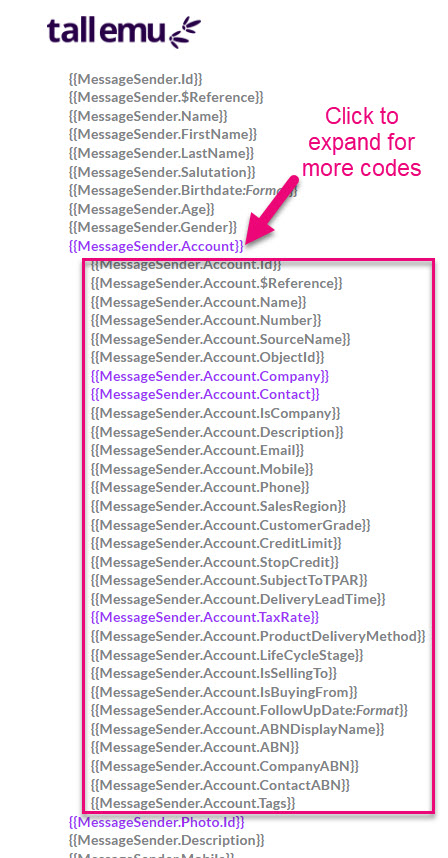
Sender merge codes
Add merge codes
- Simply copy and paste the required codes into the Subject or Body of the email – the following example shows both.
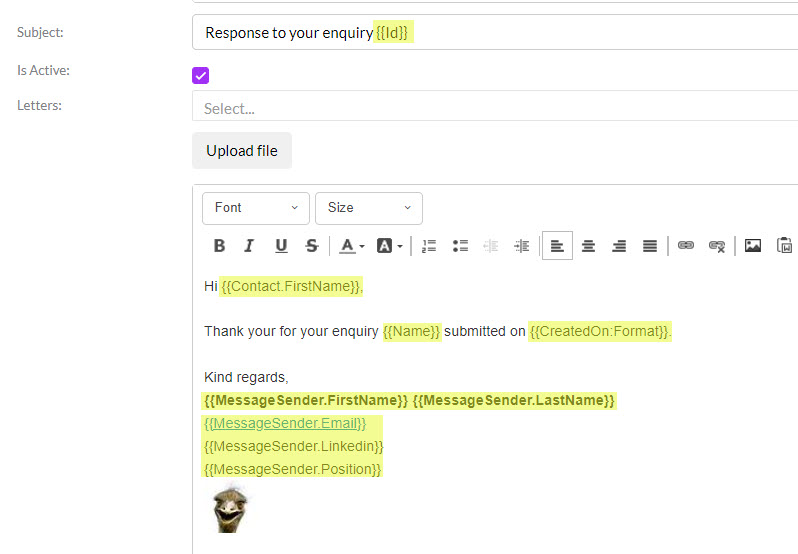
For some merge codes, you will notice that “Format” is included on the end – this indicates that the way data is displayed can be set.

For example, the field {{StartDate:Format}} would need to be altered when it’s added to an Email Template so that the Format section is replaced with the format the date should appear in: {{StartDate:dd/mm/yyyy}} which will display the Start Date as 01/01/2000 format. You can also play around with the format and use any combination, say “dd/mm/yy” or “dd/mmm/yy” instead, depending on your requirements.
For time fields, you can use hh for hours and mm for minutes.
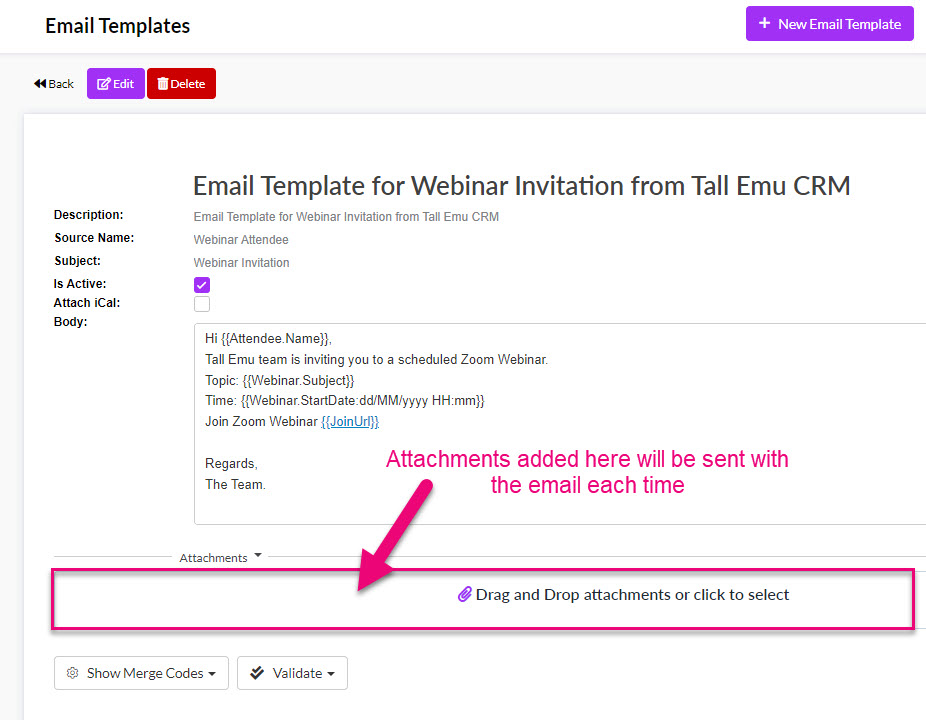
If you want to send the same attachment/s whenever the template is selected:
- Save the template.
- Drag & drop or click to add files to the Attachments area.
- That’s it!
You’ll want to run a test to make sure your Template is working the way you expect.
Once you’ve saved a Template, there are 3 ways to test an email that you can access from the Validate button:
- Validate Template – the system runs a check on the email to look for issues with merge codes or improper formatting.
- Send Test Email – this sends a copy of the email to you (to the email address you are logged into CRM with). If you have merge codes in your email, they won’t be populated with any data.
- Send Test Email With Data – this sends a copy of the email to you (to the email address you are logged into CRM with). If you have merge codes in your email, you can select an existing record to be used to populate the merge codes with data.

You will typically receive the test email within a minute or 2. Sometimes the email may get trapped in your junk/spam folder, so it’s a good idea to check there if the email hasn’t shown up.
Once you have created your own Email Templates you can use this guide to choose which ones apply as default in different areas in CRM.
Deactivate
- If you’d like to retire a Template from use, you can Edit it and then de-select the Is Active box.
- Once you are done, click on Save & Close.
- The Template will remain in your system but won’t be available for use. To see it in List View, you’ll need to make sure the Show Inactive box is ticked.


Delete
- Open any record and click Delete.
- Note that if the Template is currently in use as a system default or is linked to an active Web Form or Training Course, the system will not allow you to delete the email.

You can also refer to Using Templates and Using Email Templates to learn more about when and how you to use Email Templates and see our general help page on Emails.
To send emails from CRM using your own domain, you’ll need to set up Tall Emu Email.