Tags
Applying Tags on records allows for greater ability to organise your account on CRM.
By applying Tags, you are able to not only group records in categories, but also flag, segregate and filter them with greater ease.
Most records on CRM can be tagged. Some examples of them include:
- Companies
- Contacts
- Opportunities
- Tickets
- Tasks
- Projects
- Meetings
- Web Forms
- Training Courses
Tags applied on records will appear for all active users.
If you apply a Tag to a Company or Contact record, it will cascade to display on any related records. For example:
Tags applied on a Company record will appear on:
- All Contact records that are linked to the Company.
- Project records that are owned by the Company.
- Invoices for the Company.
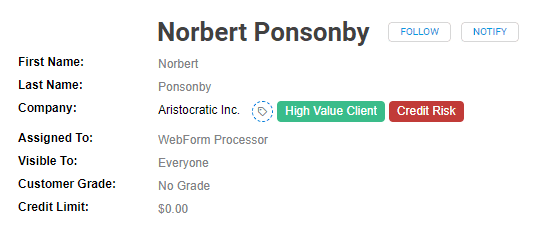
Tags on a Contact record that populated from Company
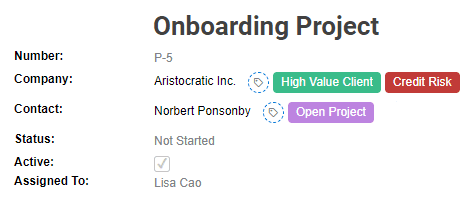
Tags on a Project record that populated from Company
This works to the benefit of your company as it can be customisable to your needs.
Whether it is to flag a high risk client or inform you that they have an open project. Tags are an easy way to quickly highlight important information.
These can also prove to be useful for future reporting purposes.
To add a Tag:
- Open your desired record.
- Once there, click on the Tag icon to start.

- A menu will then appear.
- To add a new Tag, start typing within the textbox field and hit enter to create.
 If your desired Tag is already existing amongst the ones listed. Simply select on the Tag by clicking on it to have it applied.
Note that the list of active Tags is a scrollable field.
Once a Tag has been added and applied, you will be able to see it noted next to the record.

Note that multiple tags can be applied to a record at a time.
To change a Tag’s colour, first hover over the tag and select on the three dots ” … “.
You are able to do this either via an applied Tag or via the Tag menu.

Then select Change Colour.

From there you can select from one of the pre-set colours.
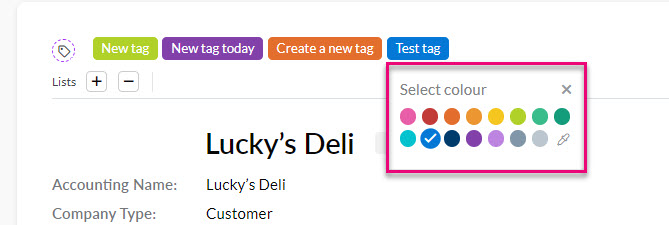 Or select the Colour Picker icon to expand the window and select a custom colour.
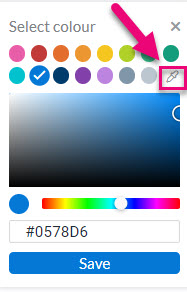
This change will then apply to this Tag across all records.
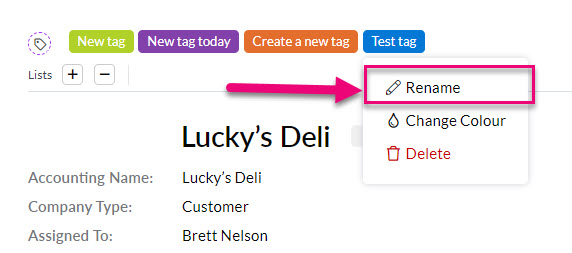
To rename a Tag, first hover over the tag and select on the three dots ” … “.
You are able to do this either via an applied Tag or via the Tag menu.
Then select Rename.
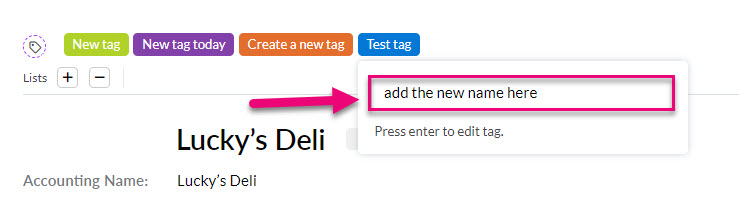
 A textbox field will then appear. Enter Tag’s new name into the field and hit enter to have it applied.
This change will then apply to this Tag across all records.
To remove a tag from a record, simply hover over the tag and select X.
A pop-up window will then appear asking for you to confirm. Select Ok.

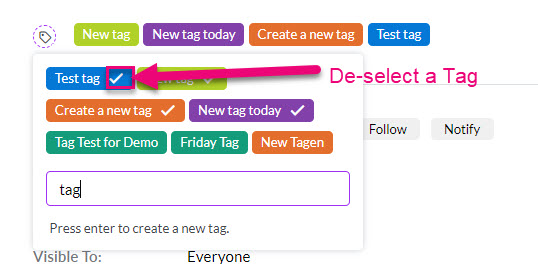
Alternatively, you can go into the tag menu.
All applied tags to a record will appear with a tick against them. Simply select the tag on the menu to have it removed.
To permanently delete a Tag, first open the tag menu and hover over the Tag.
Once done, select Delete.

A pop-up window will then appear asking for you to confirm. Select Ok.
Note that permanently deleting a Tag will remove it from all records across CRM.
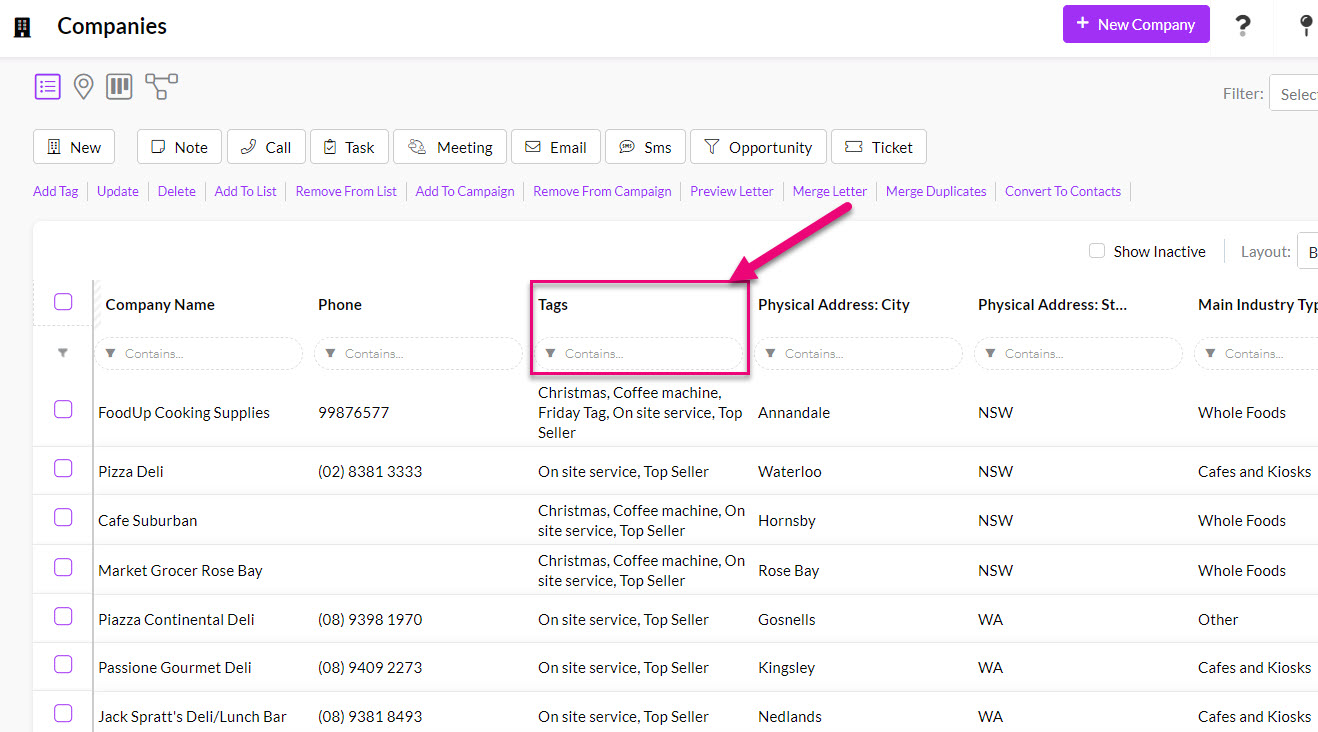
To add Tags in bulk, first go to the main page with the list of records.
- For example, if you are wanting to bulk Tag multiple company records, go to the Companies page. To bulk Tag tickets, go to the Tickets page, etc.
- Then select on the records you would like to bulk Tag.
- Once selected, click on Update.

A pop-up window will then appear where you can select from existing Tags or create a new one.

To easily filter your records by which Tags are/are not applied to them, use the Column Chooser to add the Tags column to list view.
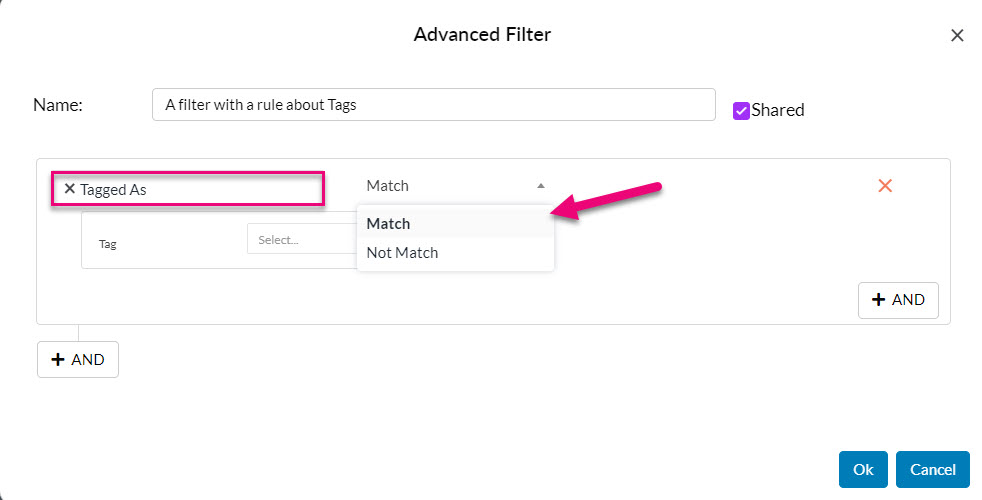
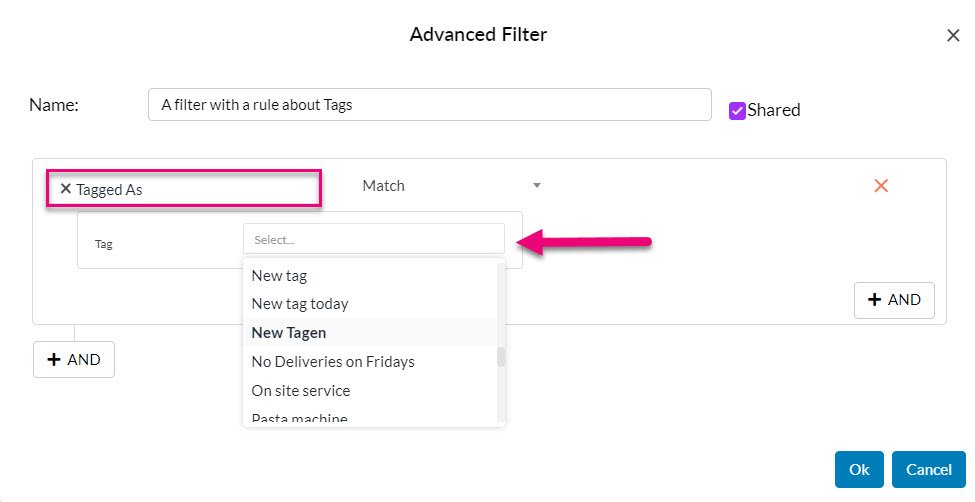
Where Rules are available for use in Filters, you will have the option to use the Tagged As Rule to build conditions for your Filter.