- Companies
-
- Sales
- Multi-currency for Sales
- Invoicing items that aren’t in stock
- Drop shipping workaround
- Managing your Quote pipeline
- Direct Debits
- Sending Statements
- Backorder Invoices
- Progressive revenue
- Subscriptions
- Bulk send Invoices
- Credit Notes
- Taking a Deposit
- Creating Invoices
- Create Freight Quotes
- Getting Started with Web Quotes
- Sales Orders
- Card Payments
- Payments
- Repeating Invoice Placeholders
- Creating Repeating Invoices
- Online Invoice Templates
- Online Sales Order Templates
- Set Up Web Quote Templates
- Quotes
- Quotes
Progressive revenue recognition
You can enable this option to recognise your revenue only when you make shipments of goods to your clients. This allows correct revenue recognition in line with product delivery which is great if your product delivery is staggered or has long lead times.
This feature works in a similar way to Deposit Invoices but allows you to have multiple Deposit Invoices for an order.
Navigate to Admin > General > Invoice Settings and tick the box for Enable Progressive Revenue Recognition.

Checking this box means that the field Progressive Revenue Recognition will be available for use in CRM on Quotes and Sales Orders.
Once you have ticked this box, a new field will appear next to it called Default Progressive Revenue Recognition.
Checking this box will mean that Progressive Revenue Recognition is automatically enabled on all your Quotes and Sales Orders. If you leave this box unchecked, you can always manually enable the feature on your sales, as required.

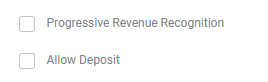
Pre-enabled automatically on a Quote
Remember to scroll to the top of the page and click on Save to apply your changes.
Navigate to Admin > General > Invoice Settings and in the Deposit Invoice Type field you can select whether the amounts should be % or $.

You can also specify an amount in the Default Deposit Schedule field that you want to apply to all orders e.g. 20% or $1,000.

Remember to scroll to the top of the page and click on Save to apply your changes.
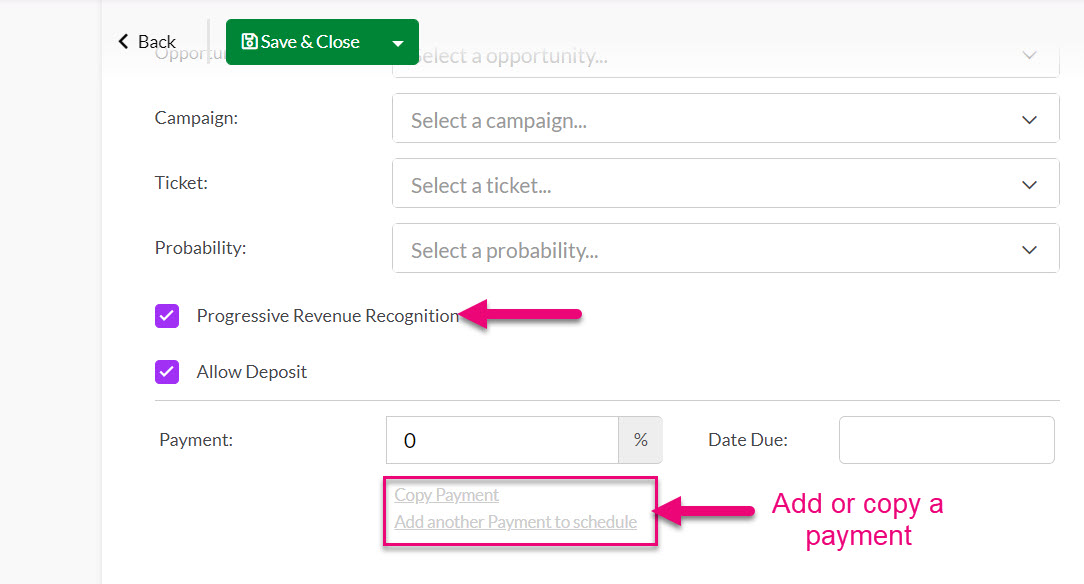
On Quotes you are able to configure a payment schedule.
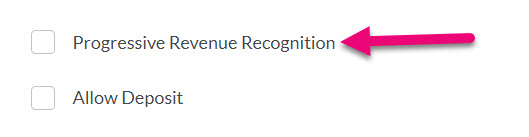
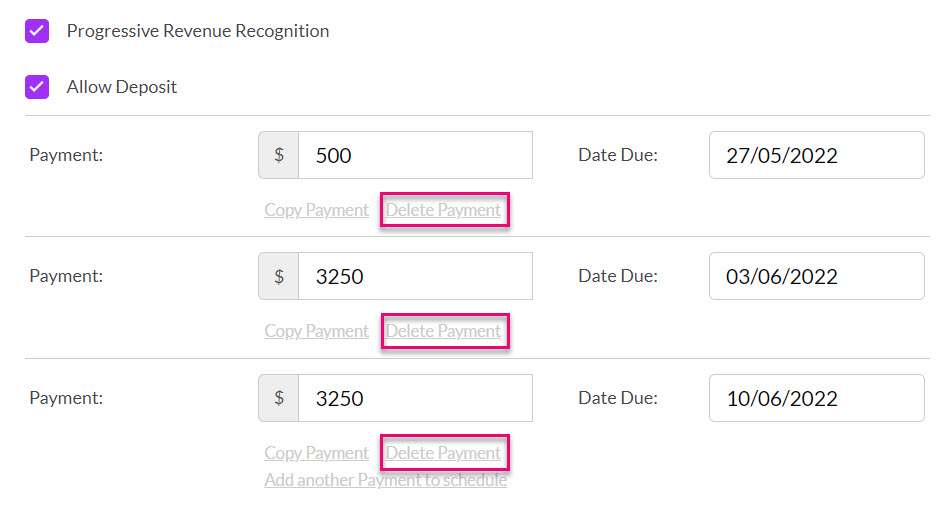
On a Quote, if you have enabled Progressive Revenue Recognition at a system level the Allow Deposit and Progressive Revenue Recognition boxes will be automatically selected when you create a new Quote.

If you have not set up the system default, you can manually tick these boxes to enable the functions, when required.
This will allow you to input a payment schedule by adding an initial payment and then copying it or manually inputting further payments.

When you add in payments it is important to note that the amount/s you enter here will depend on whether your system is configured to show prices including or excluding tax. You can manage this setting from your pricing settings in Admin > General > Pricing > Pricing Display.

You can also determine how prices display using the Show Prices Inc Tax check box when the Quote record is in Edit mode.

Each payment has a delete button that will allow you to remove it.
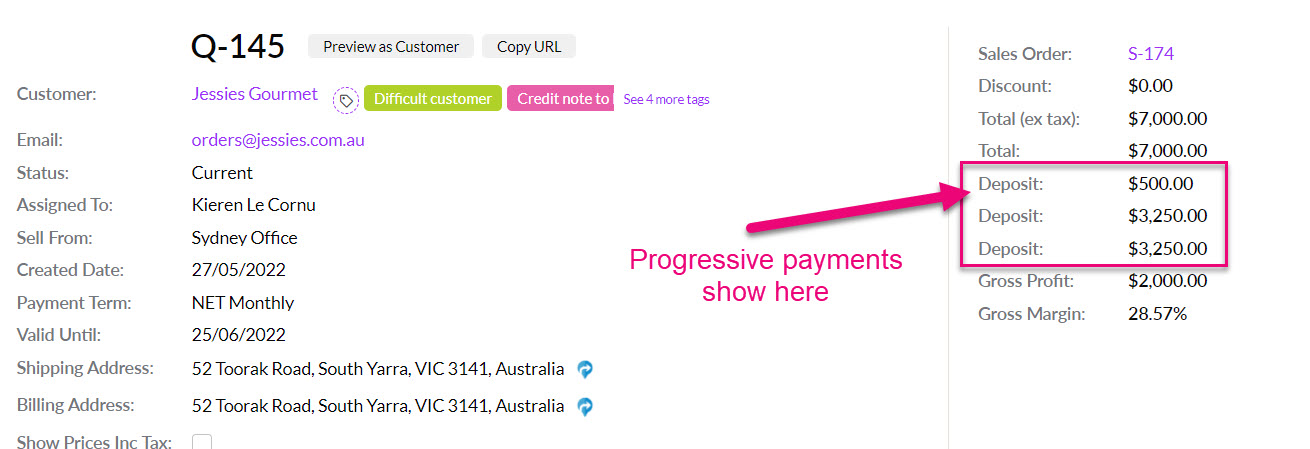
When you are finished setting up the payment schedule and Save & Close the record, the deposits will be visible in the upper right corner.
When a Quote is tuned into a Sales Order, the payment schedule will transfer over along with the rest of the information about the sale.
Note that once you have entered in a series of payments, the Invoices need to be manually generated from the Sales Order i.e. the Due Date field doesn’t automate the creation of the Invoice.
On Sales Orders you are able to configure a payment schedule.
If you have generated a Sales Order from a Quote, details of the payment schedule will automatically be transferred over and the deposit amounts will show in the upper right corner of the record.

When creating a new Sales Order with a payment schedule, if you have enabled Progressive Revenue Recognition at a system level the Allow Deposit and Progressive Revenue Recognition boxes will be automatically selected when you create a new Sales Order.
If you have not set up the system default, you can manually tick these boxes to enable the functions, when required.
This will allow you to input a payment schedule by adding an initial payment and then copying it or manually inputting further payments.
When you add in payments it is important to note that the amount/s you enter here will depend on whether your system is configured to show prices including or excluding tax. You can manage this setting from Admin > General > Pricing > Pricing Display.
You can also determine how prices display using the Show Prices Inc Tax check box when the Sales Order record is in Edit mode.

Each payment has a delete button that will allow you to remove it.
When you are finished setting up the payment schedule and Save & Close the record, the deposits will be visible in the upper right corner.

Note that once you have entered in a series of payments, the Invoices need to be manually generated from the Sales Order i.e. the Due Date field doesn’t automate the creation of the Invoice.
Note that once you have entered in a series of payments, the Invoices need to be manually generated from the Sales Order i.e. the Due Date field doesn’t automate the creation of the Invoice.
From the activity bar on a Sales Order, you can click on Invoice > Generate Deposit Invoice which will allow you to generate multiple Deposit Invoices to match the payment schedule that has been input (as opposed to just a single Deposit Invoice and a final Invoice).
You can also generate a final Invoice for any amount remaining after the Deposit Invoices have been generated – just click on the Convert To Invoice button.

CRM will generate each invoice in the progressive order that you have specified in the payment schedule.
Once the Invoices have been generated, they will appear in the top-right corner of the Sales Order and you can click on the reference numbers to go straight to the Invoice records.
From Admin > General > Invoice Settings you have the option to select Auto-Invoice Based on Shipped Quantity in the Shipment Action field to so that when a shipment is generated from a Sales Order, an Invoice will automatically be created for the shipped quantity i.e. you can progressively invoice as you progressively ship.
