Working with Opportunities
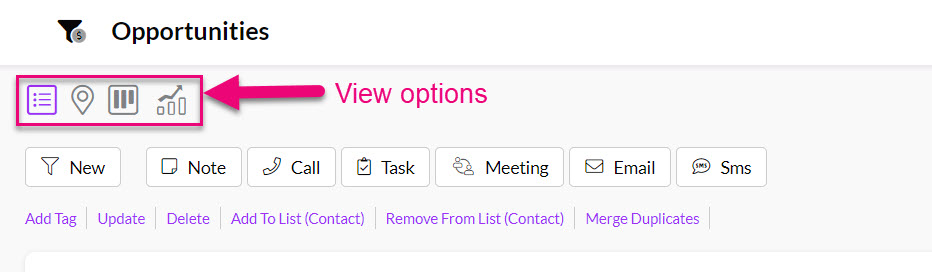
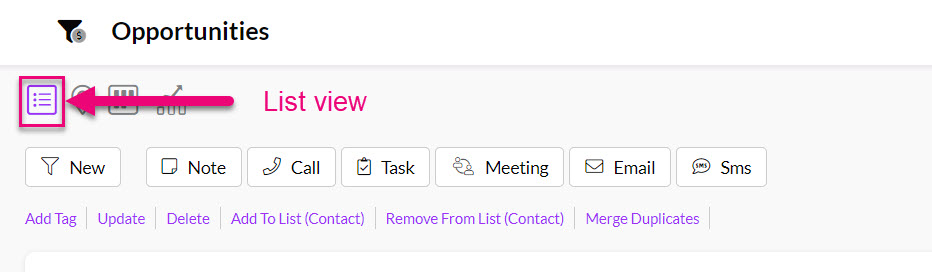
You can view Opportunities in List, Map or Kanban view. From each view, you can quickly perform a range of actions and make changes to records.
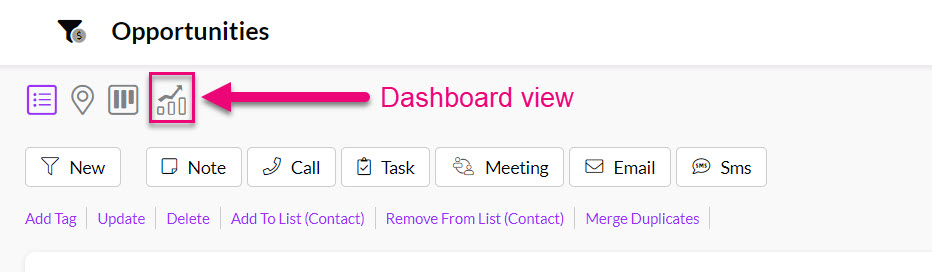
These options are located at the top of each module home page – just click on an icon to change between the views – List, Map, Kanban and Dashboard.
The toolbar across the top of the page in each view allow you to quickly initiate the following actions:
- Create a new Opportunity
- Create a Note
- Start a Call
- Create a Task
- Set a Meeting
- Send an Email
- Send an SMS
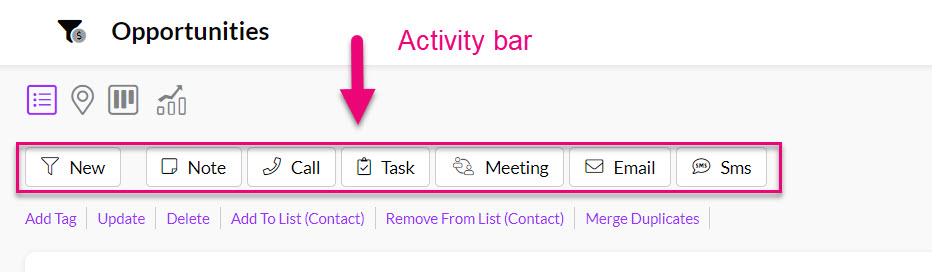
- Import or export data to/from the module.
From the Opportunity record (in save mode) you can initiate a range of actions from the Activity bar.
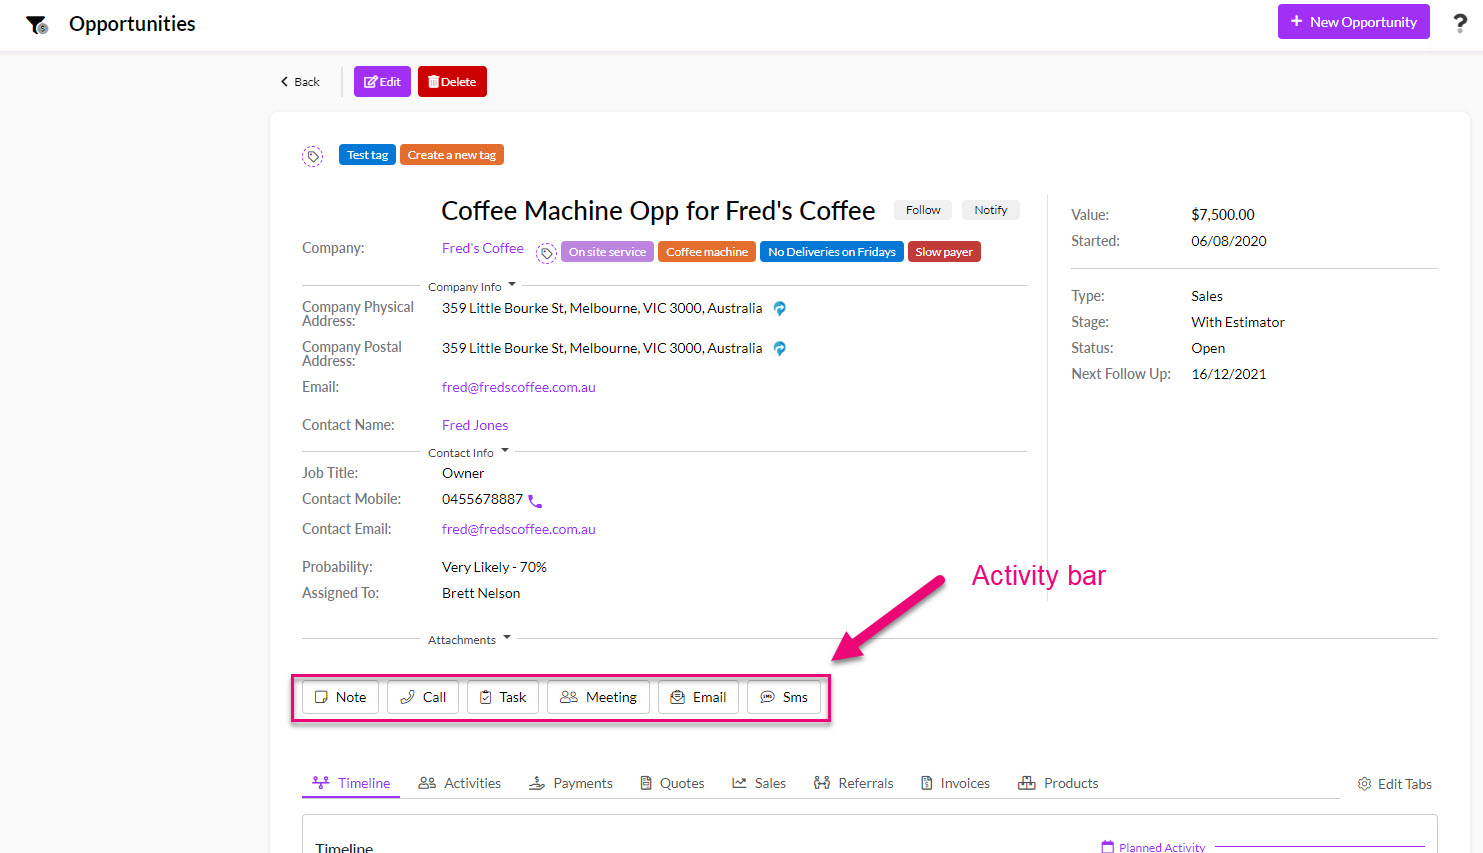
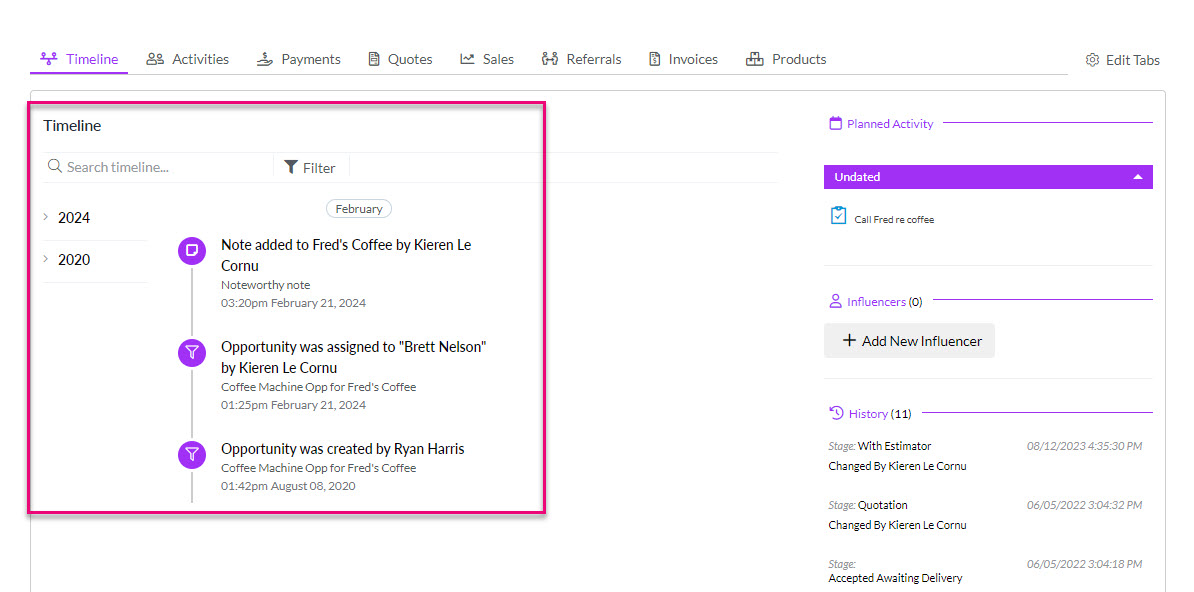
- All the completed Activities will show on the record Timeline.
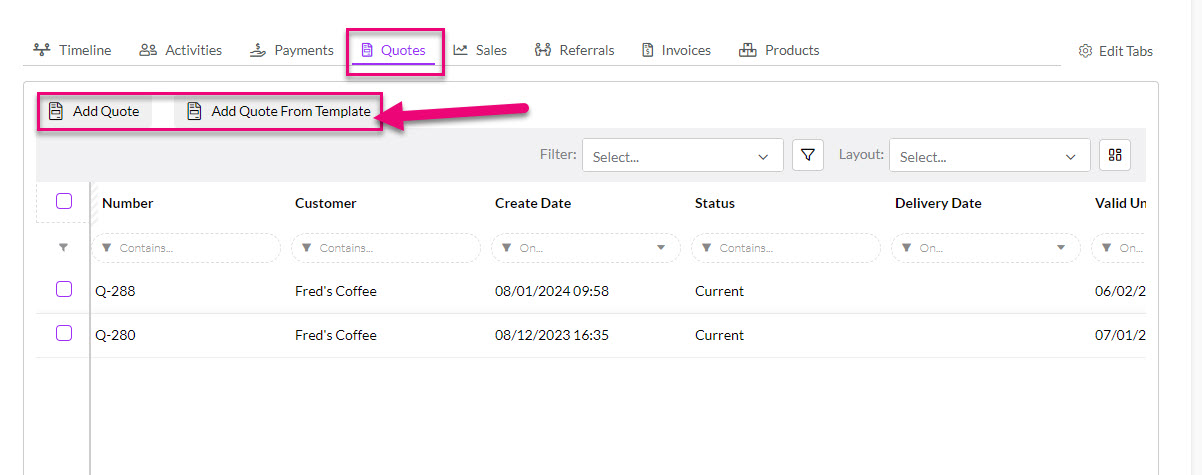
- You can also create new Quotes, Sales Orders or Invoices from the tabs, as well as being able to see linked records.
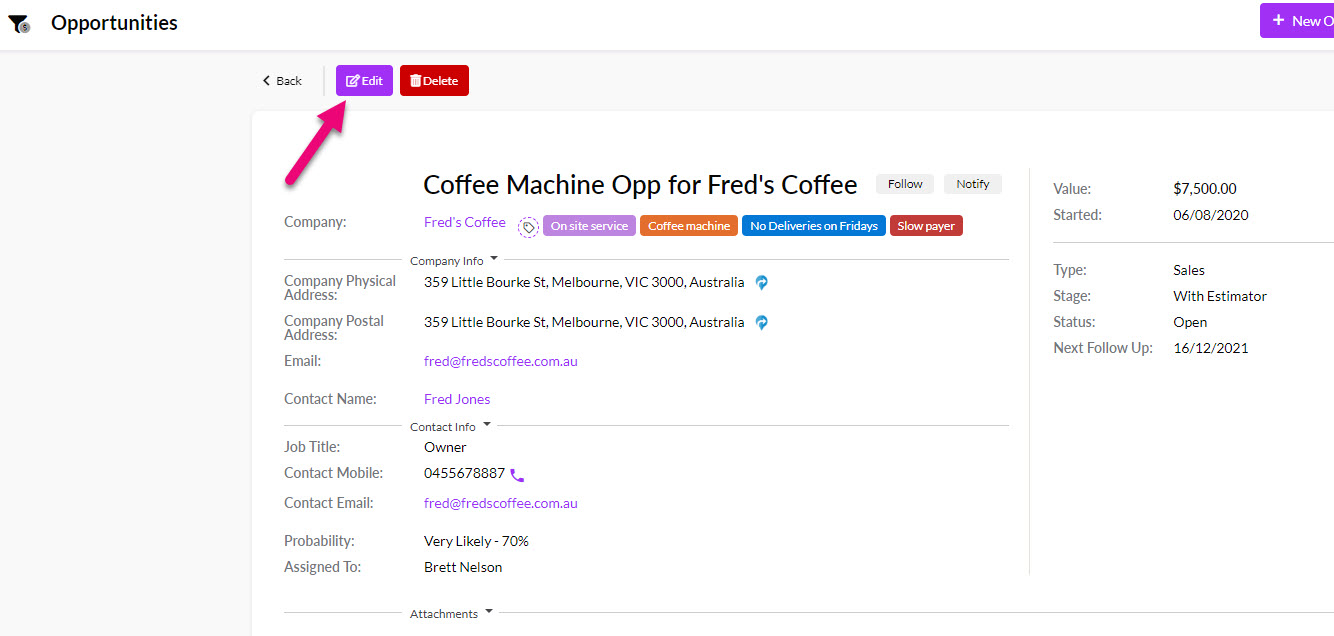
- To make further changes to the record, click on the Edit button.
See also:
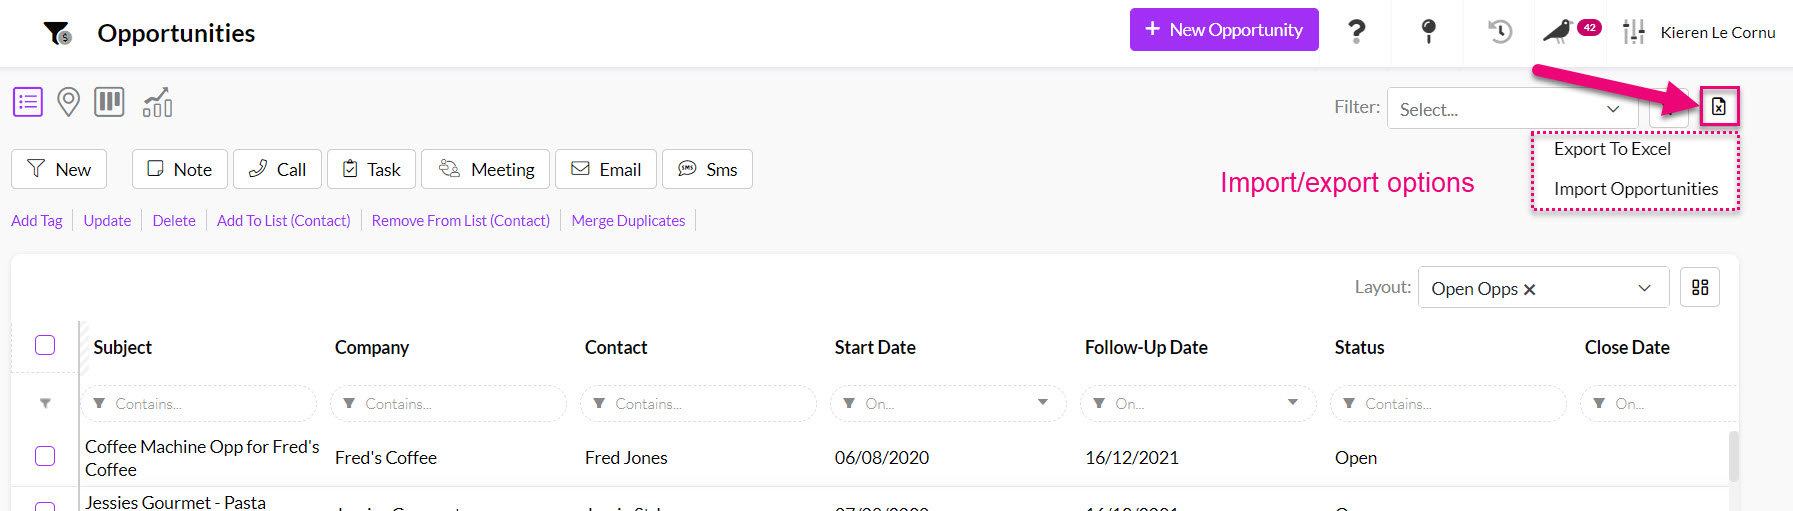
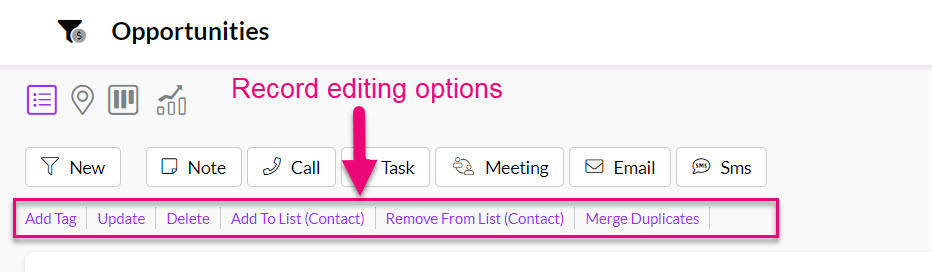
The options underneath the main toolbar in each view allow you to quickly apply the following changes to Opportunity records:
- Manage the Tags assigned to records.
- Bulk update field values within records.
- Add or remove a record Contact to/from a Marketing List.
- Merge duplicate records.
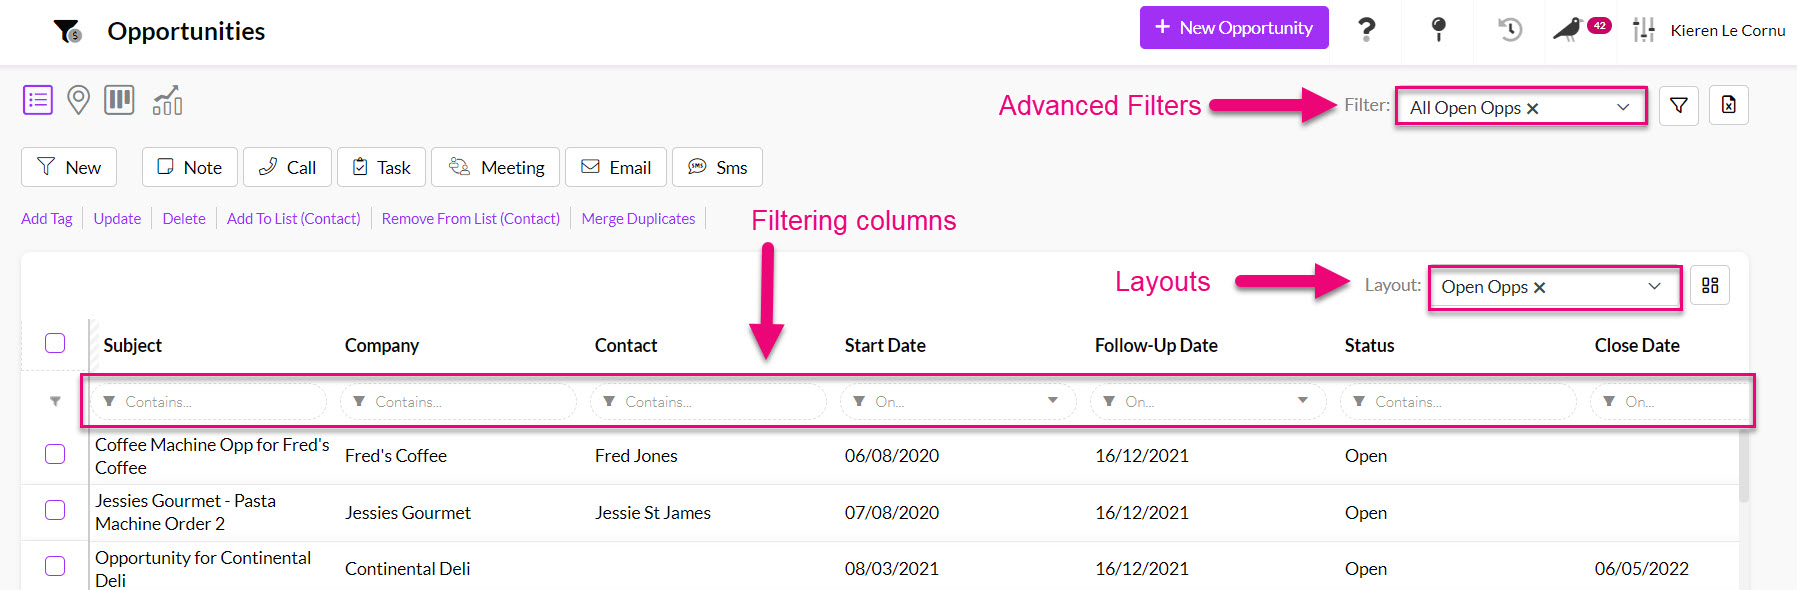
This view allows you to see a list of your Opportunities. What you see in this view can be customised in a number of ways:
- Search for records using any field.
- Set criteria to Filter the records that appear.
- Save multiple Advanced Filters and choose when to apply them to records.
- Create different Layouts that you can switch between, as desired.
See also:
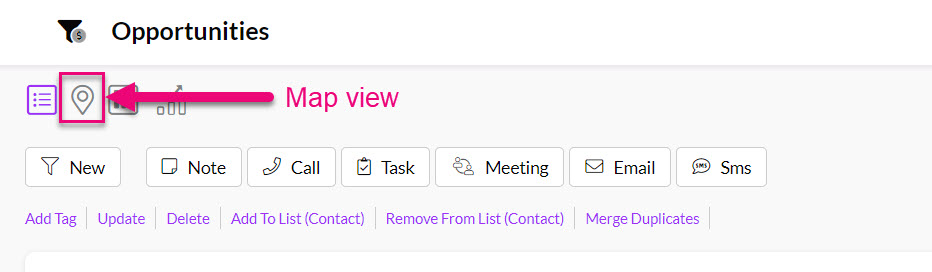
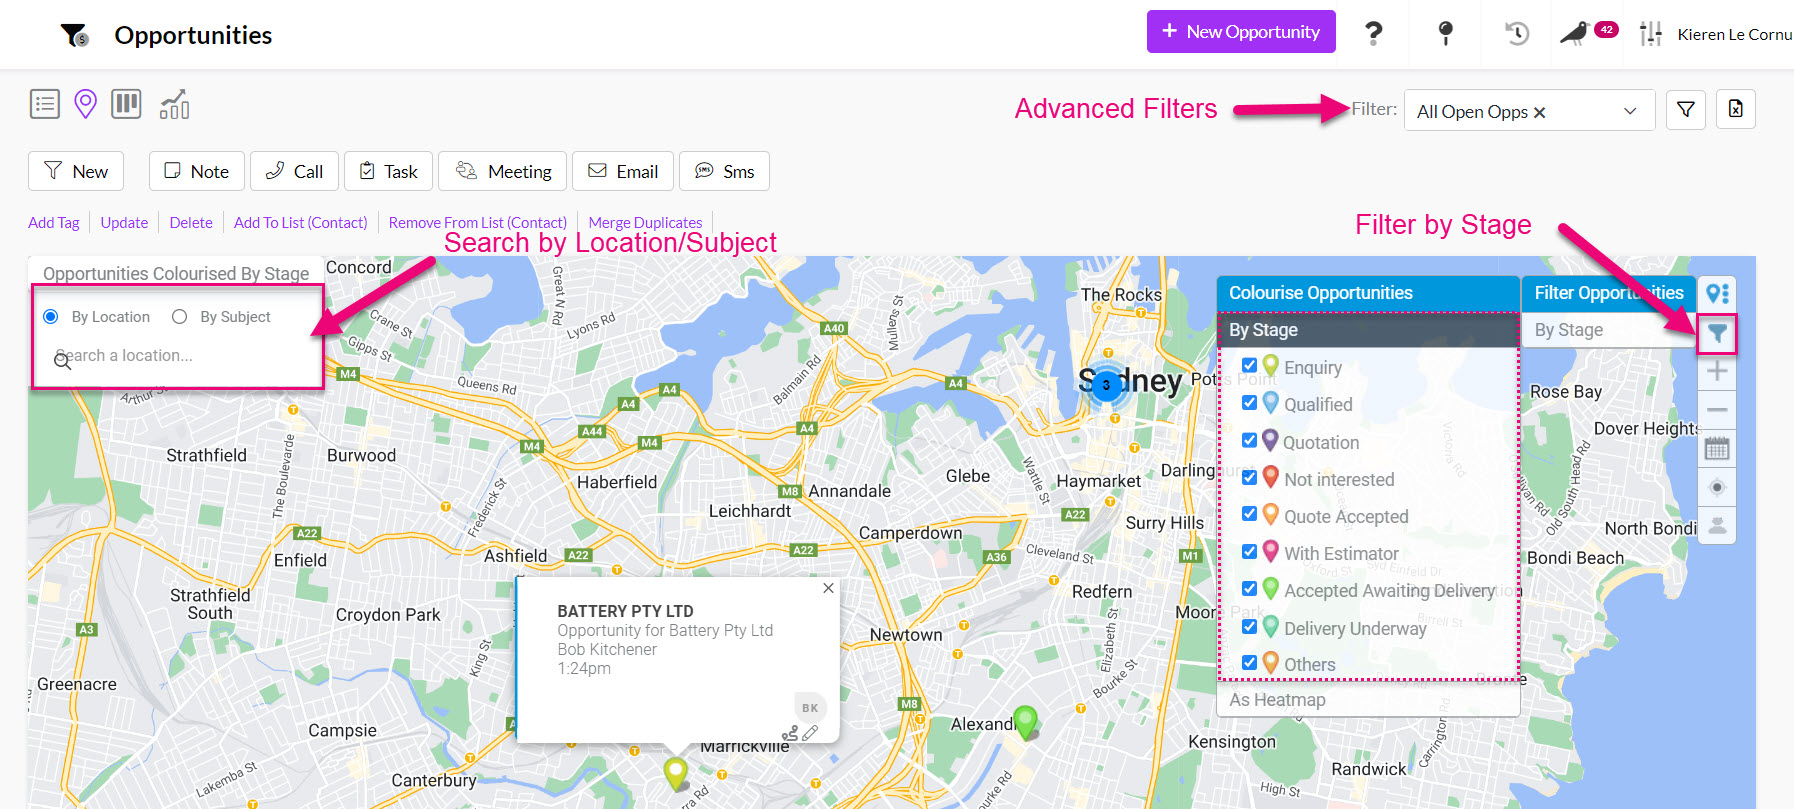
This view allows you to see all your Opportunities on a map and is based on the data stored in the address section of Opportunity records. What you see in this view can be customised in a number of ways:
- Zoom in and out to visually search areas.
- Quickly re-centre the map on your current location.
- Search for records by location or Subject.
- Save multiple Advanced Filters and choose when to apply them to records.
- Change the colour of your records to visualise them by Stage.
- Display records based on which sales Stage they are at.
See also:
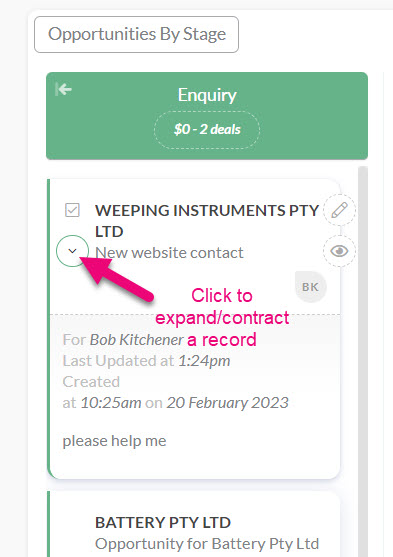
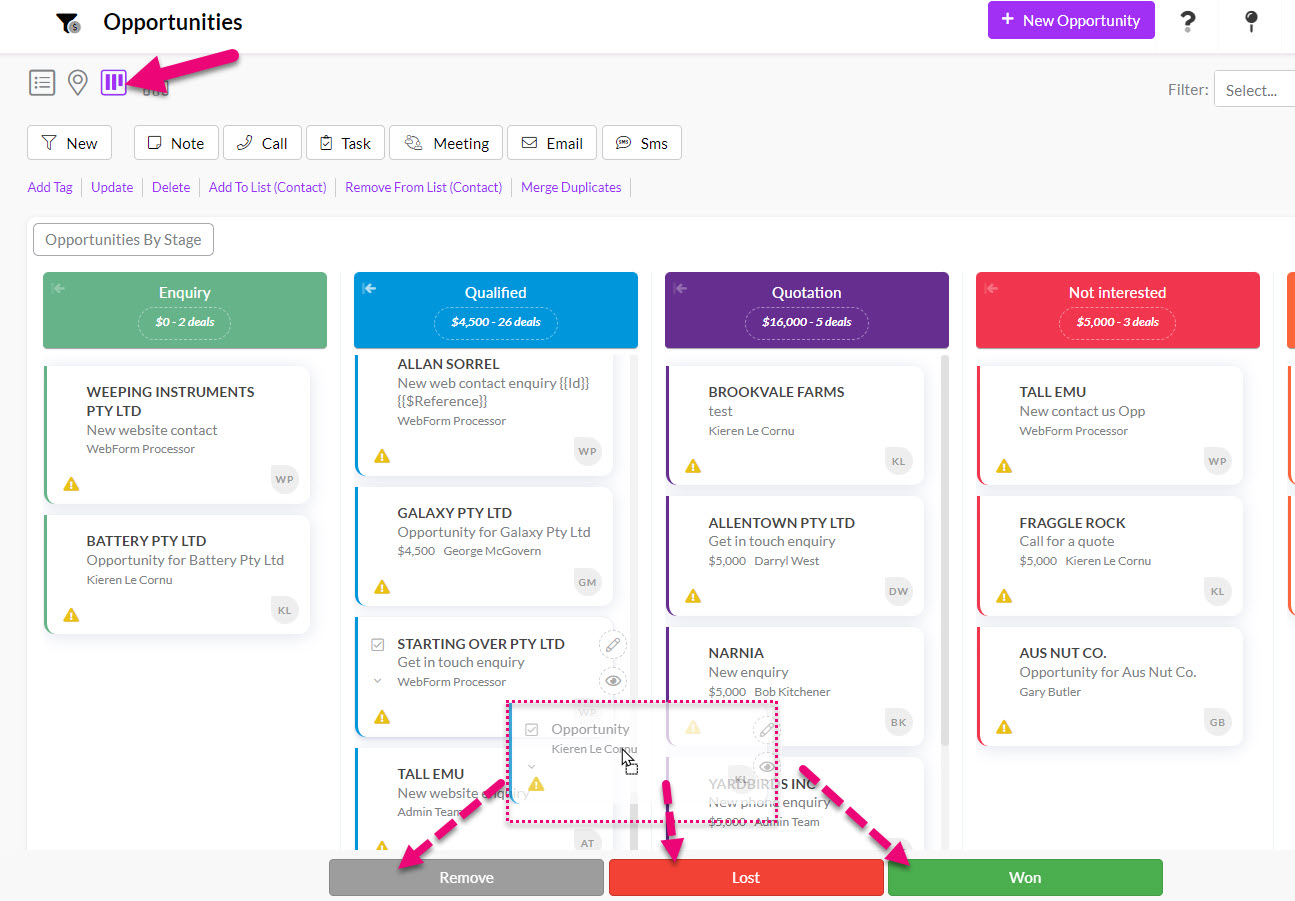
This view allows you to visualise all your Opportunities in an interactive Kanban view. What you see in this view can be customised in a number of ways:
- Filter the records displayed by either Stage or Salesperson.
- Save multiple Advanced Filters and choose when to apply them to records.


- Show or hide further detail about each record.
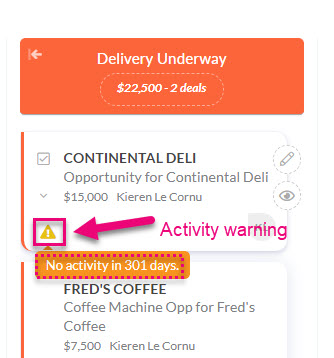
- See a warning when a record hasn’t been given any attention for an extended period.
- Expand or contract each segment of the view.

- You can also drag records between segments to quickly update the assigned salesperson or Stage or Status (Won/Lost).
See also:
This view allows you to visualise all your Opportunities via preconfigured reporting dashboards. What you see in this view can be customised in a number of ways.
- Select from a list of dashboards to display.
- Change the date range for the displayed data.
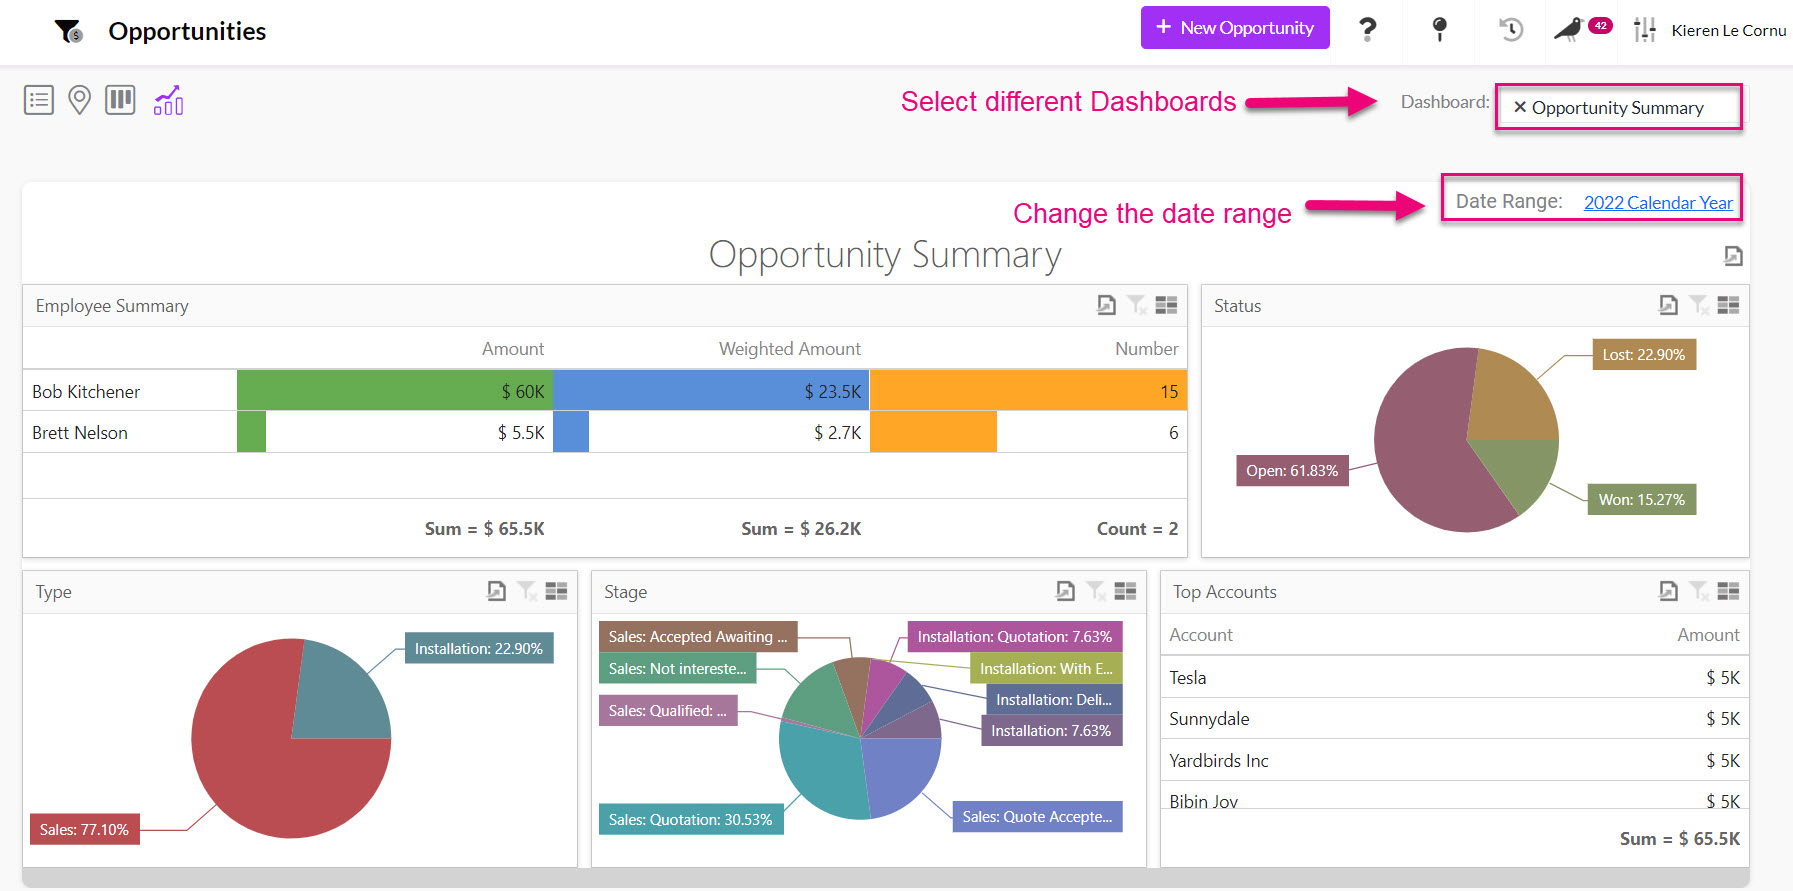
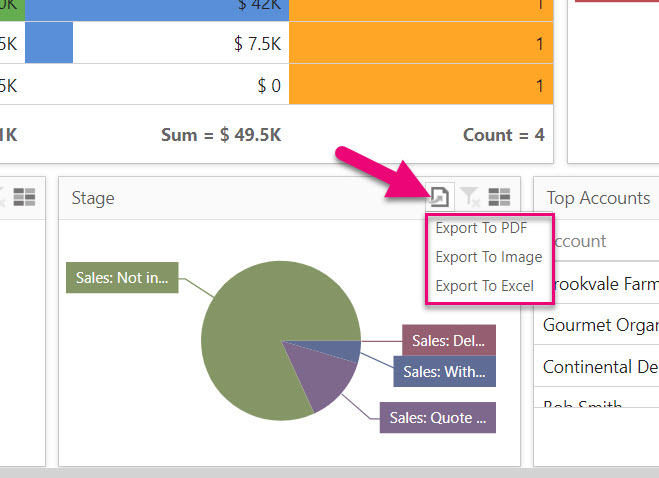
- You can also export data from sections of the dashboard.
See also:
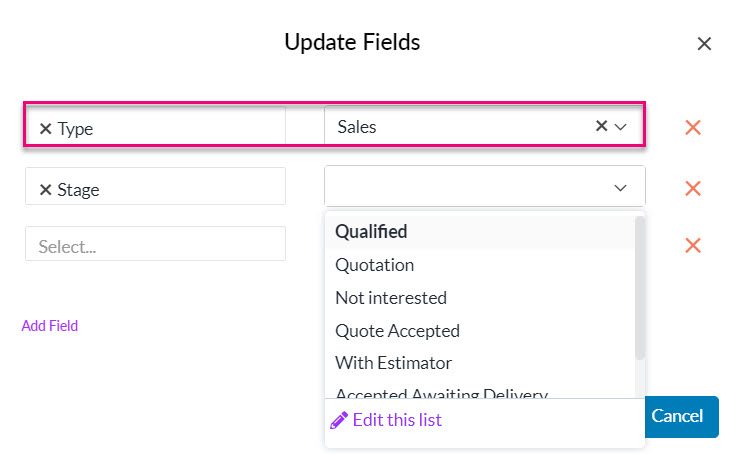
In List View, you can select multiple Opportunity records and use the Update button to apply changes to field values for records in bulk.

A new pop-up window will open where you can choose which fields you want to update and specify the new values. Click on Update to apply the changes.
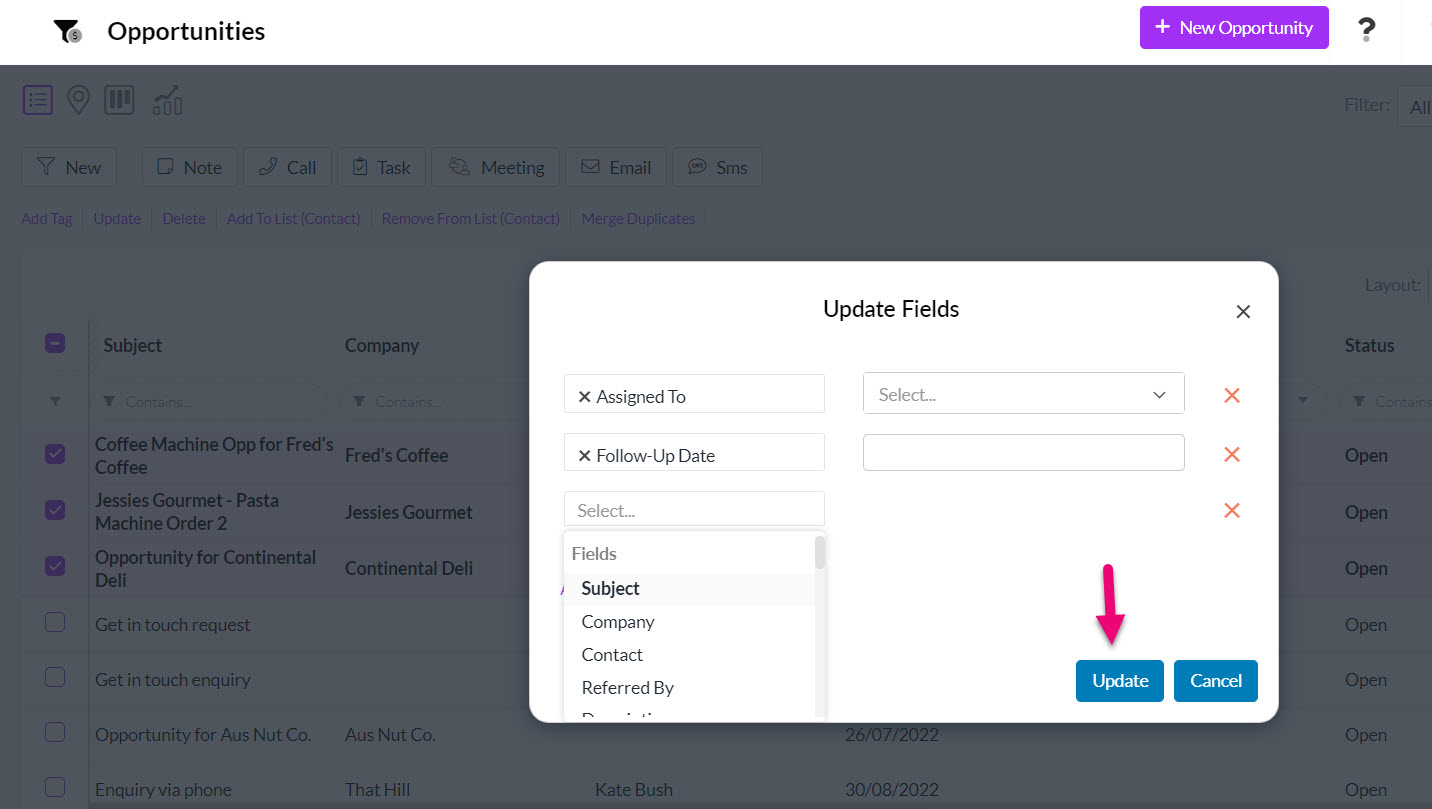
Note that if you want to update the Stage field, you need to update the Type field first, as demonstrated in the following screenshot.