Setting up manufactured Products
Manufacturing involves the transformation of some kind of raw material(s) into a finished product(s). The first step in setting up manufacturing is to tell CRM which products in your inventory you manufacture.
To run your production or manufacturing process in CRM, you need 3 key things:
- Manufactured Products in your inventory – products that have the I Make This Product box ticked.
- A Bill Of Material (BoM) for each manufactured product in your inventory – here you set out all the products and steps that are required to produce a manufactured product.
- A Work Order to execute the production of a Bill Of Material – this puts the BoM into action and adjusts the stock in your system accordingly for the products consumed and created during production.
See also:
Creating manufactured Products
You need to tell CRM which products in your inventory you manufacture.
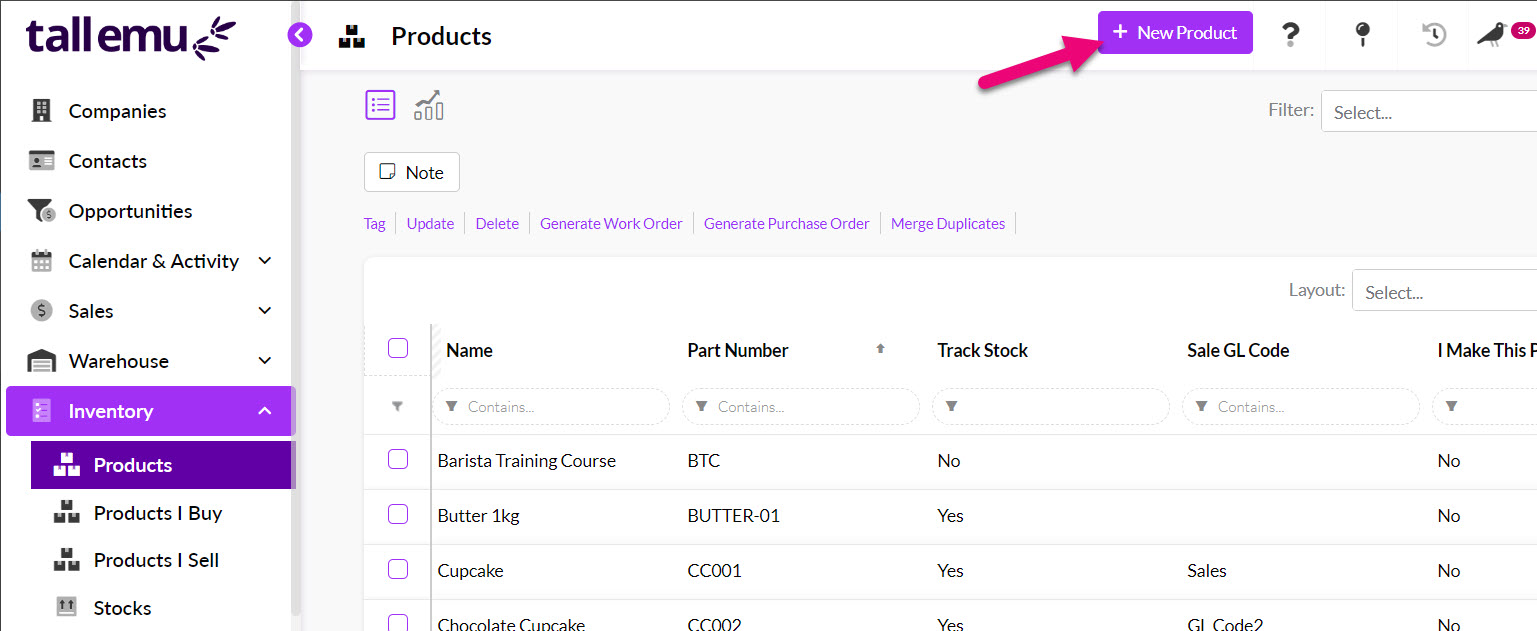
- From Inventory > Products click the New Product button in the top right.
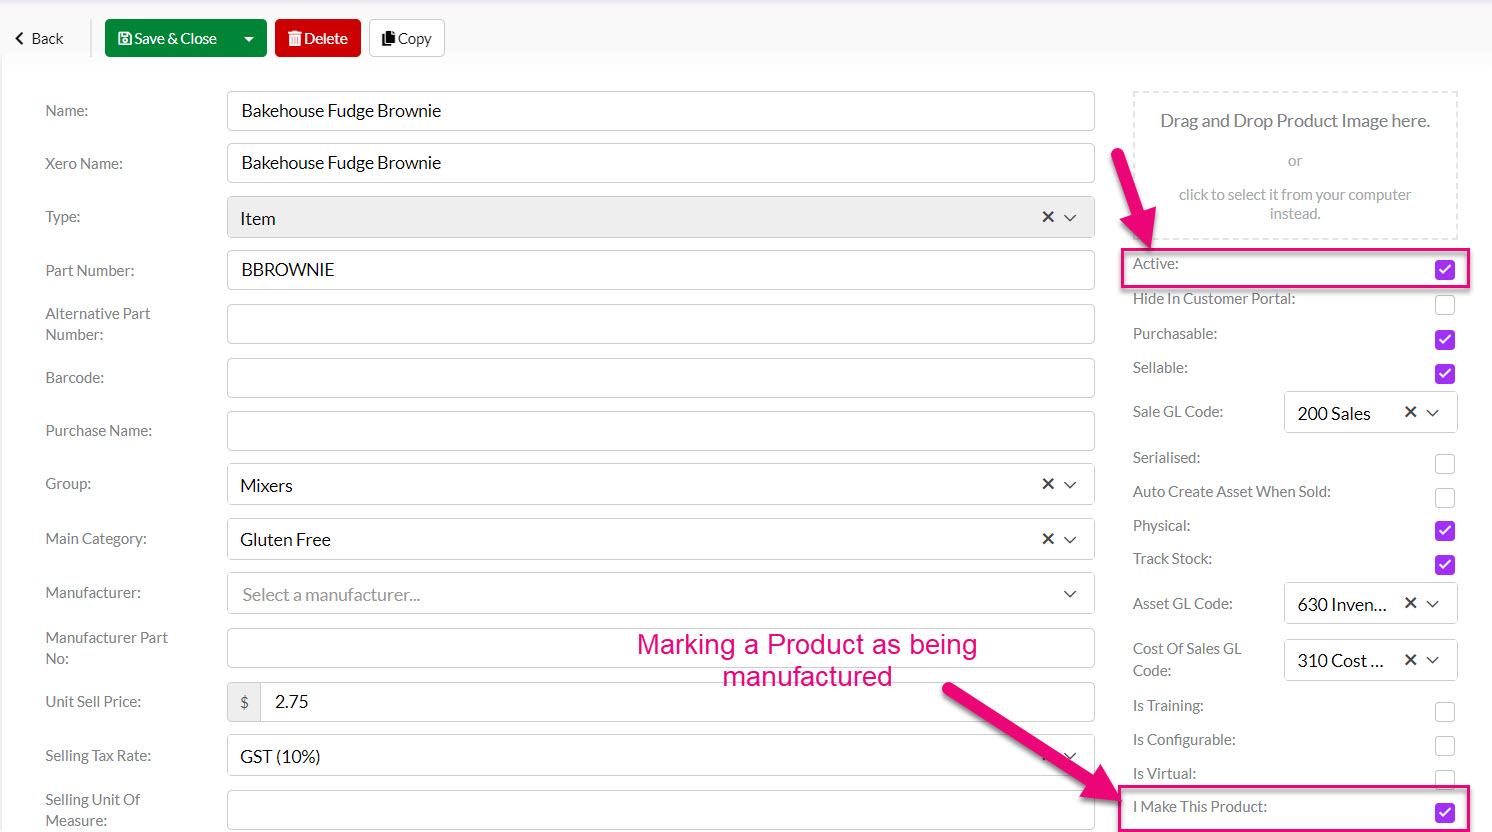
- Check the I Make This Product box and ensure the Active box is also checked.
- The rest of the options you apply here will depend on your requirements e.g. is the product purchasable, sellable, stock-tracked, batch or serial tracked etc.
See our guide on Creating New Products for more information.
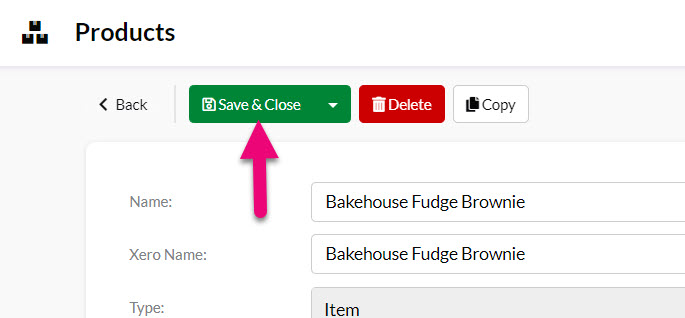
- When you are done, click on Save & Close.
- On the saved Product you will then see a range of buttons and options relating to manufacturing that have been enabled.

If you cannot see the BoMs tab, it may be hidden, and you need to edit the record tabs to make it visible.
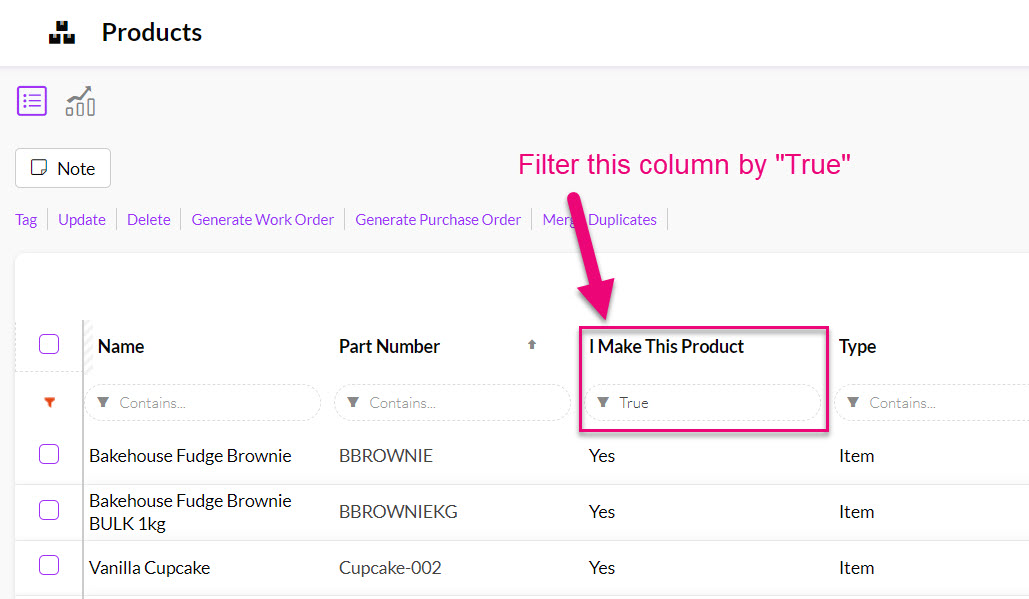
You will also be able to easily locate manufactured items in your inventory by adding the I Make This Product column, which can be filtered by a “True” value, which will display all products you make.
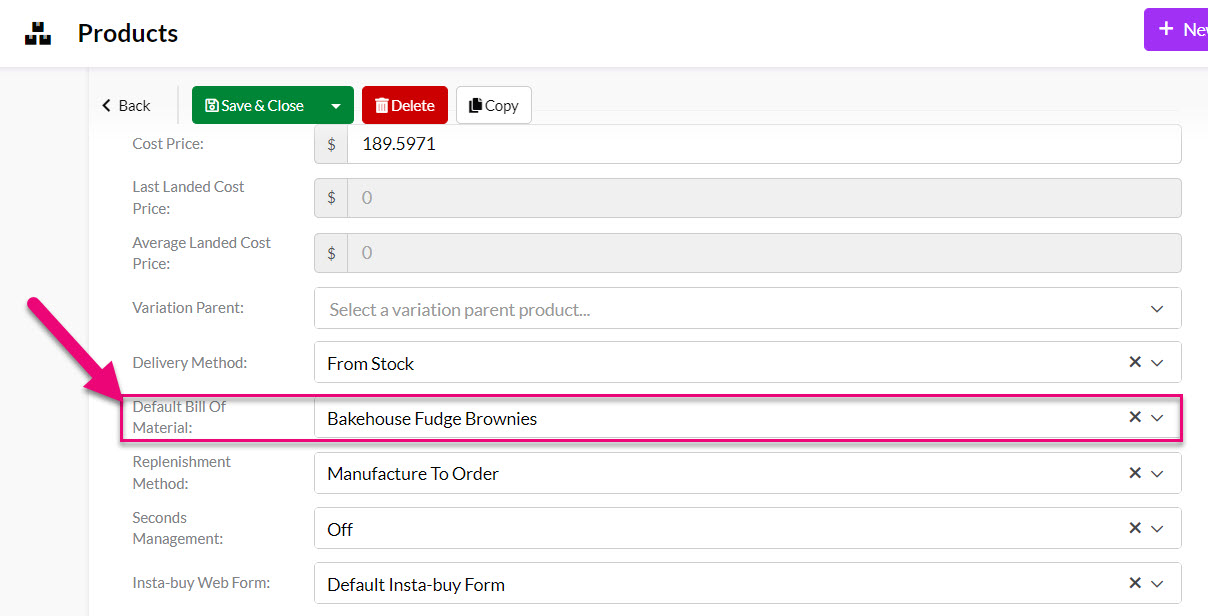
Default BoMs for manufactured Products
- For each manufactured item in your inventory, you can have multiple Bills Of Material to create it, you can also set a Default Bill Of Material to apply by making a selection in the Product field.
- On a saved record, a Bill Of Materials tab is available which show all associated BoMs.
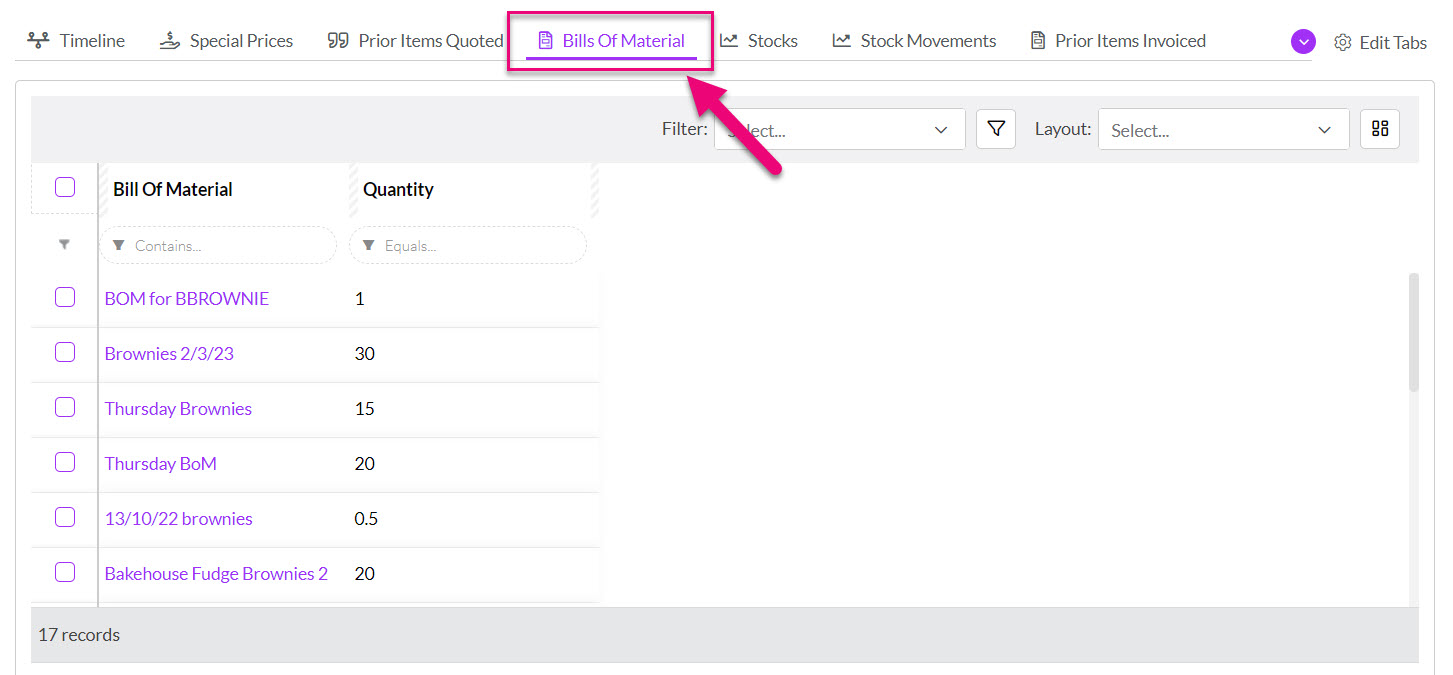
If you cannot see the BoMs tab, it may be hidden, and you need to edit the record tabs to make it visible.
You can also create a new BoM directly from the Product record by using the button.
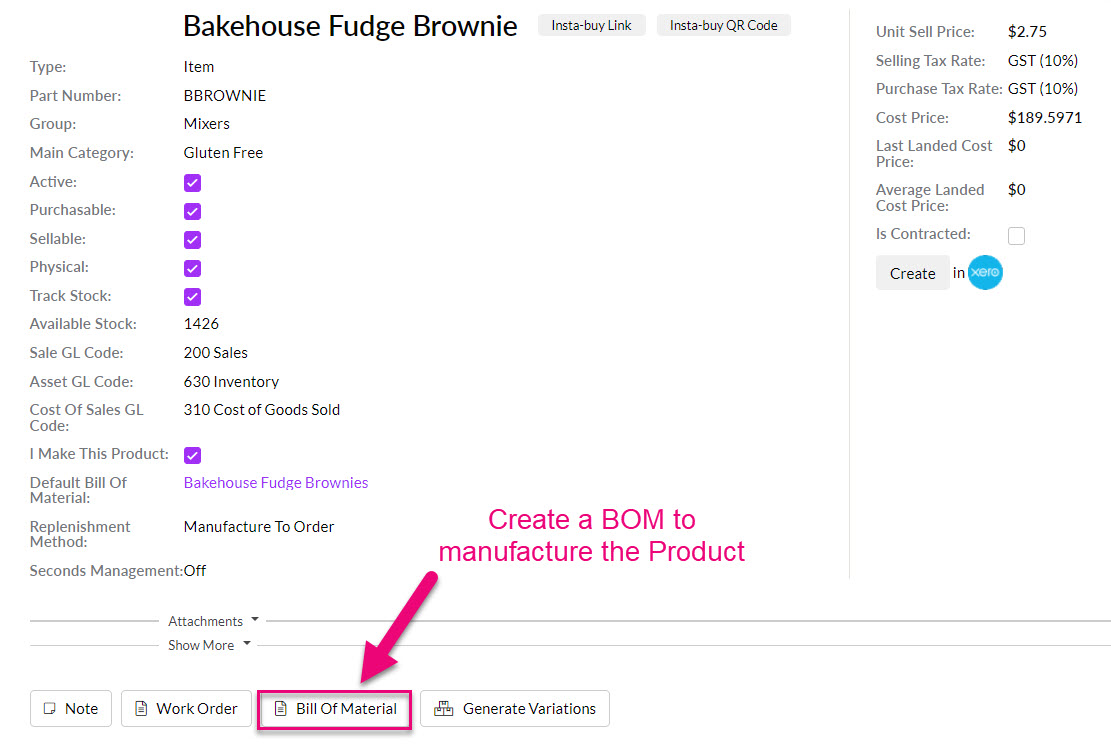
For more information on how to create Bills Of Material, please see this guide.
Output Products on BoMs
An Output Product on a Bill Of Materials is a manufactured Product in your inventory – both terms relate to the same thing.
If you don’t have any manufactured items in your inventory, when you go to select Output Items on a Bill Of Material, the product selection list will be blank.
The Product field here only shows Products that you’ve specified you make by ticking the I Make This Product box.

Manufactured Products on sales
For more information, see our guide on Sales Orders.
Once a Product is marked as being manufactured, when you add it to a Sales Order, you’ll have the option to generate a Work Order to create stock of the item.

Generating a Work Order from a Sales Order
If you don’t any manufactured products on the sale, the option to create a Work Order will be greyed out.

If you have a manufactured item that needs to be customised to a customer’s requirements, you can tick the Is Custom box and then note the requirements. This will allow you to modify a Work Order to produce the required item/s.
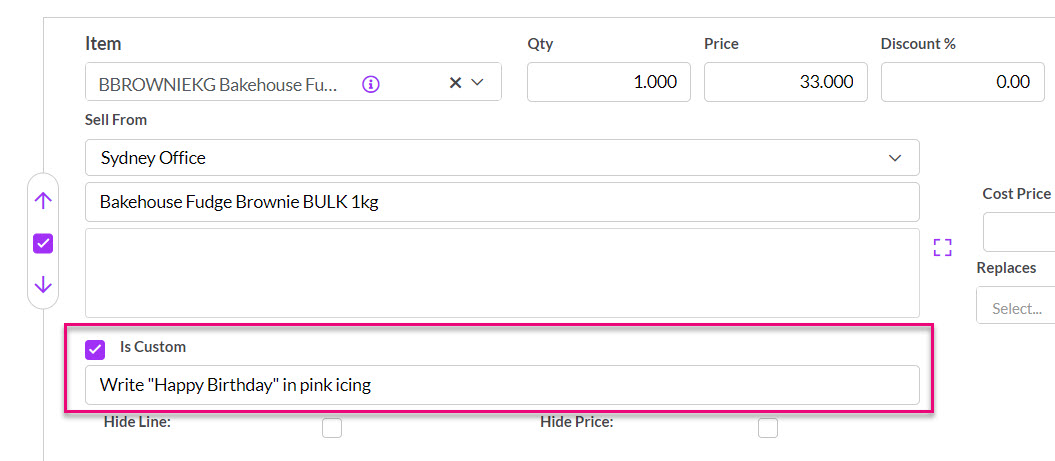
A custom manufactured item on a Sales Order
As the item is non-standard, the system will automatically place it on backorder until stock has been created.
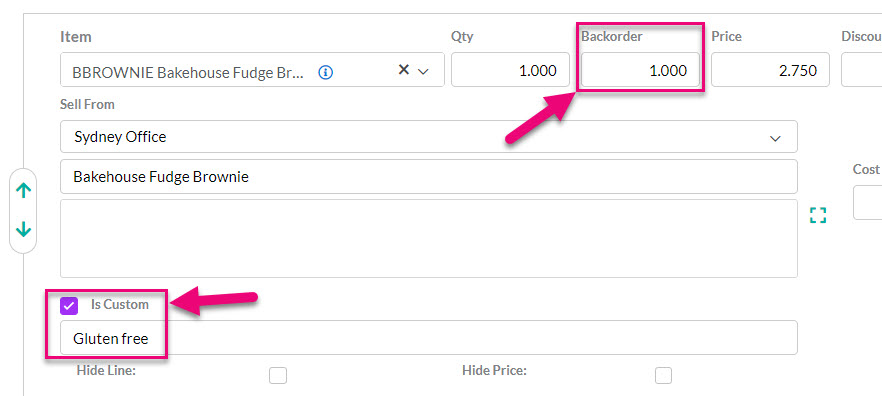
A custom item on a Sales Order
Any Work Orders that you generate from Sales Orders will be associated with the record via a tab and link on the item.

Work Orders tab on Sales Orders

A Work Order link on a manufactured item on a Sales Order