Work Orders
A Work Order essentially records the manufacturing process as being completed and transforms your stock accordingly by executing a Bill Of Material.
When you start a Work Order:
- The stock of your input products will be allocated.
When you complete the Work Order:
- The stock of your input products will reduce, and
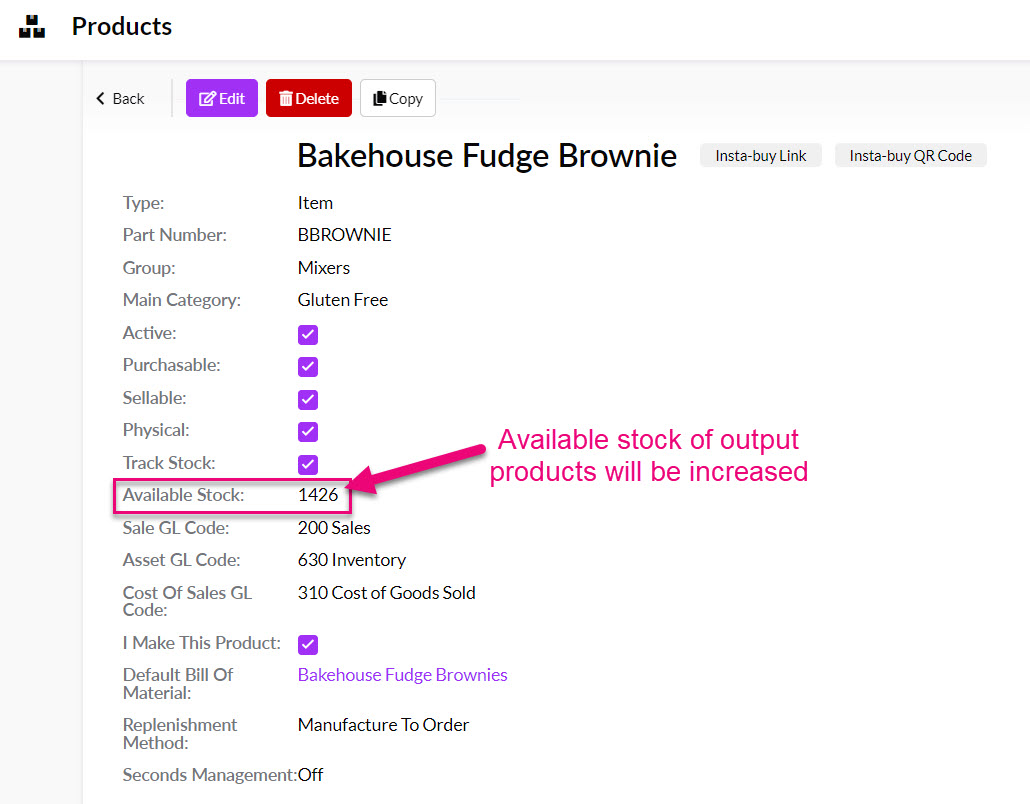
- The stock of your output products (manufactured products) will increase accordingly.
What you can do with Work Orders
The manufacturing process is ultimately determined by your preferences.
Our system allows you to create a singular Bill Of Material (BoM) to take raw materials and produce an output product that is ready for sale.
Work Orders allow you to have:
- Many input products and 1 output product.
- 1 input product and many output products.
- You can use batch-tracked and/or serialised products in production.
- Resources allocated to your production process.
Production example
In the following screenshot examples, I’m taking ingredients like eggs, flour, sugar, cocoa powder etc. and combining them to create brownies. I’ve set up some basic Production Steps to get, mix and bake the ingredients and will also need to use an oven as a Resource.
Because the process is fully customisable, I can be as detailed as I want and have different BoMs that changes elements of the process, for example:
- A BoM that creates a batch of brownies (using all the ingredients) and then slices and packages the brownies into individual servings.
- A BoM that creates a batch of brownies (using all the ingredients) and then boxes up the batch.
If your CRM is linked to an accounting system, you should ensure that your data sync settings are configured correctly so that stock movements from your Work Orders are being synced correctly.
Also see:
- Bills Of Material
- Production
- Production Steps
- Time Tracker for Production
- Resources for Manufacturing
- Manufacturing settings
- Creating Manufactured Products
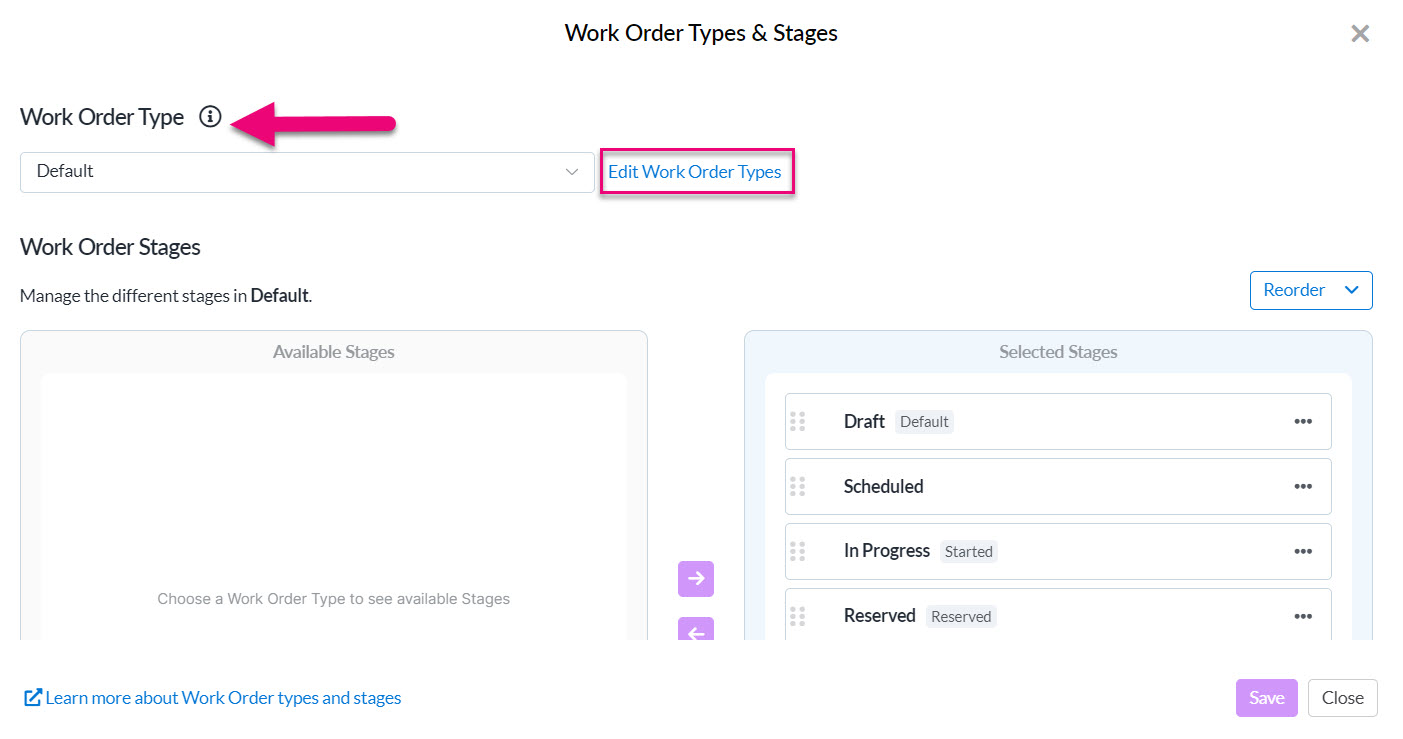
Go to Admin > Settings > Manufacturing and click on either the Work Order Types & Stages or Bill of Material Status which will open a pop-up window to edit the field.

Work Order Types
Click on the Edit Work Order Types link to access the editing screen.
Then you can add, edit and re-order the options on the list and select a default option. Click on Save & Back when you are done.

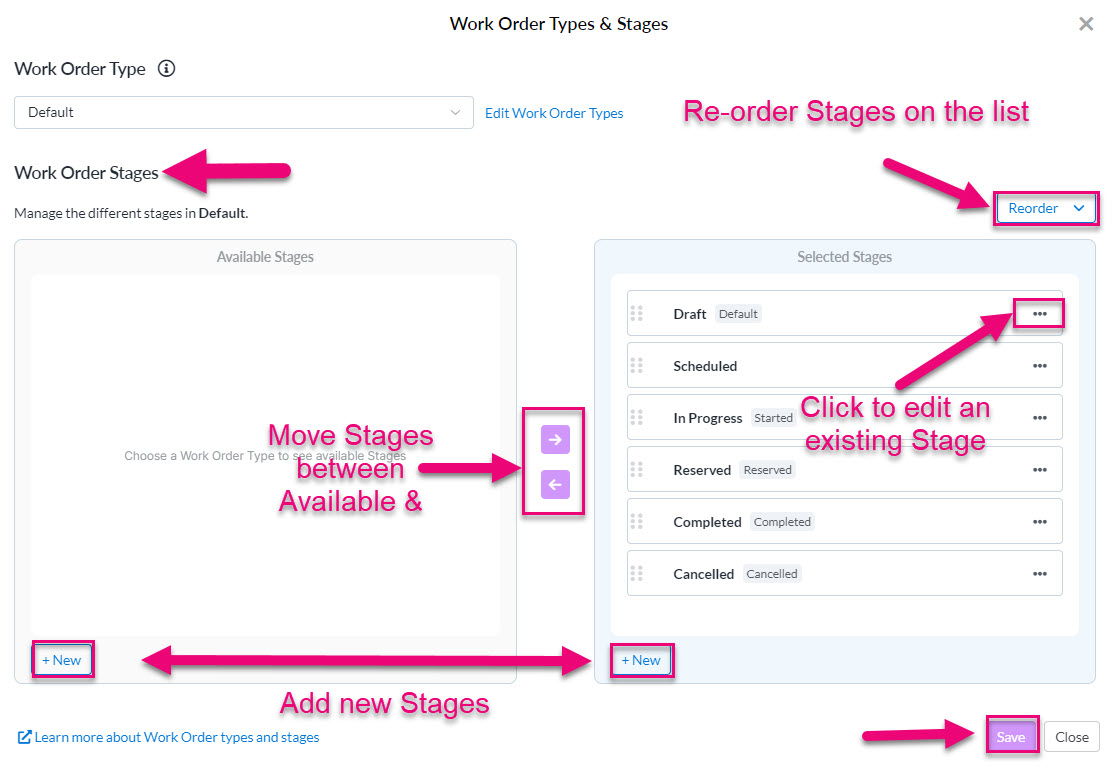
Work Order Stages
You can add, edit and re-order the options on the list.
Click on Save when you are done.
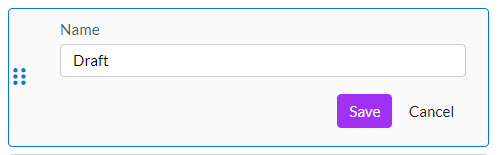
When you edit a Stage, you will have a number of options to choose from.

- Selecting Edit Details lets you rename the option.
- Make Default means that for all new records, this choice will be populated by default.
- There are several overarching system statuses that a Work Order can have – Reserved, Started, Completed and Cancelled. You can choose if one of these should apply to your Stage.
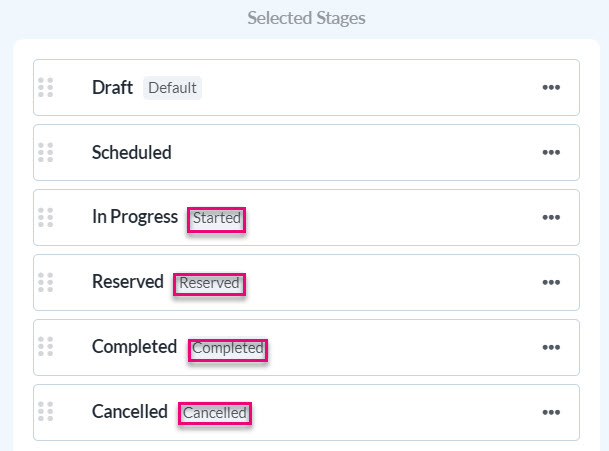
- For example, I’ve made a new Stage called “On Hold” and I’ve marked this as Started because production has commenced at this point.

Your choices will now be available for use in Work Orders in the Type and Stage fields.

Work Orders
To create a work order, head to the Main Menu> Manufacturing > Work Orders, then click the New Work Order button in the top right.

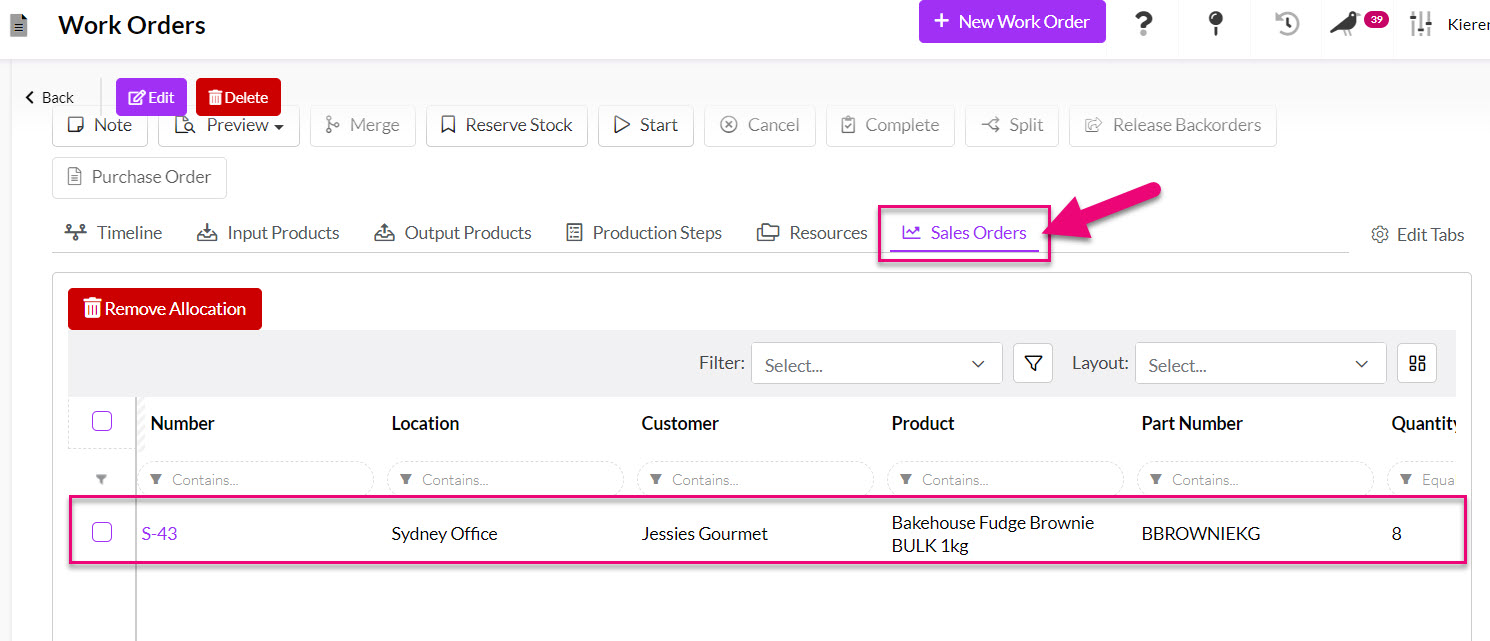
Sales Orders
You can also create a Work Order directly from a Sales Order using the Generate > Work Order buttons on the toolbar.

Note that you must have manufactured products on the order, otherwise the Work Order button will appear greyed out and you will not be able to select it.
When you create a Work Order this way, the system will create a link between the records so that you can see the Work Order from the Sales Order and vice versa.

You can also configure your manufacturing settings to automatically create an Outbound Shipment for stock once the Work Order is completed and stock is available.
Products
From the Products toolbar.

Stocks
From the Stocks toolbar.

Backorders
From the Backorders toolbar.

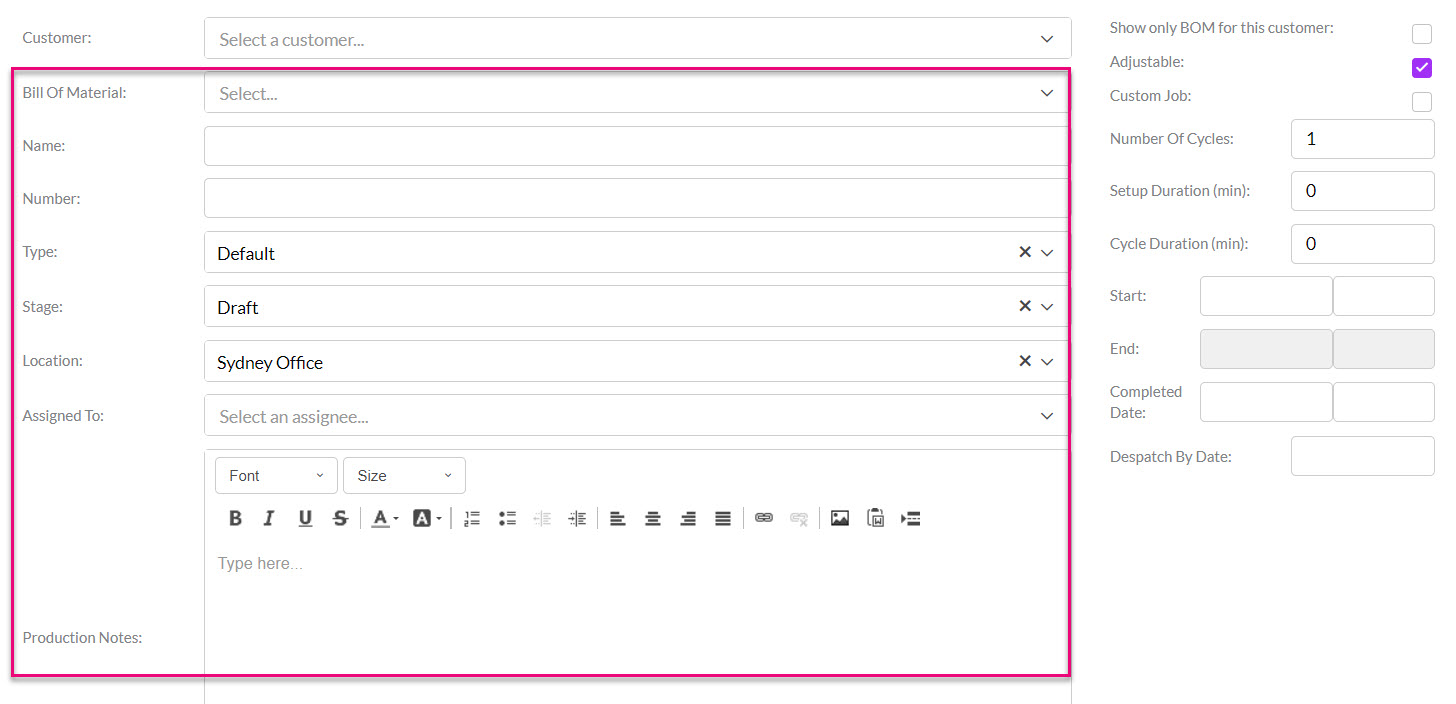
When creating a new Work Order you’ll be prompted to enter in:
- The BOM that the work order is based on.
- A Name for the Work Order (Bakehouse Fudge Brownies).
- CRM will automatically generate a Number for the record (e.g. WO-1), but you can also choose to manually enter your own reference here instead.
- Select a Type from the drop-down list (see above for how to customise this list), otherwise the system will apply your default choice.
- Select a Stage from the drop-down list (see above for how to customise this list), otherwise the system will apply your default choice.
- The Location for production (e.g. Western Sydney Kitchen).
- Who the order is Assigned To – you can select either a User or a Team here.
- Any Production Notes you might have.
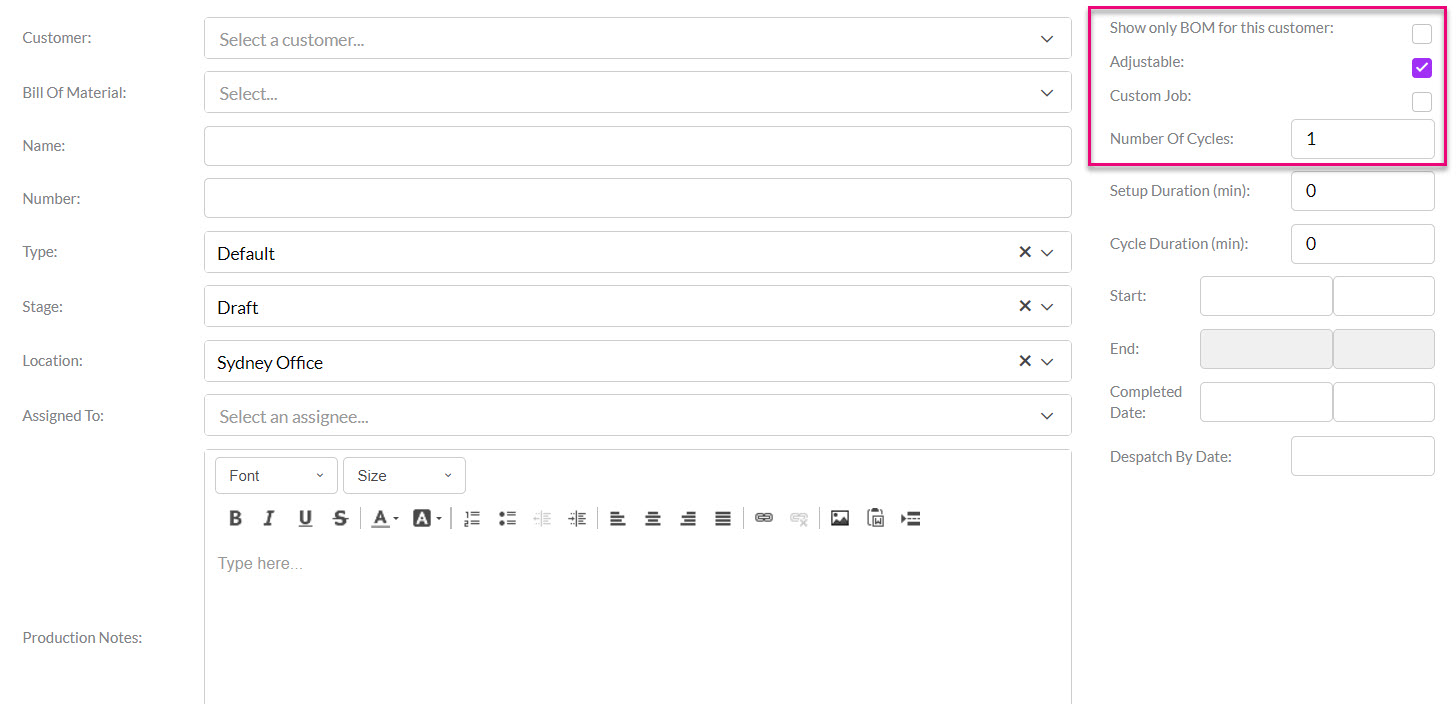
In the right-hand column, you can choose:
- The Number Of Cycles you’d like to run: if my BoM will create 20 brownies, that is 1 cycle of production. If I need 50 brownies, I will need to run 3 cycles of production i.e. 20 x 3 = 60. CRM will then automatically calculate and populate the Setup Duration and Cycle Duration fields with information from the BoM, multiplied by the number of cycles chosen.
- Whether or not the Adjustable box is ticked will depend on how the BoM you are using is configured.
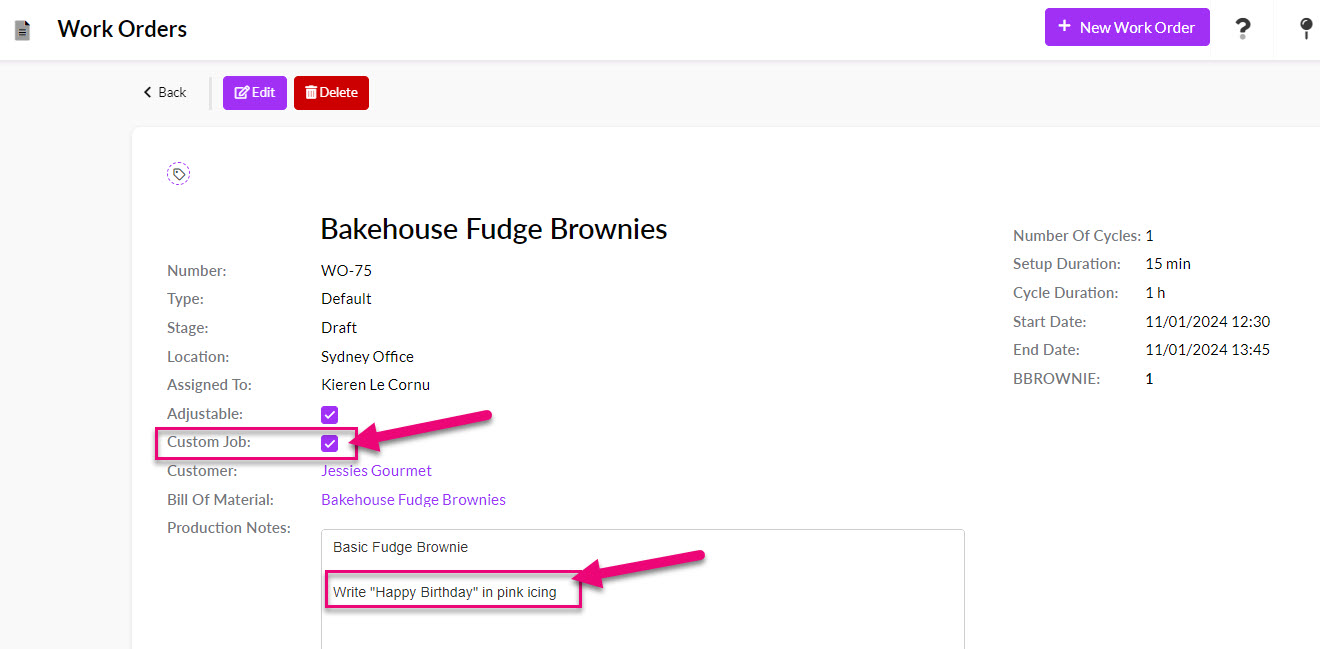
- If the Custom Job box is ticked, this means that there is a modification to the standard BoM, which is likely at the request for a customer; this information can flow through to the order from a Sales Order (see the next section for more details).
You can enter a Start date now if you’d like (you can also set this later on at any time) and the system will automatically calculate and populate the anticipated End date, which will based on the Number Of Cycles multiplied by the Setup Duration plus Cycle Duration.
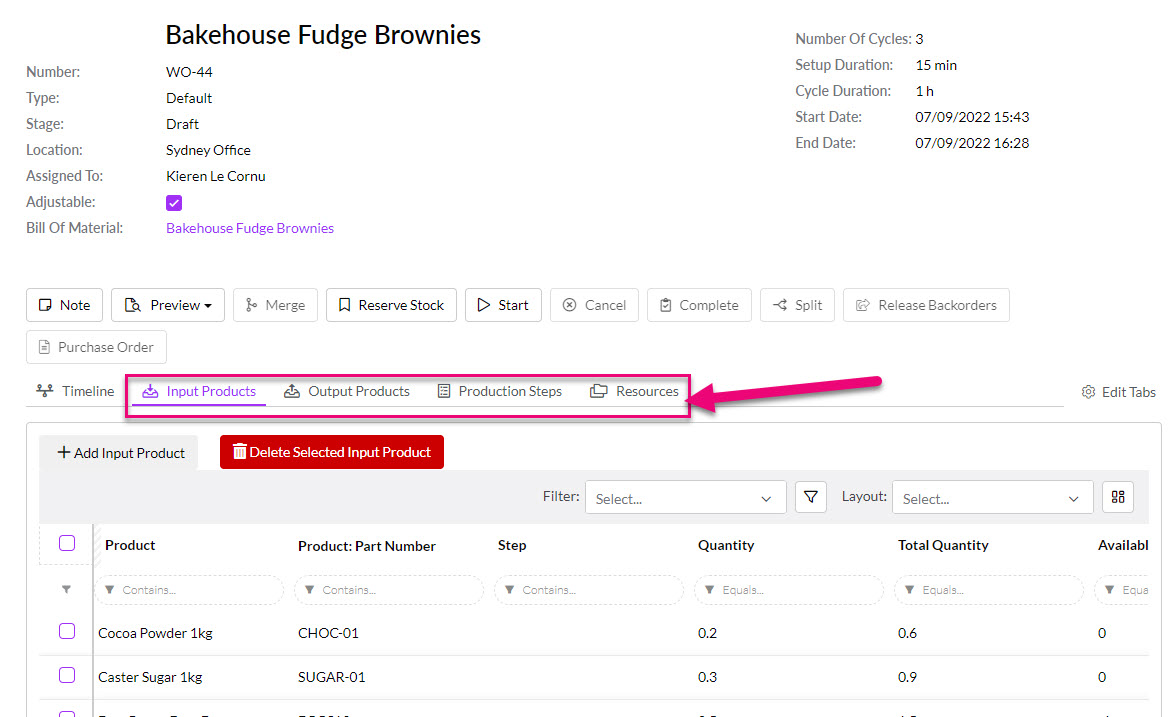
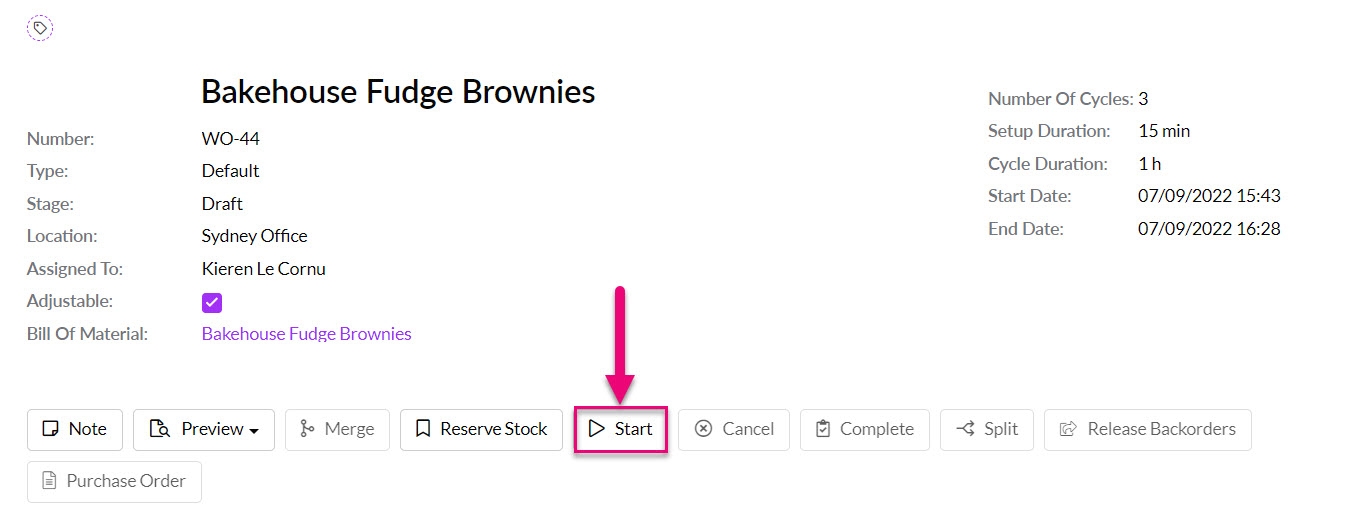
Once we hit Save and Close, we’ll see the Work Order has been populated with the production steps, input products and output products we defined in our BOM earlier.
If you are selling an item that you manufacture and the item needs to be customised, you can tick the Is Custom box when adding the item to a Quote or Sales Order and then add details about the customisation.
The item will be automatically placed on backorder.
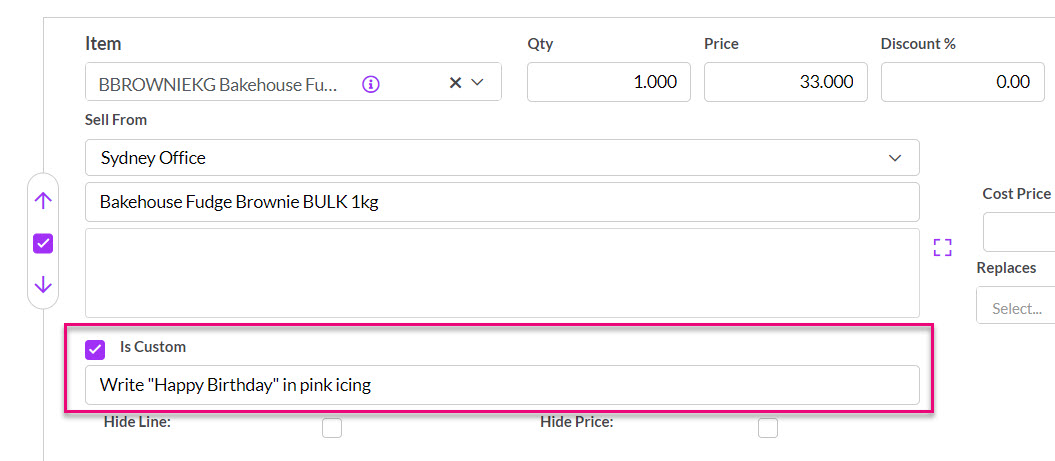
Custom item on a Sales Order
When you generate a Work Order from the Sales Order, this information will be carried over.
When you press Start on a Work Order, stock is committed.
If you’d like to do this before you start the order, you can click the Reserve Stock button to commit all stock to the order now.
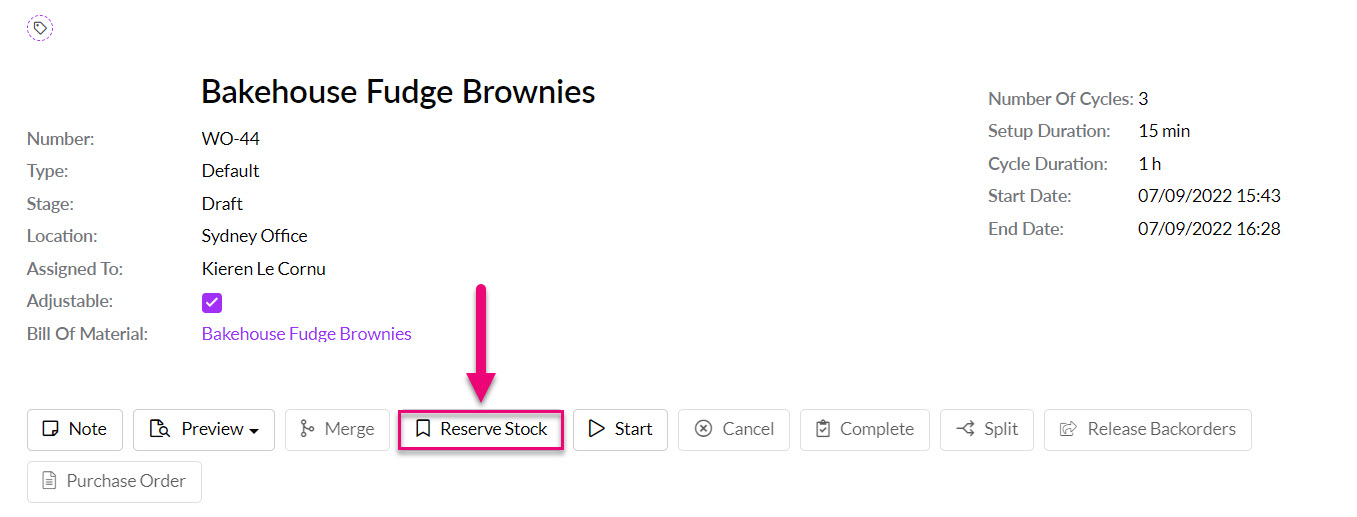
Note that you can only use this function once the Reserve Stock button has been pressed.
If you do not have enough stock to start an order, the system will automatically place stock on backorder, just as it does with sales.
You can also manually put stock on backorder.
To see what is on backorder or manually adjust the figure, click on an item and an area will display that allows you to view and edit information.

You can then create a linked Purchase Order to obtain more stock.
Once you have enough stock to proceed with an order, you need to click on the Release Backorders button to apply the stock to the Work Order.

Note that you can only use this function once the Reserve Stock button has been pressed.
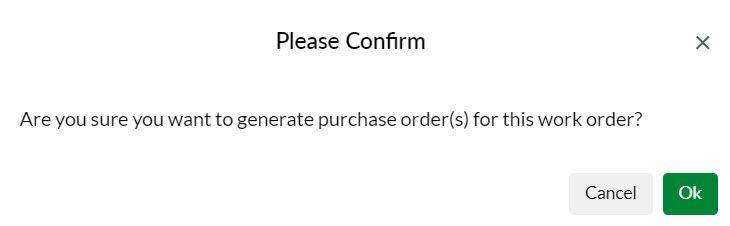
Click on the Purchase Order button to create a linked PO for your order.

Confirm you want to proceed.
Select the Supplier you want to order from.

Select the items you want to order. Note that you can opt to only display items that are on backorder on the Work Order here by selecting the box.
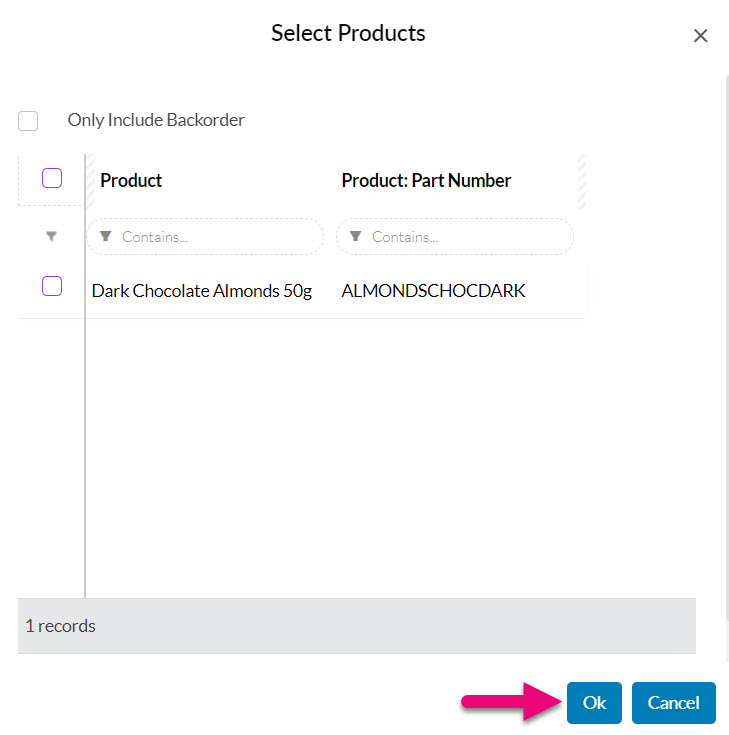
A message will display to confirm your PO has been created.

You will also now have a Purchase Order tab on your Work Order.

When goods from your PO have been receipted, you can click the Release Backorders button to apply the stock to the Work Order.
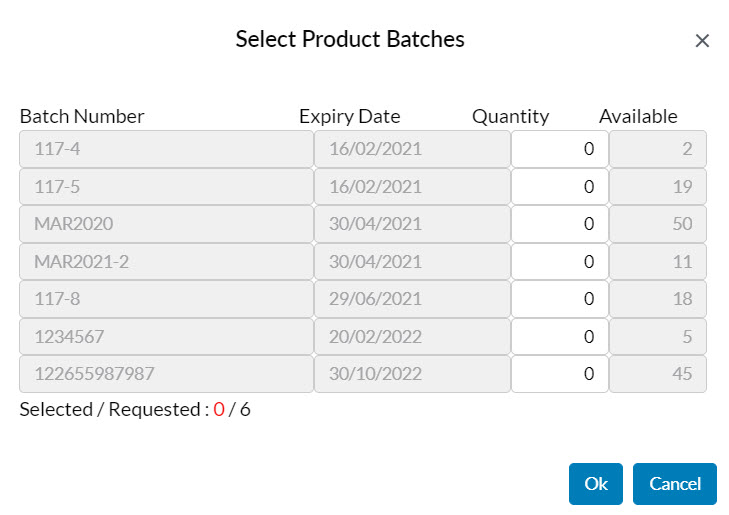
When your Bill Of Materials includes Input Products that have batch or serial number tracking enabled, you will not be able to complete the order (you will receive an alert) until batch/serial information has been entered, as shown in the following example:

You can navigate to the Input Products tab and click on the Product record to reveal the option to input batch or serial numbers.

Then select from the available batches and press OK.
If you haven’t already set up Resources for production, you can do so with these instructions.
You’ll also notice a resource tab which outlines any resources that we allocated to the production steps of the BoM. Just click on the desired line and you can assign resources.
For instance, brownies require an oven for baking so the resource group would be ‘Ovens’ and we’re able to allocate a specific oven for detailed production planning.
If you try to start an order before selecting a required Resource, an error message will display.

You can also see the total quantities of input and input products you’ll be dealing with. These are automatically calculated based on your BOM and the number of cycles.
if your BoM is Adjustable, you’ll be able to make changes to the items and quantities here, as well as adding or deleting items e.g. you may be out of stock of an item and need to substitute another.
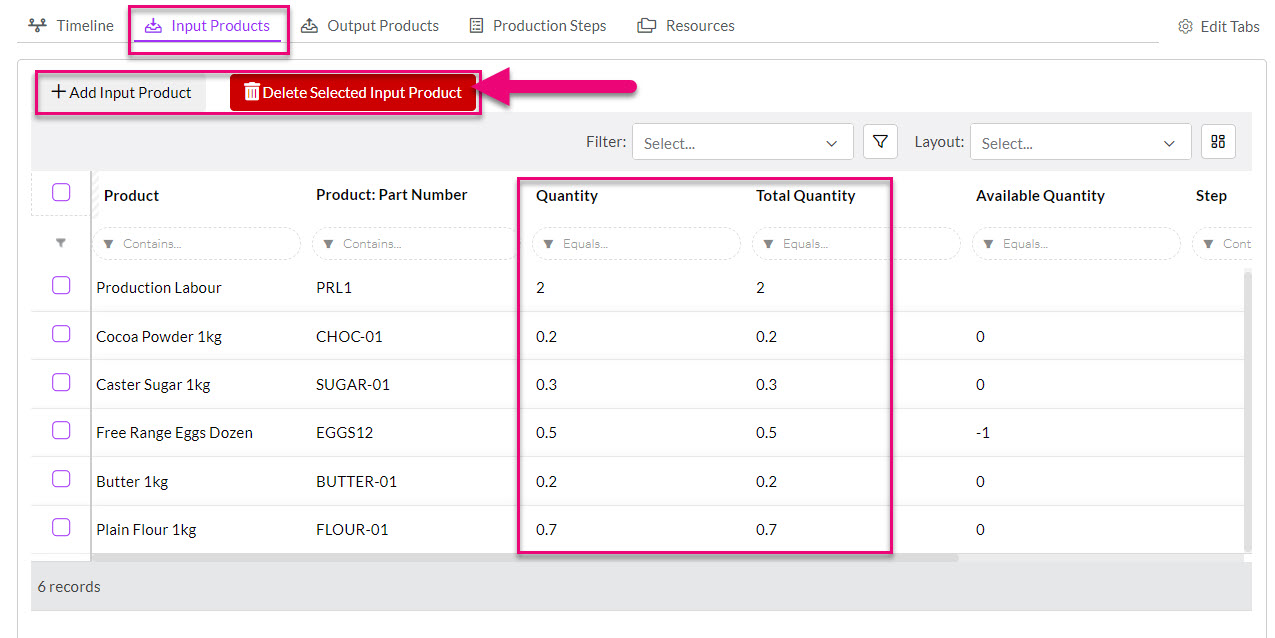
Just click on any item to reveal further details.
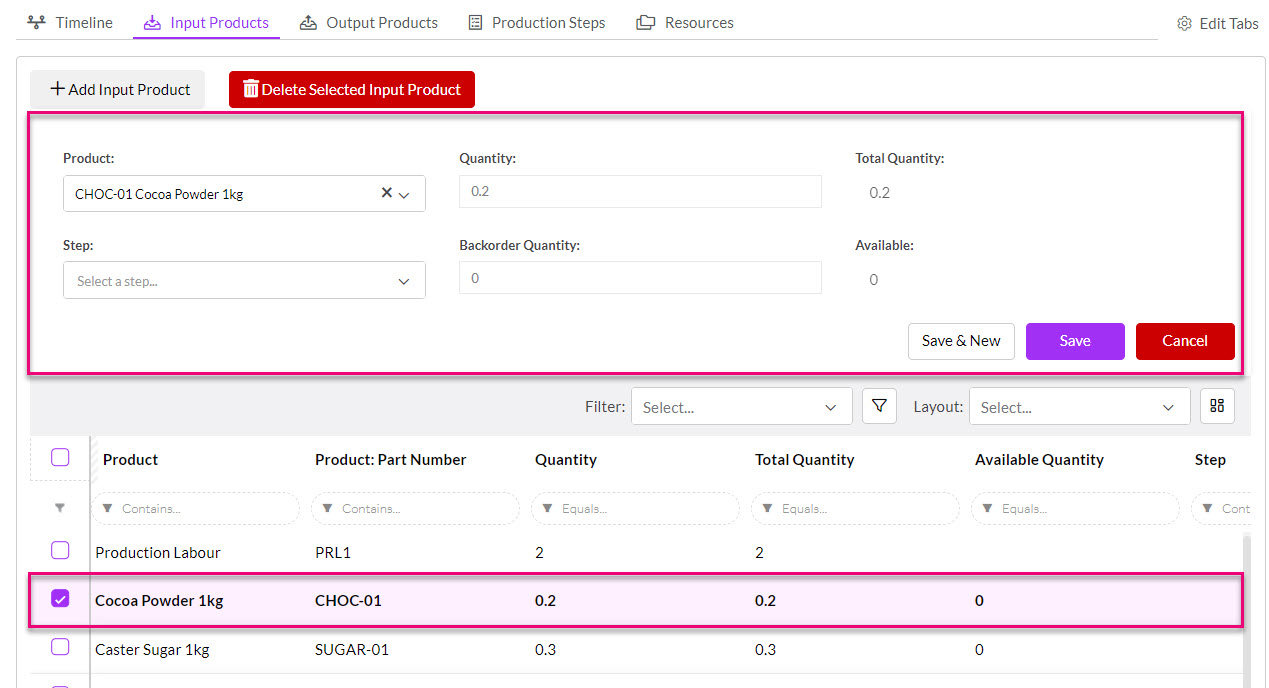
When you complete an order, your stock of input products will reduce.
You can also see the total quantities of input and output products you’ll be dealing with. These are automatically calculated based on your BOM and the number of cycles.
if your BoM is Adjustable, you’ll be able to make changes to the items and quantities here.
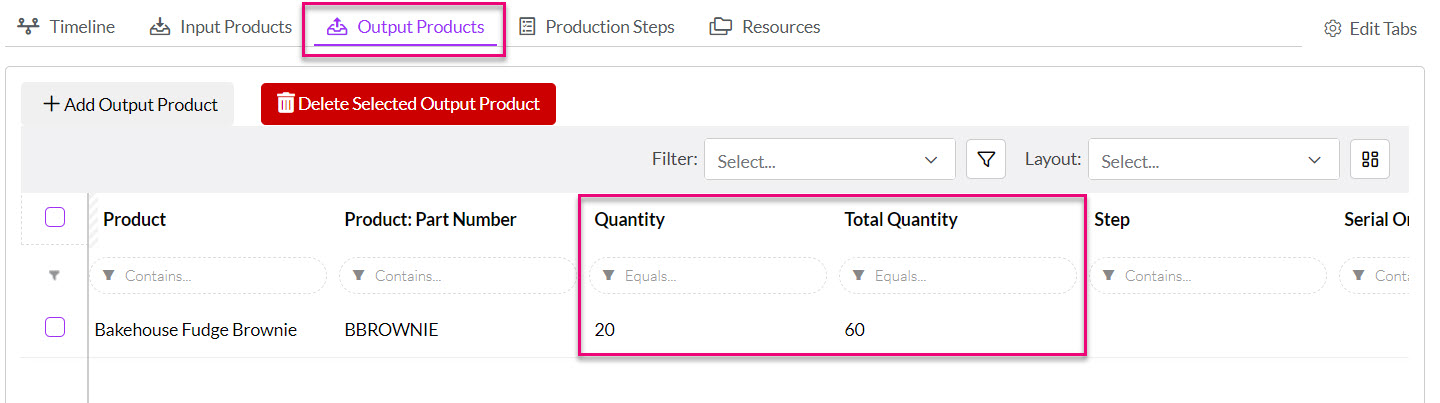
When you complete an order, your stock of output products will increase.
You can also configure your manufacturing settings to enforce the requirement for all Output Products to be stock tracked.
Hitting Start will allocate the stock to the Work Order, essentially reserving it for production.
You will then be prompted to confirm.

Note: if there in an error that prohibits production, you’ll receive a warning. This might be because there is insufficient underlying stock of raw materials, or maybe that you haven’t specified a batch number for the output product.
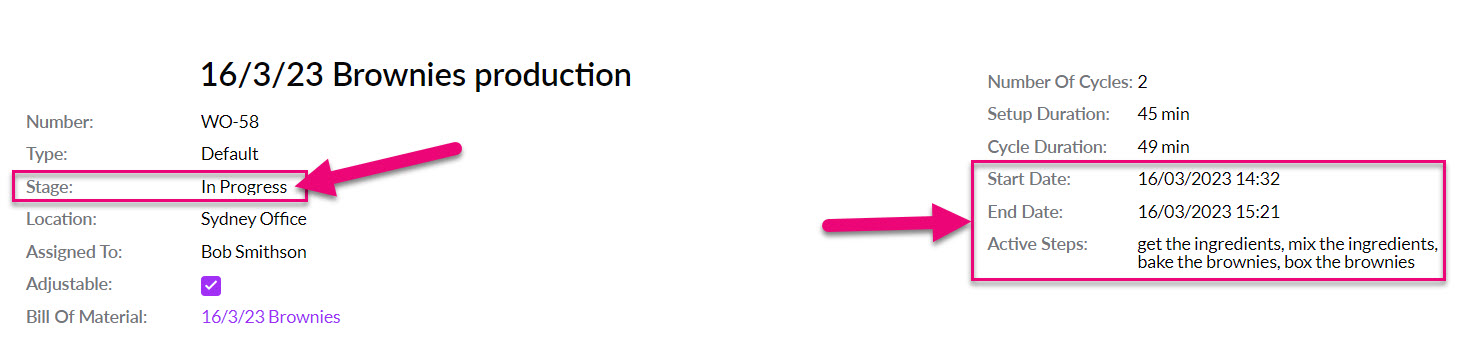
If all the set-up is correct you should now see that the Work Order is in progress. You will also see that the system has automatically populated the Start Date and End Date fields, as well as any Production Steps that are currently in progress.
Once the production process is completed, hit Complete.

This will transform the underlying stock levels of your input and output products. The raw materials stock will reduce while the output product stock will increase.
You can also cancel the order, which will also cancel the reservation of the input products for production.

You can also start Work Orders in bulk from the main screen by selecting the desired records then pressing on the Start Work Order option.

Once a Work Order has been completed, you can head back to the individual input and output Product records and view the stock.
Input Products
Go to the Stock Movements tab of any Input Product and you will see movements with a Type “Build” along with details of the Work Order and amount that was consumed (shown as a negative figure).

On the main product record, you can also see the current available stock, which will be reduced after stock has been consumed when a Work Order is completed.

Output Products
Go to the Stock Movements tab of any Input Product and you will see movements with a Type “Build” along with details of the Work Order and amount that was created.
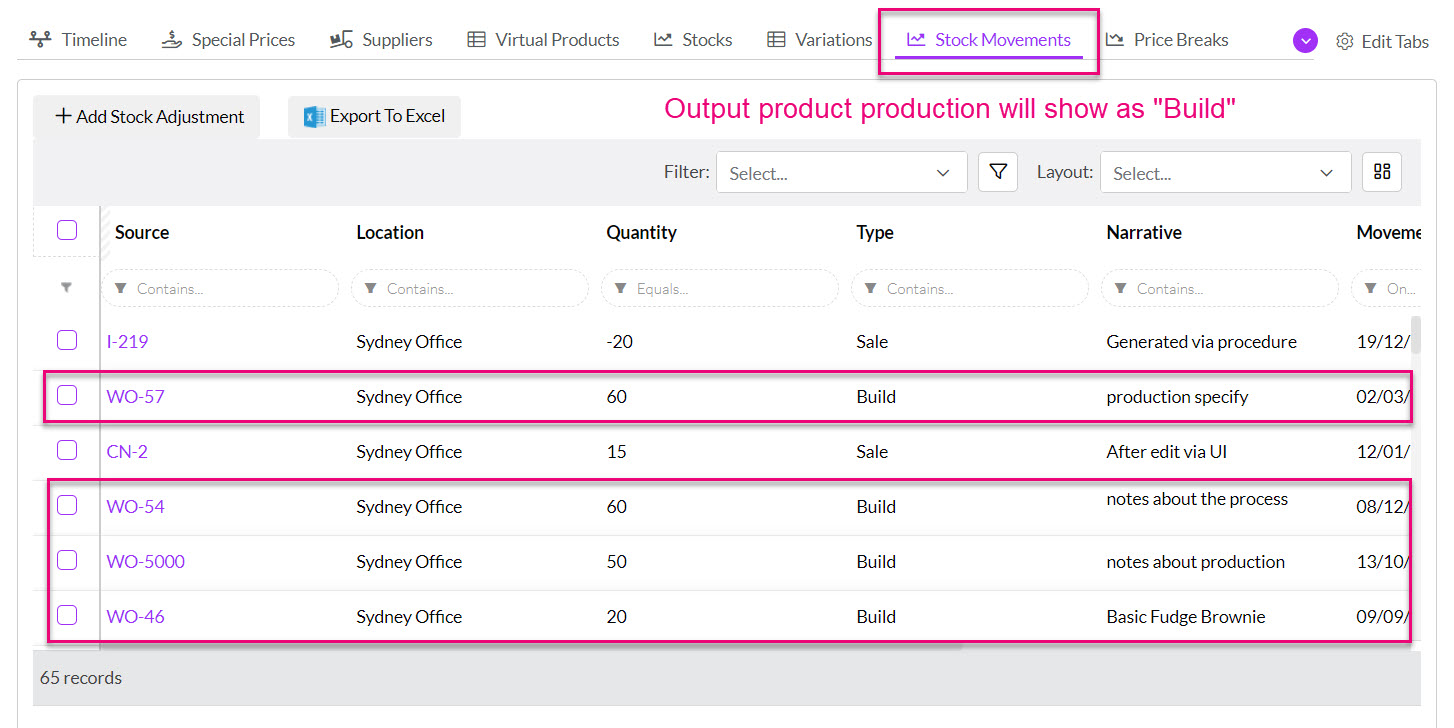
On the main product record, you can also see the current available stock, which will be increased after stock has been created when a Work Order is completed.
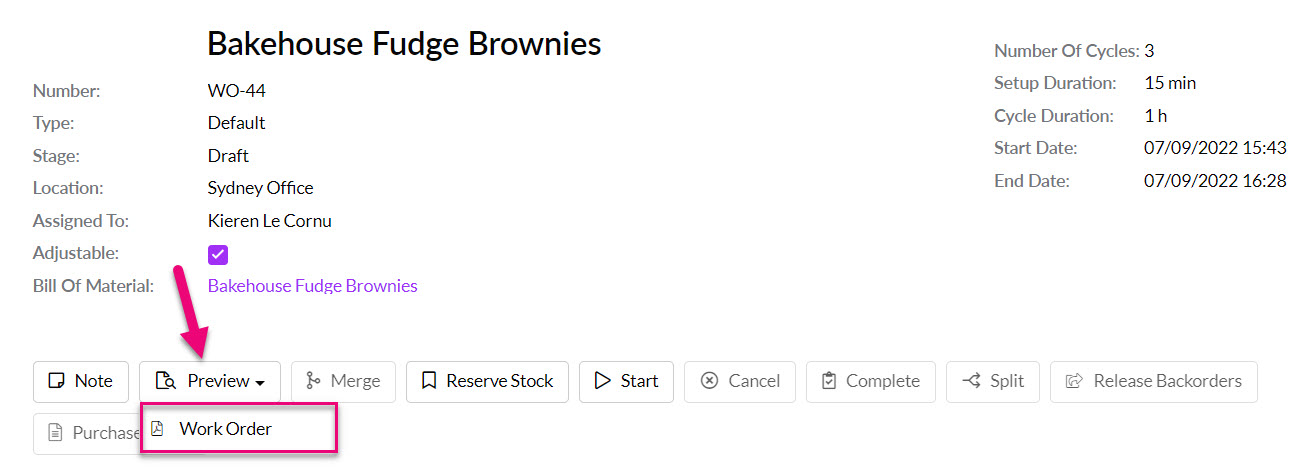
If you need to print or save a record of the work order, just hit Preview, then Work Order – and a PDF document will open for download.
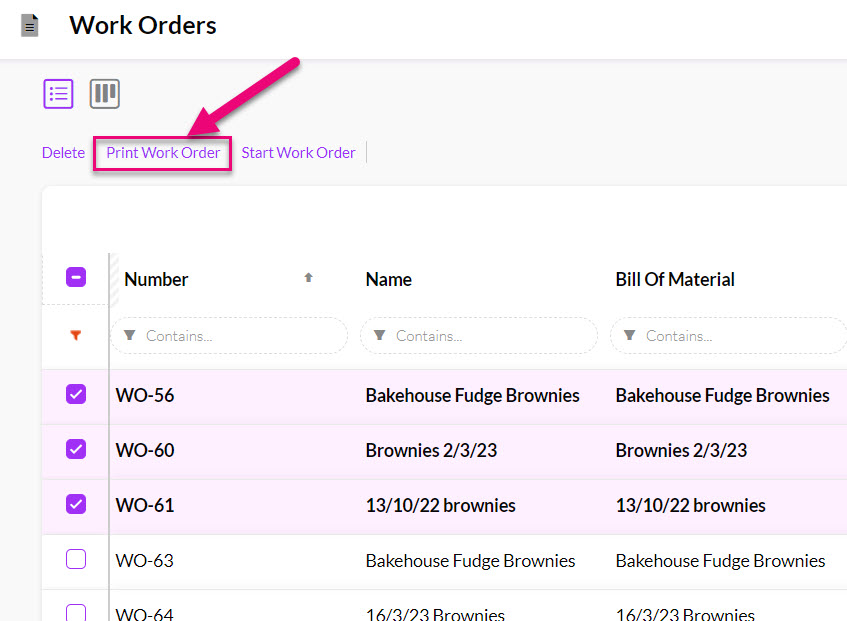
You can also print multiple Work Orders at once from the main screen by selecting the orders and then clicking on Print Work Order – this will open a new tab with PDF document containing all the selected orders.
You can also configure your manufacturing settings to automatically set orders to a Status of In Progress if they are printed.
If you have a number of orders to manufacture the same Output Product, you can merge these together in the event that:
- The order is not adjustable.
- The order is not marked as either Completed or Cancelled.
- The order is not a custom job.
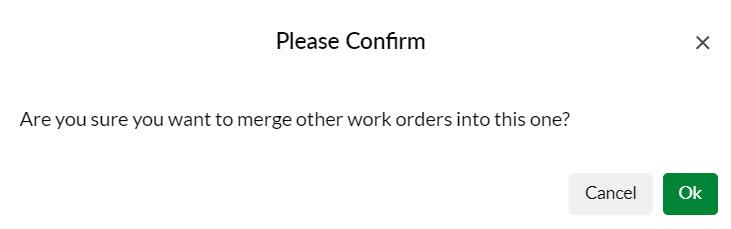
To merge orders, open an existing order and click Merge on the toolbar.

You will then need to confirm that you want to proceed.
A pop-up window will show you available orders that you can merge with – select one or more orders and click on Ok.
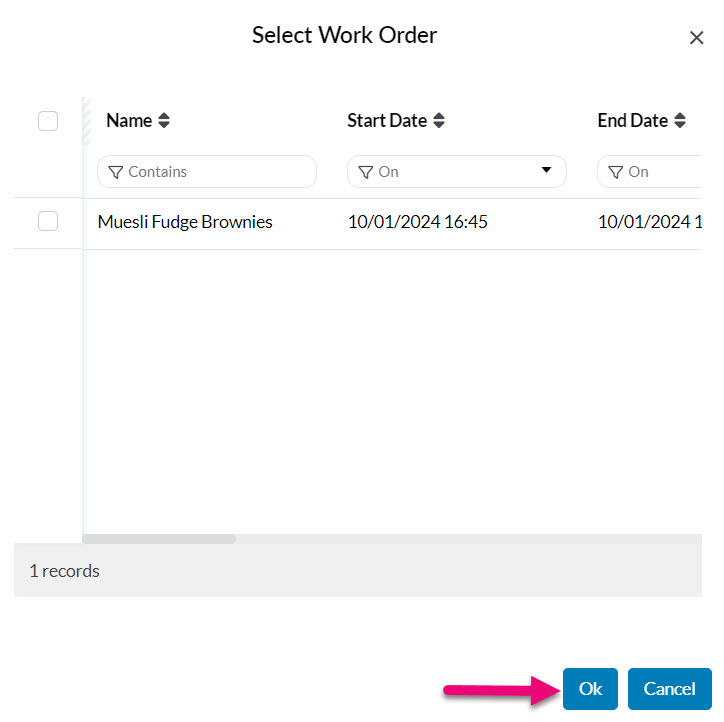
The selected orders will then be merged together. If the orders are linked to Sales Orders, these will also be consolidated into the new single Work Order.
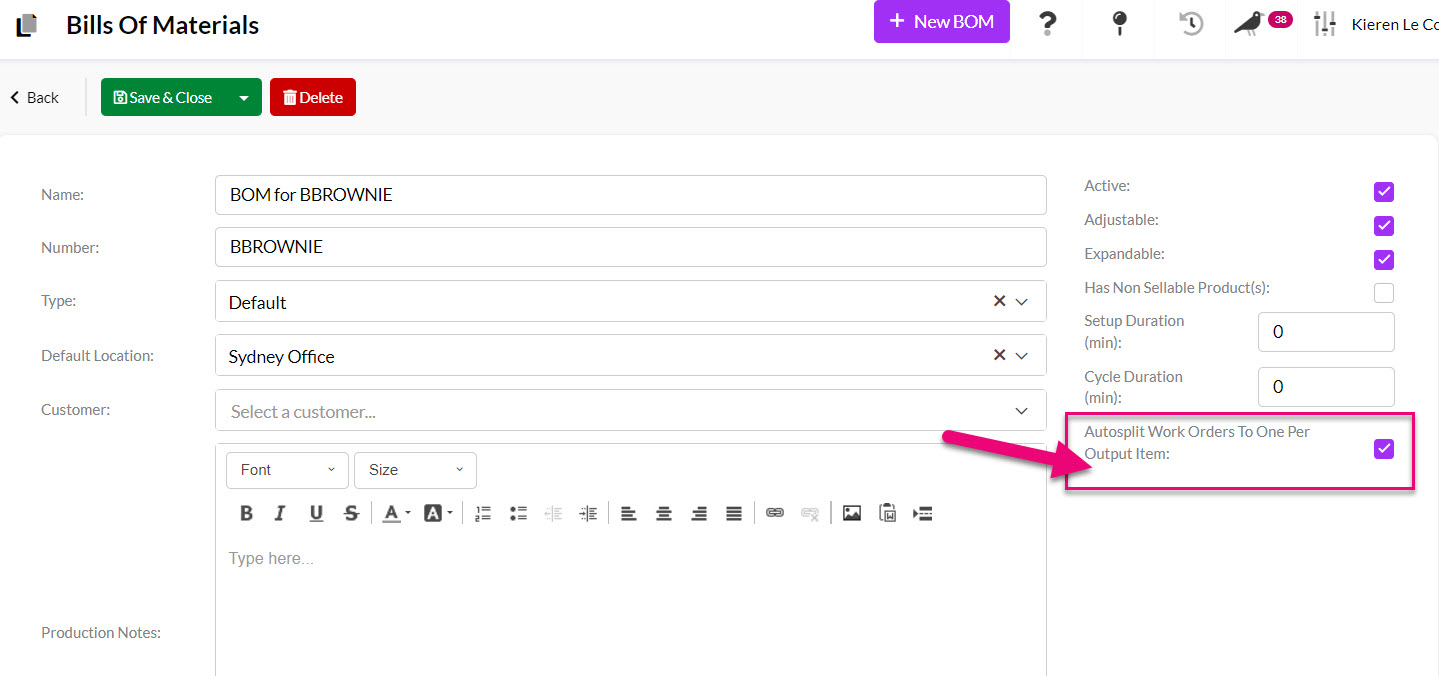
If the Autosplit box has been ticked on the BoM you are using, you’ll be able to split an order into separate orders for each output item. The conditions under which this is allowed are as follows:
- The order must have more than 1 cycle of production.
- There must be more than 1 output product.
- The Autosplit box must be ticked on the BoM you are using.
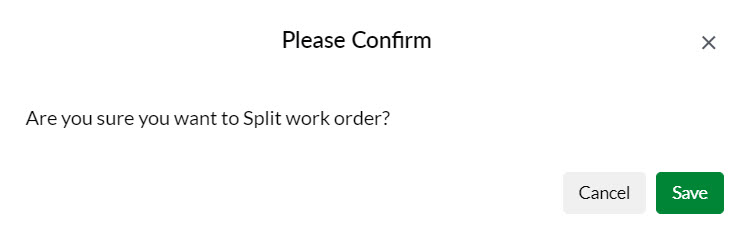
On the Work Order toolbar, click on the Split button and then confirm the choice.

In the example Work Order above, it creates 3 items using 3 cycles of production. I have pressed the Split button, and the system has then created 3 Work Orders for me which are identified by having a number reference (e.g. “.1”) after the WO number.

In the event that you need to need to cancel a Work Order that has been started in the CRM, please click on Cancel on the toolbar as shown below:
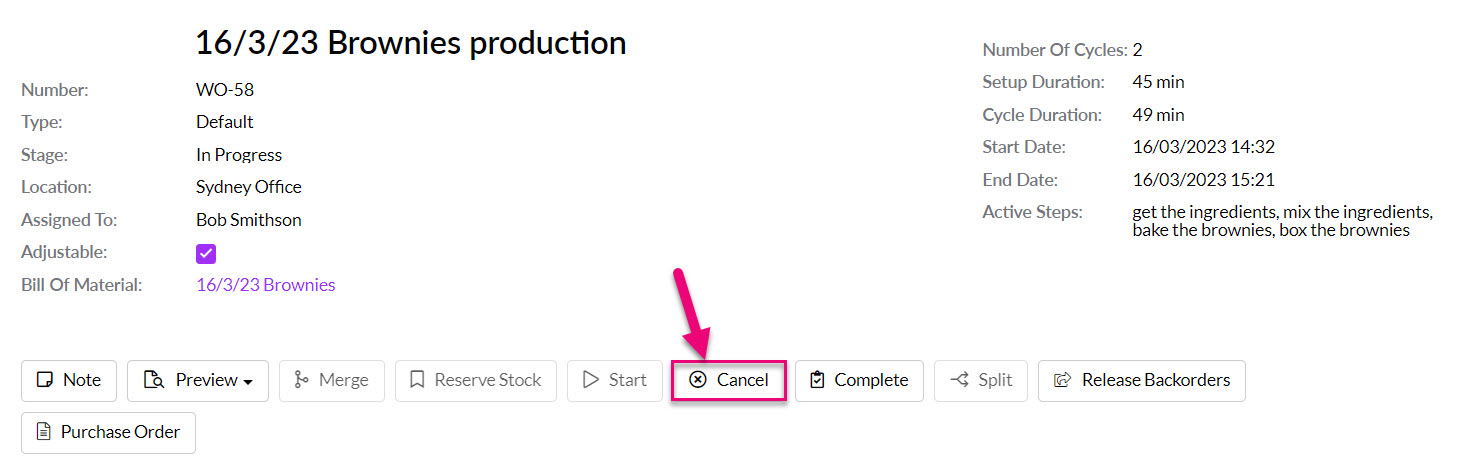
This will release the committed products back in stock.
There are a number of ways that you can work with all the manufacturing data in your system:
1. Use different views such as Kanban to visualise your data.

2. In Manufacturing > Production you can use both Calendar and List View.
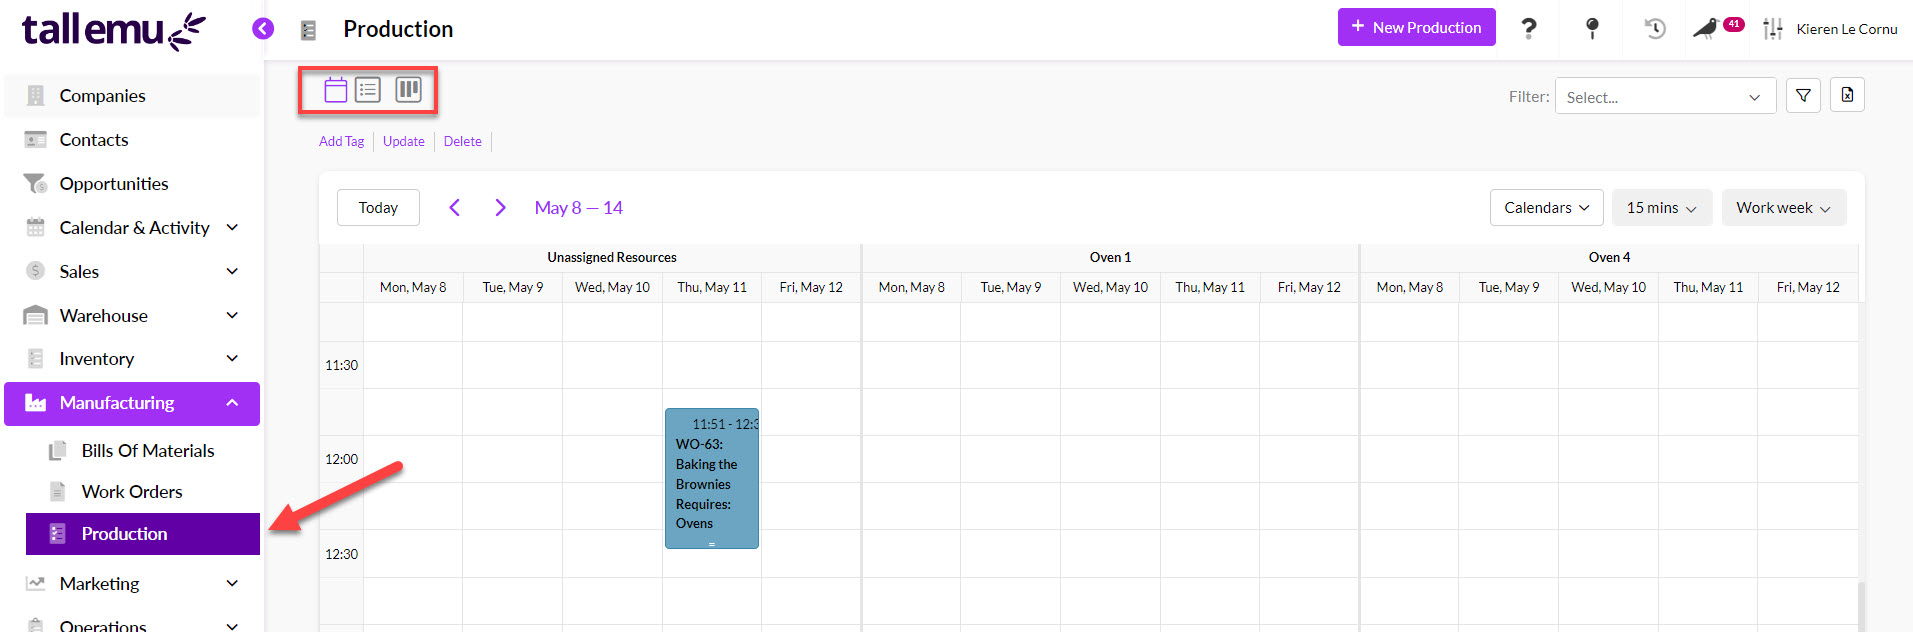

3. In List View, use Filters, Advanced Filters, Layouts etc. to segment and sort your data. See our section on Reporting for more information.