- Companies
-
- Marketing
- Create Marketing Lists
- Send Email Campaigns
- Creating a simple Web Form
- Smart Lists
- reCAPTCHA for Web Forms
- Facebook Lead Ads
- About Web Forms
- Insta-Buy Web Forms
- Add or Remove Contacts/Companies from Lists
- Creating a Marketing List from Advanced Filters
- Editing existing List members
- Exporting Marketing Lists
- Filtering by Lists
Facebook Lead Ads
Lead ads provide people with a quick and privacy-safe way to sign up to receive information from your business. You can capture leads in Facebook ads and have the information integrated with your CRM.
You will need to create an ad in Facebook first, more information can be found about the process here: https://en-gb.facebook.com/business/ads.
Navigate to Admin > Integrations > Web Marketing and scroll down the page to find Facebook Lead Ads and click on Activate.

Then click on Subscribe Facebook Page.

A new window will open, and you will need to log into Facebook with your credentials.

Then select a page from the list – this selection determines which leads will be brought into CRM.
If you need to change your list selection, you can click on the Unsubscribe Page button and then choose another list. When you have finalised your selection, click on Finish.

- Navigate to Marketing > Web Forms.
- Click on New Web Form to create a new form.
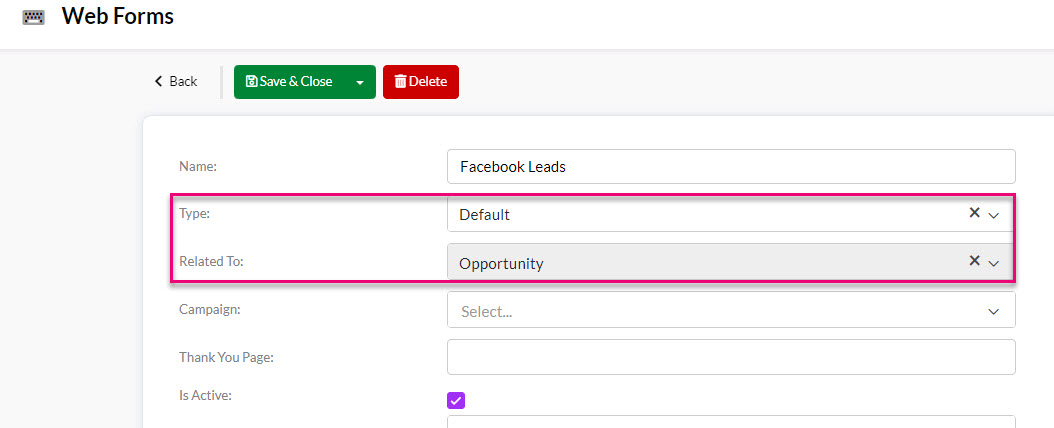
- Set the value for Type to Default and Related To Opportunity as per the following example.
You then need to add fields to the form by dragging and dropping them from the groups on the right to the middle of the form, as shown in the following example.
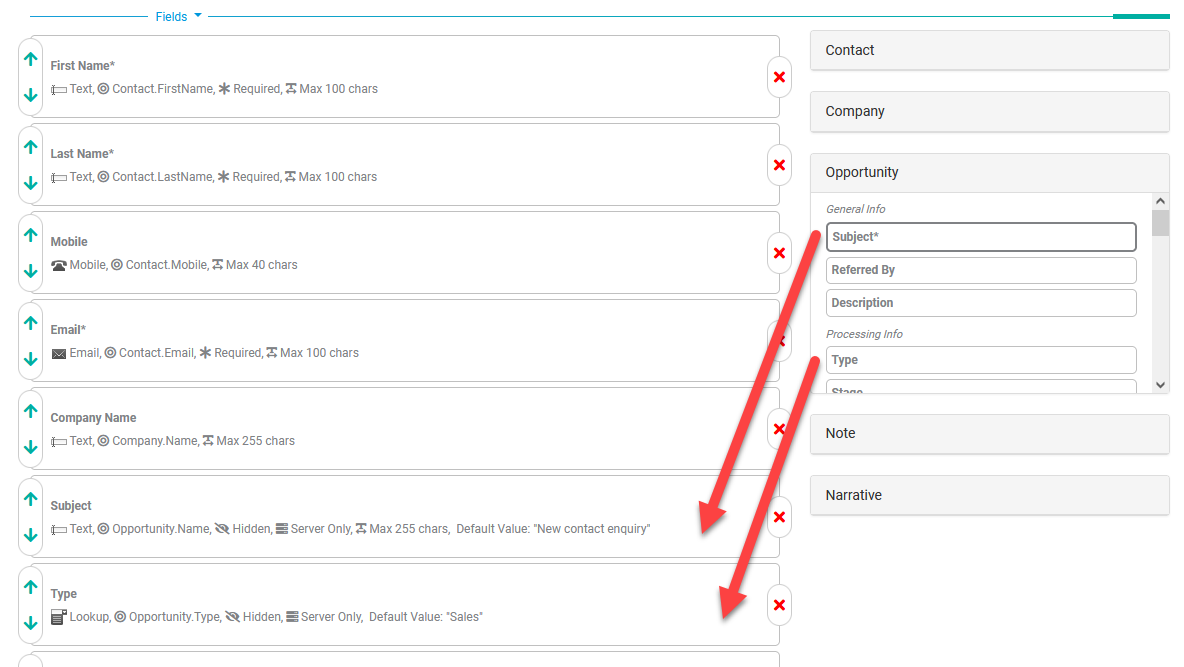
Note that you will need to add fields from AT LEAST the Contact and Opportunity sections on the right – these fields will be used to house data pulled through from Facebook.
Any required fields are marked with an asterisk (*), as per the following example showing the Opportunity Subject as required.

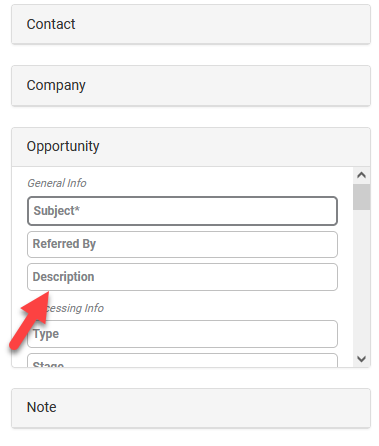
In addition to the required by system fields, you should add the Opportunity Description field as this field will be used to contain all the values from the Facebook form fields.
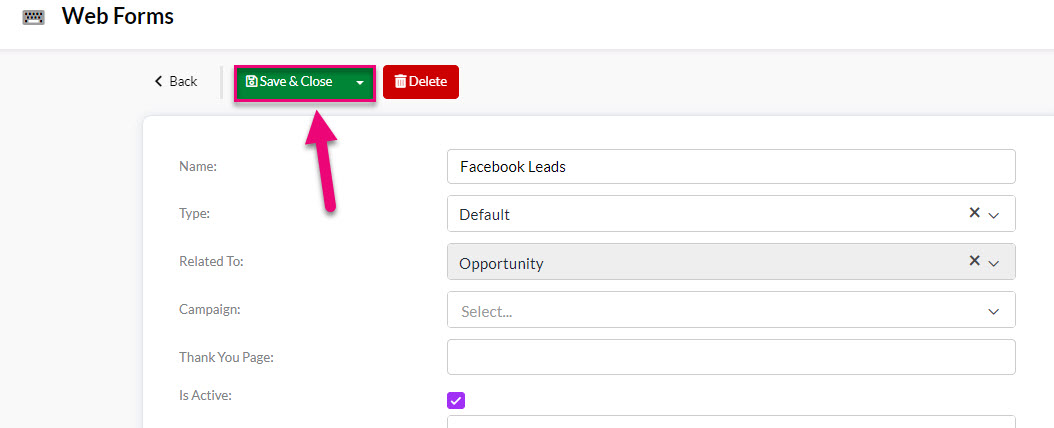
All other settings and configuration actions don’t differ from the standard Web Form creation process. After all the required fields will be configured click on the Save & Close button.
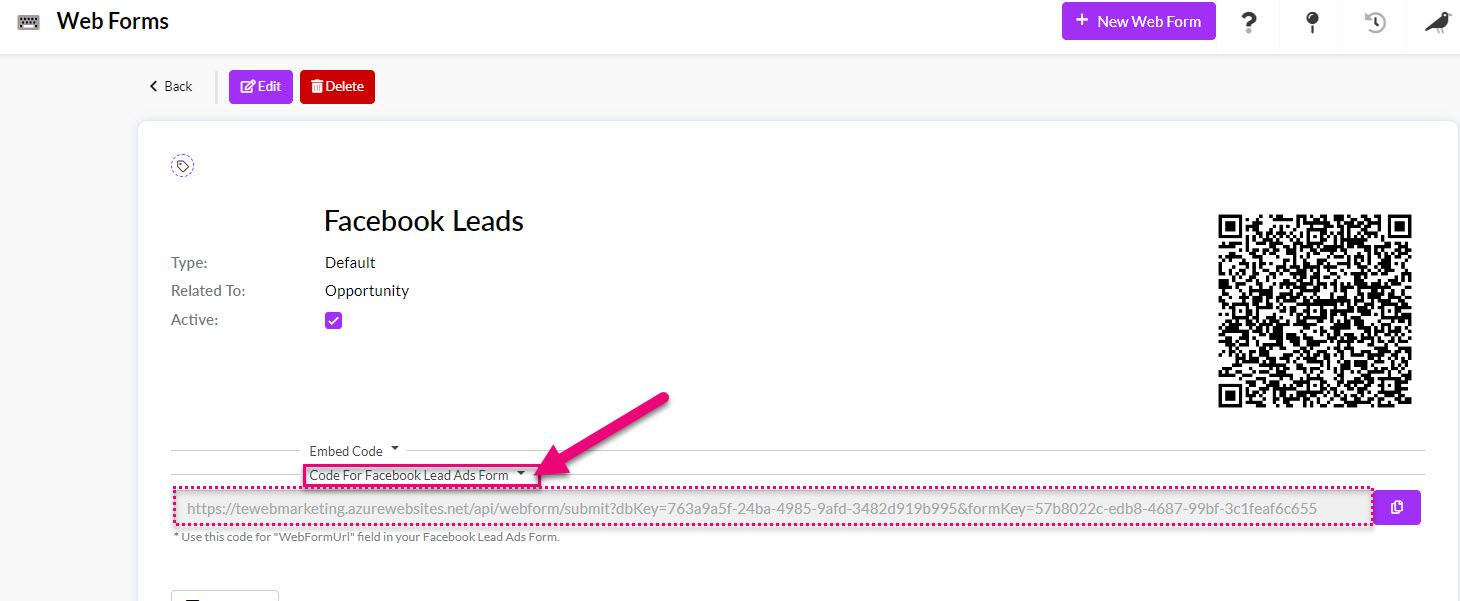
Once you have saved your Web Form, click on Code For Facebook Lead Ads Form to reveal the code and press the Copy button.
You will need to paste this code in when you are configuring your Facebook form in the next step.
Open “Facebook Business Suite”.

In “More Tools” click on “Instant Forms”.

-
Select a target page at the top of the “Instant Forms” page.
-
Click on “Create Form” button and create new form.

Fill out all the needed fields in the “Content” tab.

When the form content is complete, go to the “Settings” tab.

- In the “Field Names” section you should change the default names of fields by names from the CRM Web Form you previously created.
- In this step, you make mapping for the fields in Facebook and CRM forms.
- The fields: “full_name”, “first_name”, “last_name”, “email” have programmatically mapped but could be renamed into the “CRM” manner too, like “Contact.FirstName” etc.


In the “Tracking Parameters” section you MUST add the “WebFormUrl” parameter. The value for this is what you copied in the CRM Web Form earlier.

After all the configuration is complete – click on the “Publish” button.
-
Open link: https://developers.facebook.com/tools/lead-ads-testing
-
Login into the Facebook if needed.
-
Select the Facebook page which was subscribed previously in CRM when you set up the integration.
-
Select the Facebook form that you created previously.

-
Click on the “Create lead” button.
-
After this you can track the status by click on “Track status” button.

After this you may check the received data in CRM in the Web Form you previously created. Just open the form and go to the Completed Forms tab.

You should also be able to see the new Opportunity that has been created.

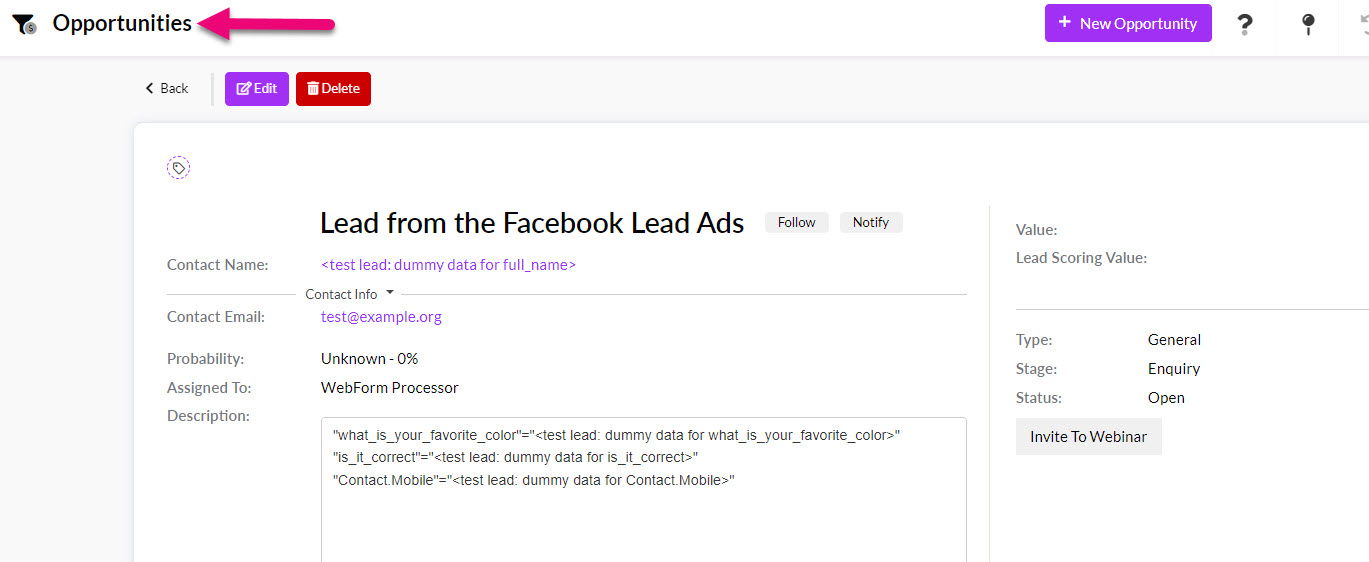
Then go to Contacts to see the new record that has been created (if the Contact did not already exist).

Note that the Facebook “Lead Ads Testing Tool” allows creating only one test lead. So, if you need to produce a test more than once, you need to delete the test lead first by click on the “Delete lead” button.
