- Companies
-
- Sales
- Multi-currency for Sales
- Invoicing items that aren’t in stock
- Drop shipping workaround
- Managing your Quote pipeline
- Direct Debits
- Sending Statements
- Backorder Invoices
- Progressive revenue
- Subscriptions
- Bulk send Invoices
- Credit Notes
- Taking a Deposit
- Creating Invoices
- Create Freight Quotes
- Getting Started with Web Quotes
- Sales Orders
- Card Payments
- Payments
- Repeating Invoice Placeholders
- Creating Repeating Invoices
- Online Invoice Templates
- Online Sales Order Templates
- Set Up Web Quote Templates
- Quotes
- Quotes
Set Up Web Quote Templates
If your business sells product, you’ll no doubt want to start reaping the benefits of our Online Quoting module, which can be set up in a few simple steps.
This guide will show you how to set up an Item-Based Web Quote.
- Just create a Quote Template that suits you and start sending beautifully branded quotes that are the perfect complement to your product or service offerings – you can have item-based and proposal-based templates.
- You can set up as many Quote Templates as you wish, each with different colours, logos or purposes.
- You can create multiple Email and SMS Templates to send your quotes to customers and attach different delivery templates to different quote templates.
Also see our help on:
- Creating Web Quote Templates (proposal-based)
- Creating Quotes
- Quote Form Templates
- Taking credit card payments
- Online Web Quote Q&A
- Managing your Quote pipeline
- Head to the main menu and scroll down to the Admin > Settings > Quoting And Selling > Quote Web Templates.

- Then click the New Web Quote Layout button in the top right corner.

The first section to complete will be the basic quote details:
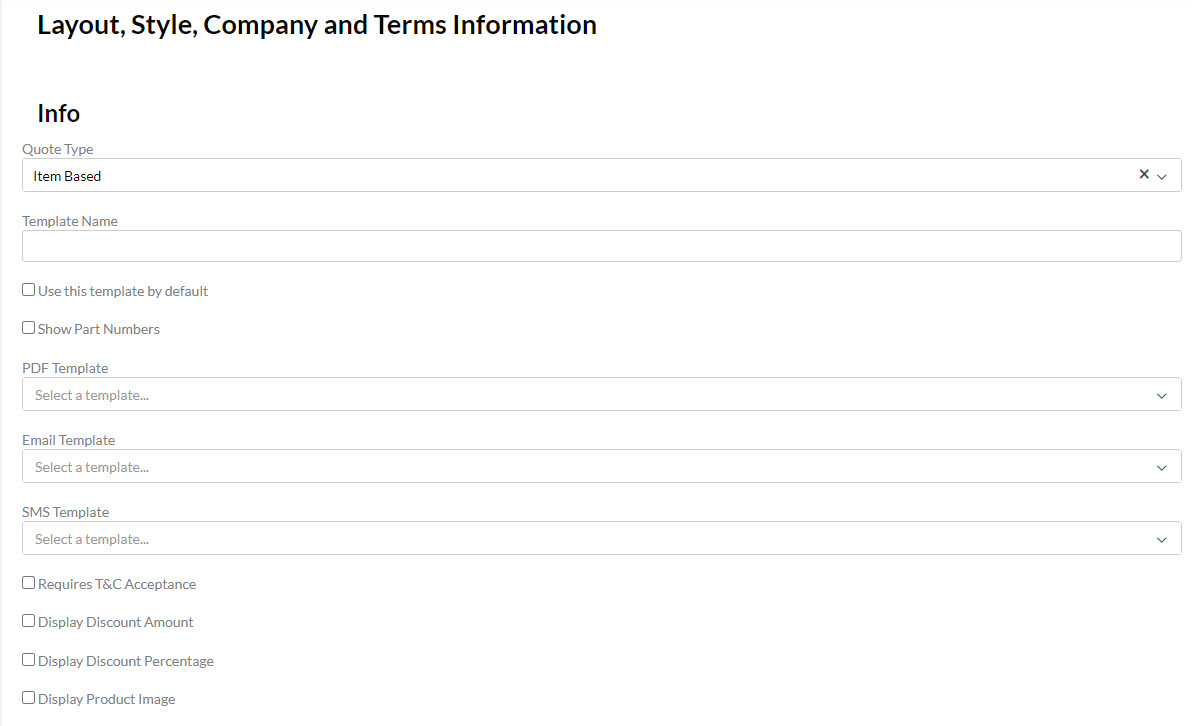
- Template name e.g. Standard customer quote.
- Use this template by default – choose whether to set this new template as the default – if no other template is selected when you are creating a customer quote, this one will be used.
- Show Part Numbers – selecting this box means that your product part numbers will be visible to the customer.
- PDF Template – this is where you can select a previously added PDF template that will pair with your web version.
- Email Template – this is where you select a previously created email template that will be used to deliver this quote to your customers – you can have different email templates for different quotes so you can customise the delivery.
- SMS Template – this is where you would select a previously created SMS template that will be used to deliver this quote to your customers – you can have different SMS templates for different quotes so you can customise the delivery.
- Requires T&C Acceptance – if you tick this box, a link to your terms and conditions will be added to the quote under the customer acceptance box, as per the following example. You’ll have the opportunity shortly to input your organisation’s T&C.

Example of T&C link added to a customer quote
- Display Discount Amount – selecting this box means that a dollar $ amount discount will display for the customer.
- Display Discount Percentage – selecting this box means that a percentage % amount discount will display for the customer.
- Display Product Image – if you have images for your Products in CRM, you can tick this box to have them display in your web version.
If you scroll down, the next section allows you to customise the look and feel of your quote:
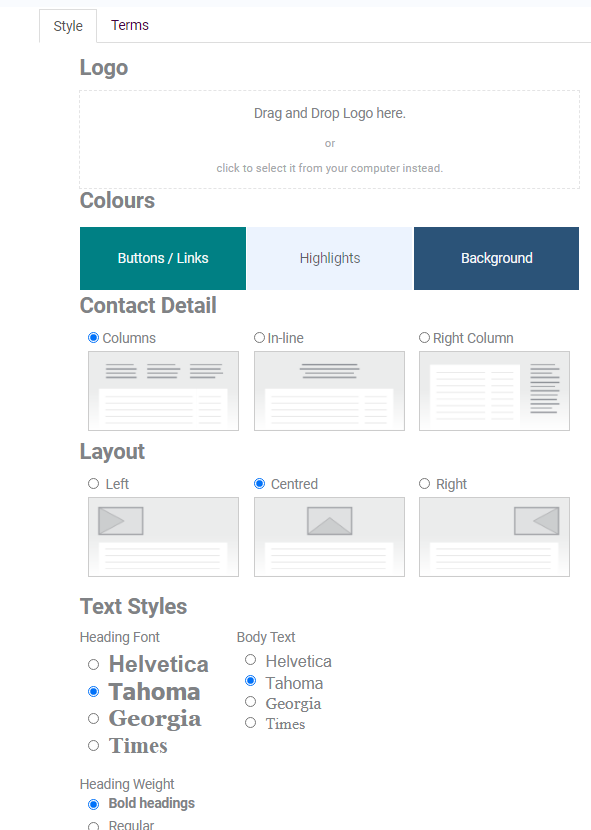
Step 2 – customise the look and feel of your quote template
- Logo – drag and drop or upload a logo file from your computer.
- Colours – click on one of the boxes to bring up a palette to customise each of the quote features.

Choose a colour for each of the quote features.
- Contact detail – choose how to display and orient contact details on the quote (your organisation and the customer’s).
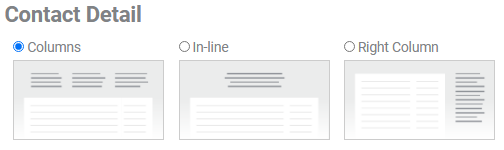
Display/orientation options for contact details
- Layout – select how the quote content will be aligned on the page.

Content alignment options
- Text styles – choose a style for headings and body text on the quote from the options.

Choices are shown as they will appear on the quote
- Heading weight – choose a heading weight from the options.

- Select the Terms tab to enter your details.

- Show Terms and Conditions – you can choose to either display a pop-up box on the quote when a link to the Terms and Conditions is clicked on or have the full T&C appear at the bottom of the quote. Following is an example of both options.

T&C section at the bottom of the quote page

T&C section at the bottom of the quote page
- Make sure you click Save & Close to add the quote to the system.
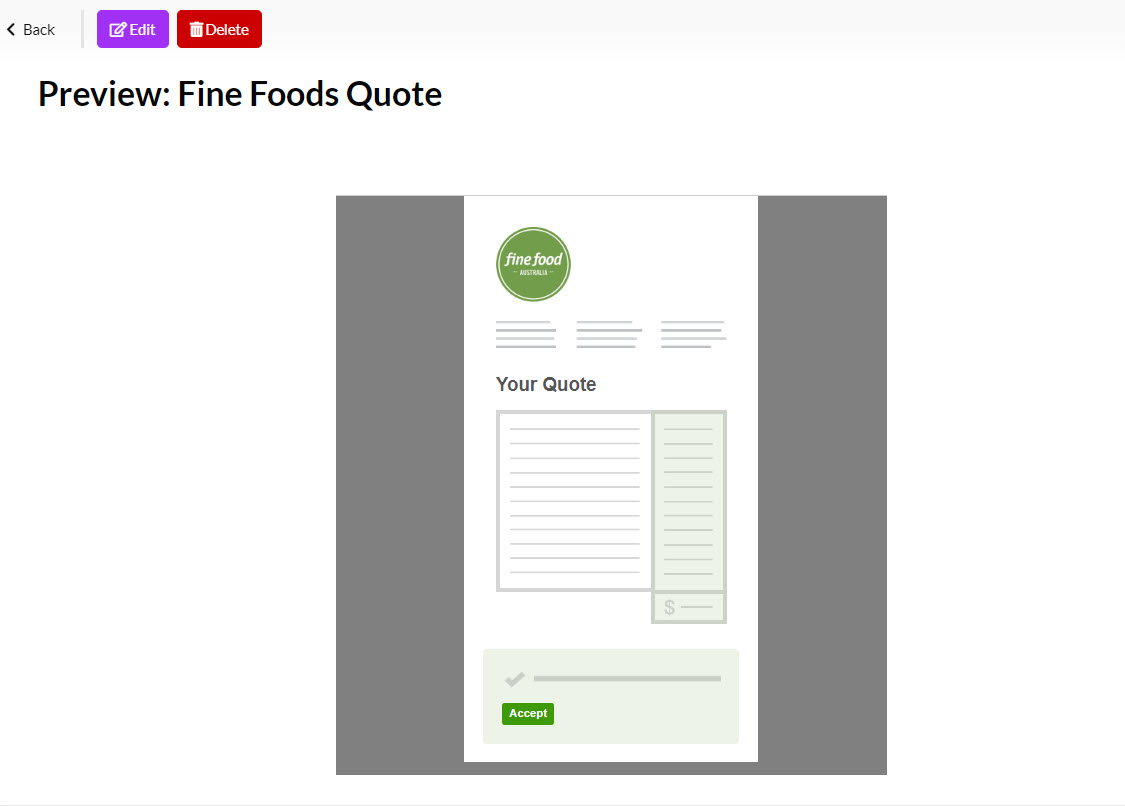
- Once you’ve saved the quote template, you’ll see a preview of your design.
- Make sure you click Save & Close to add the quote to the system.
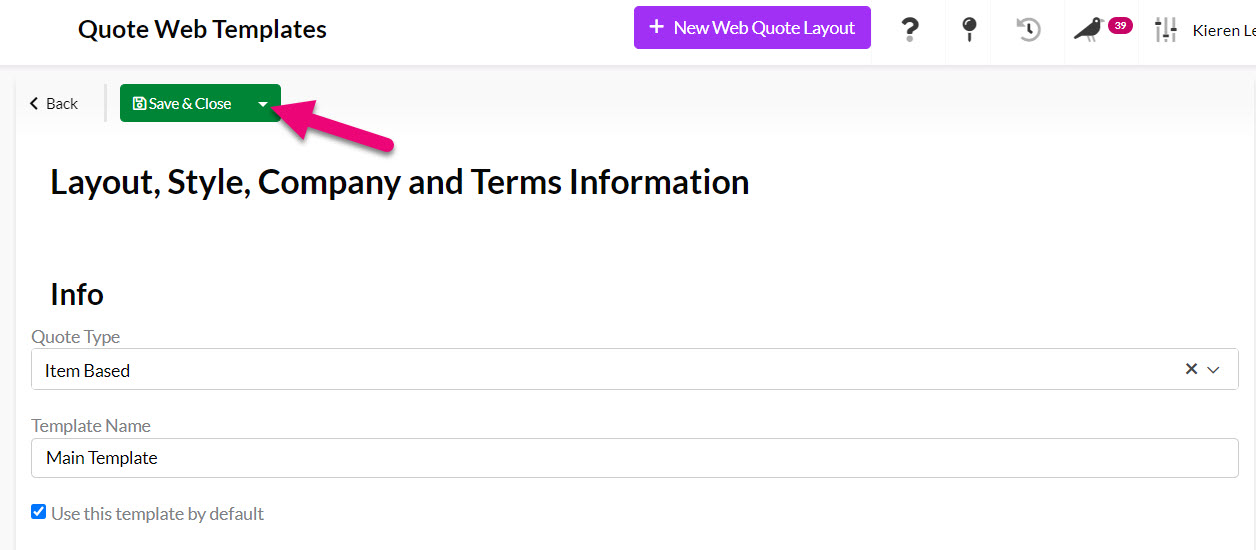
- Once you’ve saved the quote template, you’ll see a preview of your design. You can click on Edit if you’d like to make further changes.
When working with Quotes, you will be able to select from web templates you have created by making a selection in the Web Template box.
If you have selected a web template to act as your default, it will automatically be populated in this box for all new Quotes.

Once you’ve saved the record, you can click on the Preview As Customer button at the top to open the web version in a new tab.

You can also use the Copy URL button to copy the unique online quote URL to your clipboard so that you can paste it into an email or SMS.

You can also select whether or not a customer can accept your Quote online – just click on the Can Accept Online button when you are creating the Quote if you want to enable online acceptance.

You can also enable this option for all your Quotes at a system-level from Admin > General > Quote Settings so that this box is always ticked by default.
The customer can then view the web version and click to accept the Quote.

If you have integrated your CRM with one of the Payment Gateway options, customers will be taken to a payment screen once they have accepted their web Quote.
See our guide on taking credit card payments for more information.
