- Companies
-
- Admin
- Account Options
- Pricing settings
- PDF and Email Template system preferences
- Locations
- Brand Customisation
- Product Categories
- Product Groups
- Enable Time Billing
- Customising Assets
- Custom Fields
- Delivery Resources
- Delivery Options
- Reporting Preferences
- Sales & purchase settings
- Calendar Settings
- Messaging settings
- Repeated Invoice frequency
- Company Settings
- Credit Settings
- Sales Regions
- Asset Settings
- Ticket settings
- Relationships
- Proposal-based Quotes
- Customising Training
- Prefix/Sequences settings (Record Numbering)
- Creating SMS Templates
- Invoice Settings
- Creating Email Templates
- Creating Letter Templates
- Using Letter Templates
- Using SMS Templates
- Using Email Templates
- Setting up Teams
- System security
- Users
- Activate a new User account
- Log into a User account
- Managing Connections
- Calculating Landed Costs
- Resources
- Payment Methods
- Payment Terms
- Couriers
- PDF Templates
- Service Reports
- Quote Form Templates
- System Quote Preferences
- Credit Control
- Setting up Teams
- Regional Settings
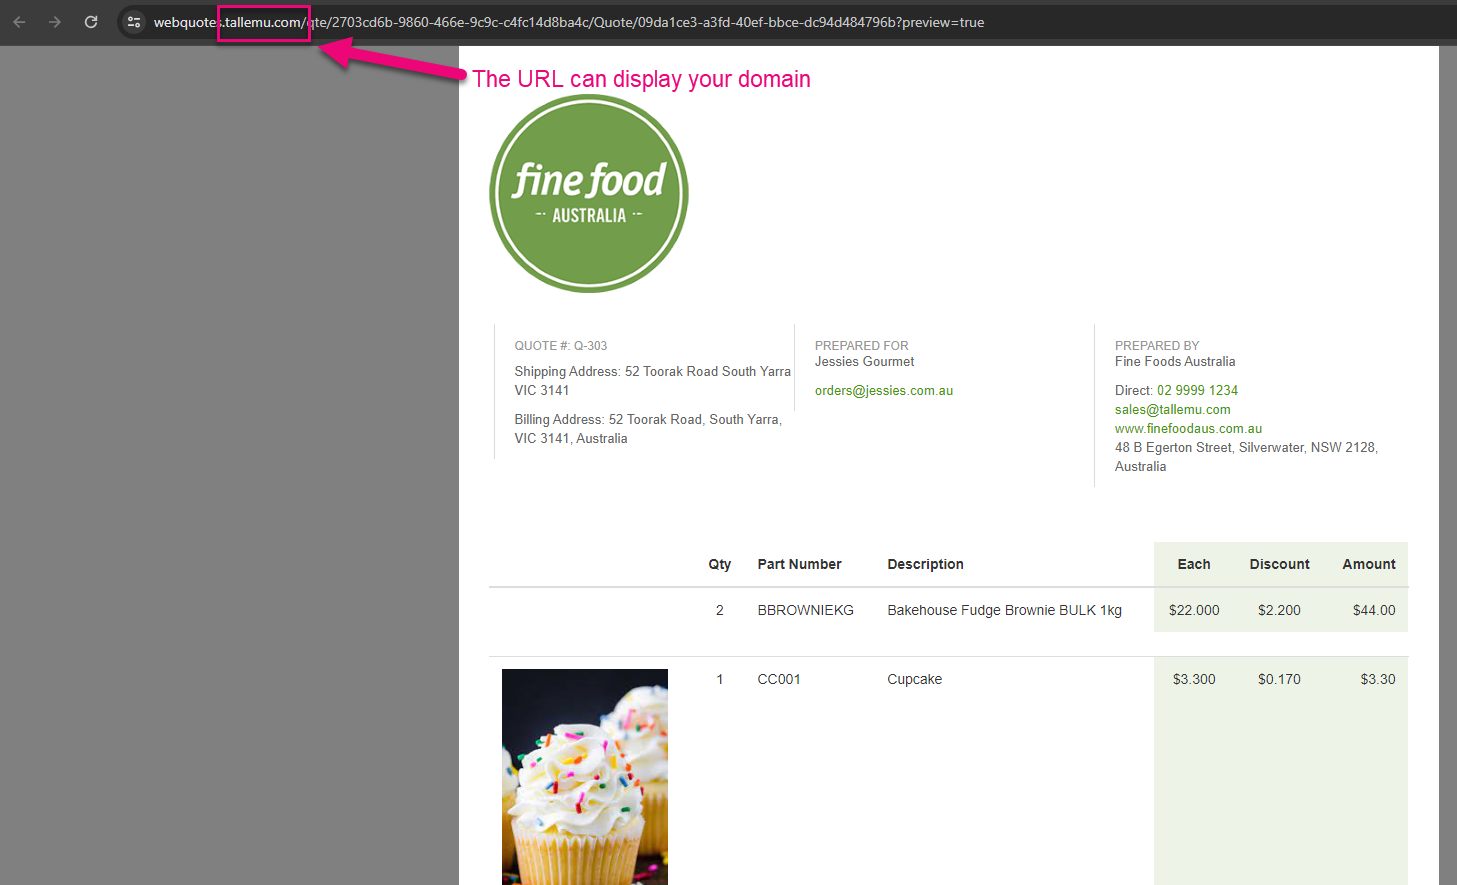
Brand Customisation
You are able to customise the URL that shows in several areas of CRM to use your own domain e.g. Web Quotes, Customer Portal etc.
See also:
You will require assistance from your IT Support company to successfully complete these settings. This is not something our Helpdesk team can help you with as they will not have the necessary access to your systems to make the changes and are not trained to do so.
Add your domain to CRM
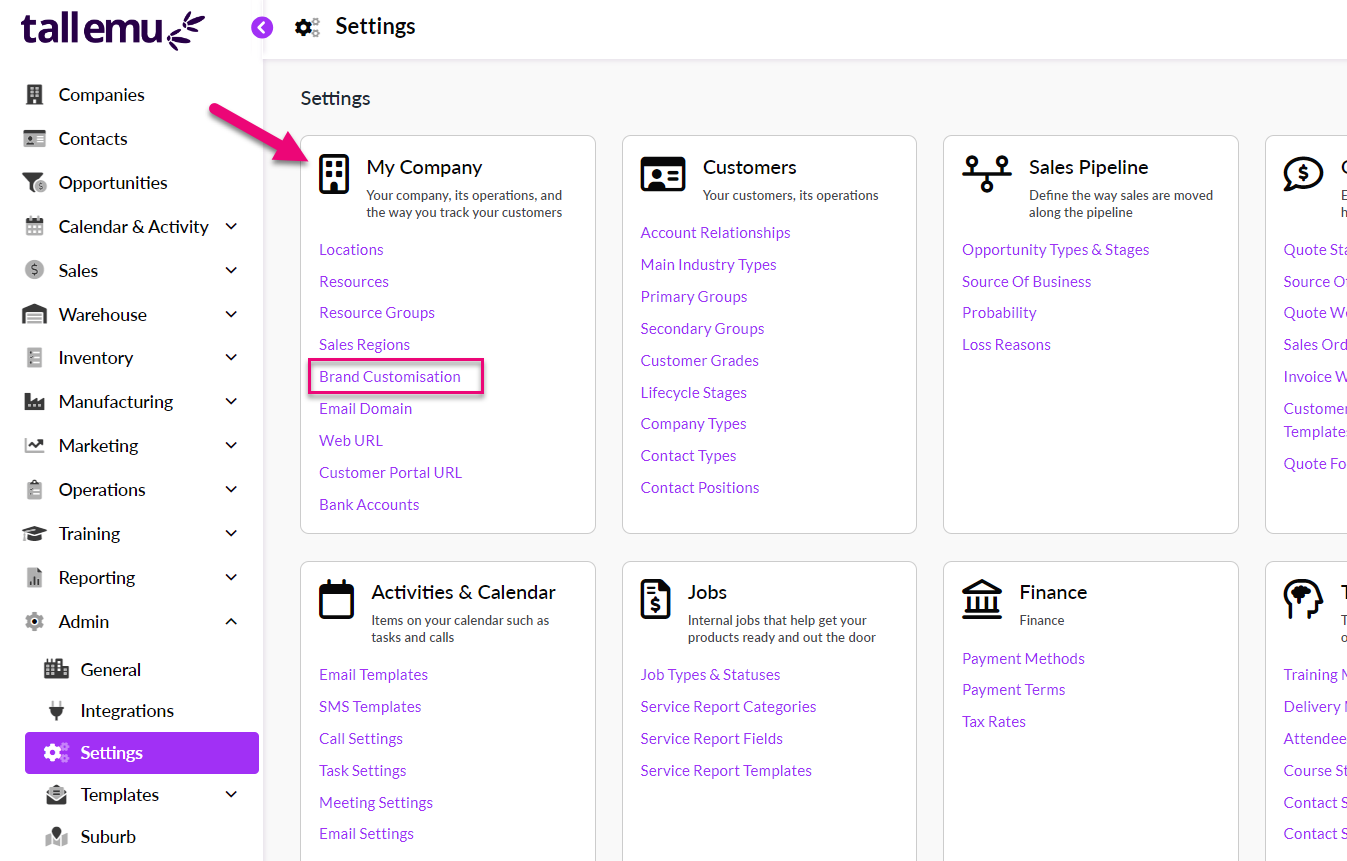
- You can do this from Admin > Settings > My Company > Brand Customisation.
- You then need to tick the Use Custom Domain box.
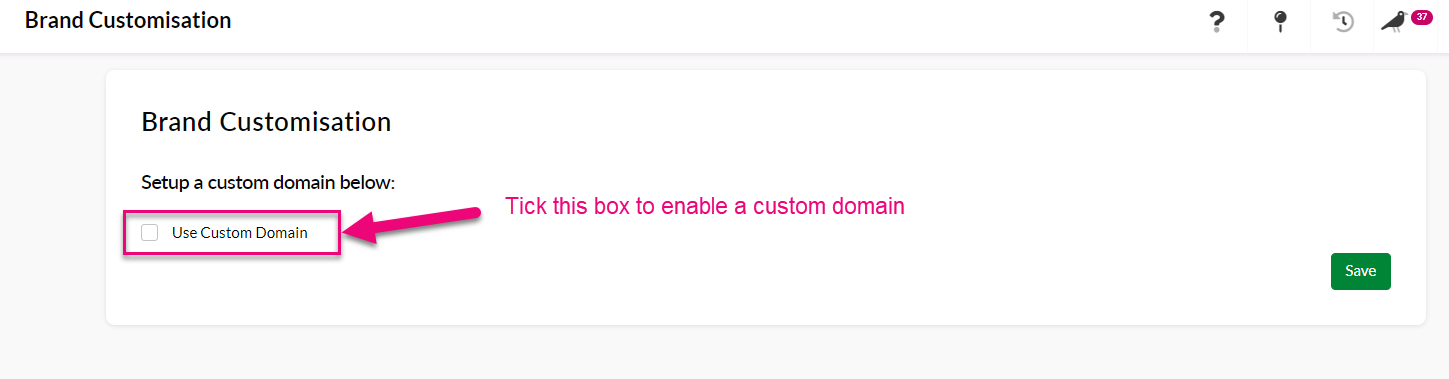
- You can then enter in your domain name and then click on the Validate button.

- This will provide a preview of the URLs that will be used in different areas of CRM.
- You will then be given a list of entries that need to be added to your DNS server settings by your IT – each URL will have a respective CNAME entry that needs to be added to your DNS settings.

- You can then click on Save to apply the change to your system.
Note that until the DNS settings step has been performed by your IT, the URLs will show as Failed in CRM.

Note that once your IT has added the DNS entries it may take some time before the integration goes from showing as Not Valid to Verified in CRM.
- Once the URLs are showing as valid, you can click on the Bind Domain button to finalise the process in CRM.

Related articles