Customising Opportunities
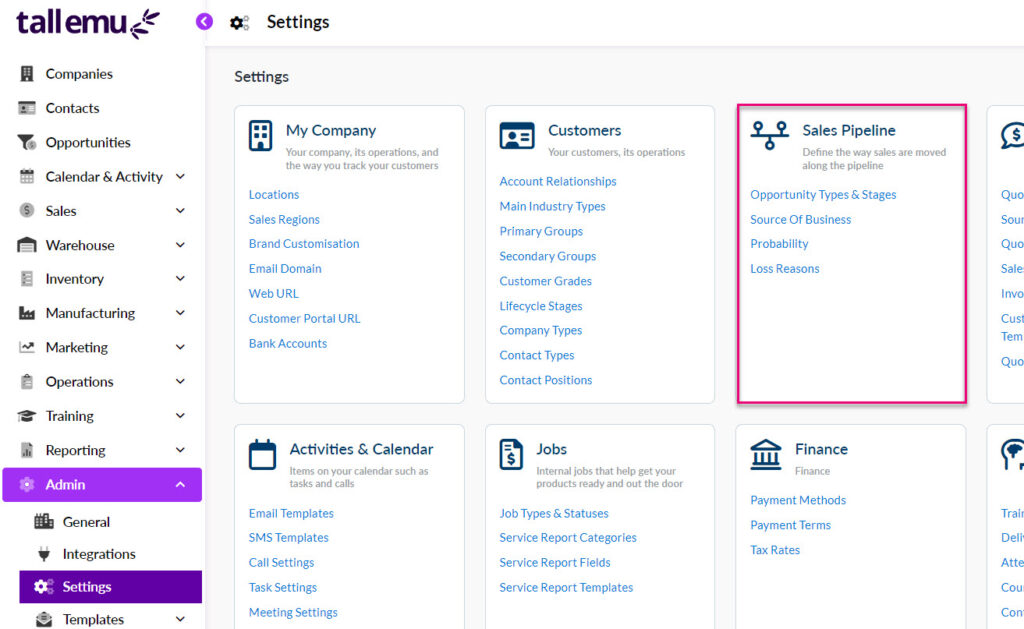
You can customise CRM to reflect your sales pipeline by modifying the following Opportunity field values: Type, Stage, Source Of Business, Probability and Loss Reason. You can do this from Admin > Settings > Sales Pipeline.
You can use custom values in all these fields to organise and segment your sales pipeline. This is an important step in setting up your database as it:
- Allows you to get your terminology into CRM, making it easier for users to work with.
- Let’s you segment your workflow and lead data according to choices that are meaningful to your business.
- Makes reporting on your sales pipeline data quick and painless.
Following is further information about how and why you would customise each field – just click on any field name in the Sales Pipeline section to begin customisation.
This field has a relationship with the Stage field e.g. you can associate different Types with Stages so that the selection made in the Stage field populates your Type field with relevant options.
What are Types for?
You can have as many different Types as you want and how you set these up is up to you; the primary reason for use is so that you can segment your leads into different categories for reporting and workflow purposes.
You may want to do this according to the types of people you deal with (e.g. retail, wholesale, trade) or by something like the product lines you sell (e.g. product sales, service & installation).
Another reason for the Type field is that it allows you to have a different sales process (Stages) for each, in the event that it’s not a single process for all leads e.g. some you may qualify and others you may not.
Setting up your Types
- To edit your Types, just click on Edit Opportunity Types.
- To see what Types are currently available, just click on the dropdown list to show all the options.

You will be taken to a new window where you are able to:
- Create new options using the New button.
- Reorder the options on the list by either clicking on the dots on the left-hand side of an option and dragging it up or down on the list or sorting the options automatically using the Reorder button.

When adding or editing a Status, you can choose whether or not it is Active i.e. if this box is selected, the option will be available for selection on the dropdown list, if it is not selected, the option will be hidden from the list.


- Edit an option or make it the default option by clicking on the dots on the right-hand side of the option.

Once you are done making change, click on Save & Back.
Stage choices are associated with the Status and Type fields:
- The Status field choices cannot be customised and are set to Open, Won or Lost – you can choose which of these options will apply to each of your Stage field options.
- You can also specify which Types are linked to your Stage i.e. when you choose a Stage option, the options that will appear in the Type field will be based on what you have configured when you set up your Stage field options. You can have multiple Types linked to a Stage.
What are Stages for?
Stages are the process, phases or steps or that you go through when a new lead comes into the business. These steps may not be the same for all the leads you deal with, so you’re able to specify a different set of steps for different types of leads – this is the relationship between the Type and Stage field.
This not only lets you easily manage your sales pipeline workflows, but it also means you can quickly see and manage all your leads by Stage in Kanban View.

Opportunities grouped by Stage in Kanban View
For example: I may have some leads from wholesalers that I need to qualify before I proceed with them, whereas others from retail leads I can skip that step and go straight to a quote.
In this case, I would have 2 Stages:
- Quoted
- Qualified
And 2 Types, which would be linked to the following (Stages):
- Wholesale (Qualified, Quoted)
- Retail (Quoted)
Setting up Stages
The example below shows the editing of a Stage field option, showing the Types and Status choices the field will have an impact on – when the Enquiry option is selected on a form, the following things will happen:
- The Type field will display ‘Sales’ as the only choice.
- The record Status field will be set to ‘Open’.
Creating Stages
The Stage field is populated based on which Type field is chosen, so when working with Stages, you need first choose the Type that they are applicable to.

When creating a new Stage option, the following fields will display:
- Name: this is the label of the option that will show on the dropdown list.
- Status: when this option is chosen, should the record be left Open, or be marked as either Won or Lost?
- Active: if this box is selected, the option will be available for selection on the dropdown list, if it is not selected, the option will be hidden from the list.

To edit the details for a specific Stage, click on the 3 dots on the right-hand side of the record to reveal options or edit or delete.

To reorder how the Stages will appear on the dropdown list:
- Click on Reorder to sort alphabetically.
- Grab and hold the dots on the left-hand side of the option to drag it up or down on the list.

To change which Stages are available for selection on the dropdown list you can:
- Grab and hold the dots on the left-hand side of the option to drag it from Available Stages to Selected Stages, or vice versa.
- Use the arrows in the middle to move options between sides.

If you open a blank Opportunity record, you can test out how your configuration will work:
- Select a Type.
- Click on the Stage field and have a look at the options that show for that Type.
- Check the Status field to see what this option is set to when you select different Stages.
![]()
Repeat the process until you’re happy with how the fields all relate to each other.
You cannot directly customise or edit this field; its value is determined based on the Stage of the record and can be one of 3 values:
- Open
- Won
- Lost
Open means that the record is still being worked on and is not closed.
Once a record is marked either Won or Lost, it is effectively ‘closed’ as it’s no longer being worked on. For this reason, these records will NOT show in Kanban view or for selection as a related record e.g. relating an Opportunity to a Quote.

This field is used to track where your leads and prospects are coming from, so you will want to set it up with options for all of
From the window you can:
- Create new options using the + New Option button.
- Reorder the options on the list by either clicking on the dots on the left-hand side of an option and dragging it up or down on the list or sorting the options automatically using the Reorder A-Z button.

You can further edit each option by:
- Toggling the Open button to Closed means that the option is no longer active and cannot be selected moving forward; all existing records with this value will remain.
- Clicking on the eye icon will hide the option from the list.
- Clicking on the bin icon to delete an option. Just note that if the option currently in use on records in your database, you won’t be able to delete it.

This is where you can add different labels that each have a numerical value assigned to them – you can then use the value to sort and prioritise your Opportunities e.g. a low probability Opportunity might have a value of 1 and a high probability Opportunity might have a value of 10.
Your database comes pre-loaded with Probability options, and you can edit these if you want. Just use the buttons at the bottom of the box to make changes.
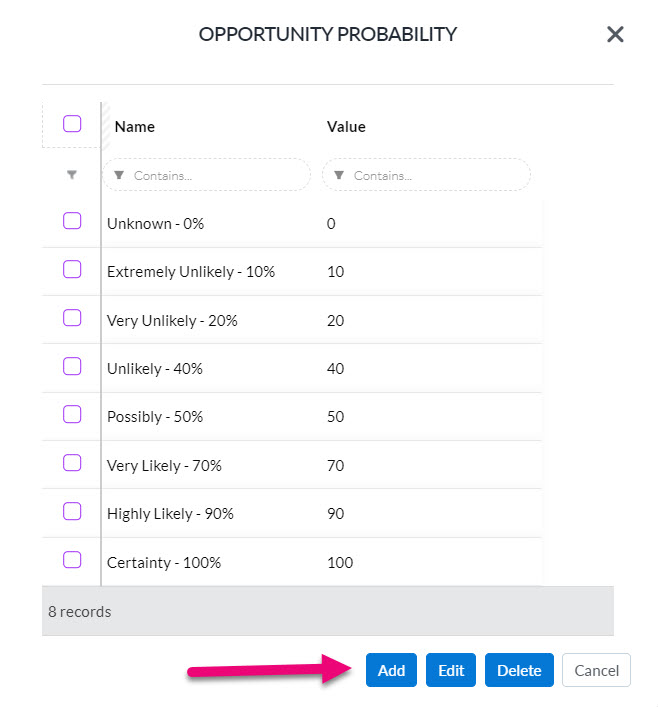
Click on an existing value and it will open at the top of the box for you to be able to edit.

When you are done making changes, simply close out of the box.
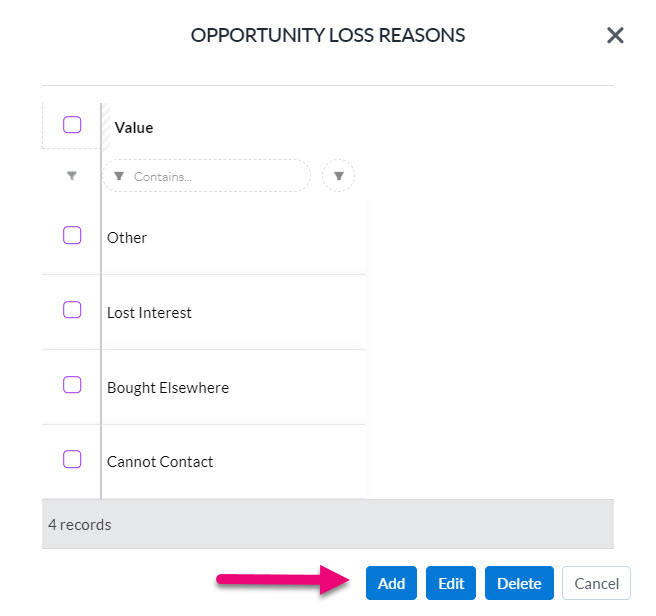
This is where you can add a list of the reasons that explain why an Opportunity was lost e.g. Could not contact, Lost interest, Bought elsewhere etc.
Having appropriate options here will help you to troubleshoot your sales, for example, if a high percentage of your Opportunities are closed with a Loss Reason “Lost interest”, you would be able to use this information to adjust your sales process and contact your leads and prospects more frequently to keep them engaged, thus giving you a greater chance of retaining future sales.
To add or edit options, just use the buttons at the bottom of the box.
When adding or editing a reason, the Is Other Text Required field means that if enabled, you will have a text box in which you can make further notes about the reasons for loss. If this is not enabled, you will only be able to select reasons from a dropdown list and not make any further notes or comments.

When you then change the Stage of an Opportunity to one that will mark it as Lost, you will be prompted to select a Loss Reason.
The following reasons in the example screenshots all have the Is Other Text Required field enabled, meaning that I can choose from the options I’ve set up and then also add additional information in a text box.

Selecting a Loss reason in Kanban View

Selecting a Loss reason from the Opportunity record
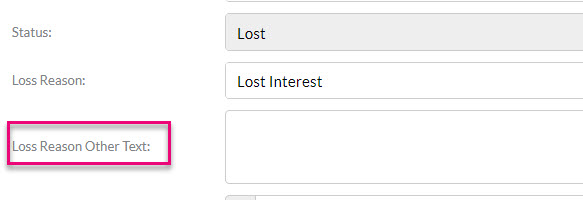
Adding additional notes to a Loss Reason