- Companies
-
- Admin
- Account Options
- Pricing settings
- PDF and Email Template system preferences
- Locations
- Brand Customisation
- Product Categories
- Product Groups
- Enable Time Billing
- Customising Assets
- Custom Fields
- Delivery Resources
- Delivery Options
- Reporting Preferences
- Sales & purchase settings
- Calendar Settings
- Messaging settings
- Repeated Invoice frequency
- Company Settings
- Credit Settings
- Sales Regions
- Asset Settings
- Ticket settings
- Relationships
- Proposal-based Quotes
- Customising Training
- Prefix/Sequences settings (Record Numbering)
- Creating SMS Templates
- Invoice Settings
- Creating Email Templates
- Creating Letter Templates
- Using Letter Templates
- Using SMS Templates
- Using Email Templates
- Setting up Teams
- System security
- Users
- Activate a new User account
- Log into a User account
- Managing Connections
- Calculating Landed Costs
- Resources
- Payment Methods
- Payment Terms
- Couriers
- PDF Templates
- Service Reports
- Quote Form Templates
- System Quote Preferences
- Credit Control
- Setting up Teams
- Regional Settings
Couriers
You can add delivery couriers and carriers that you use to your system and then apply your choices to Sales Orders, Purchase Orders and Shipment records.
From Admin > Settings > Shipping & Freight you can add and manage the options in your system.
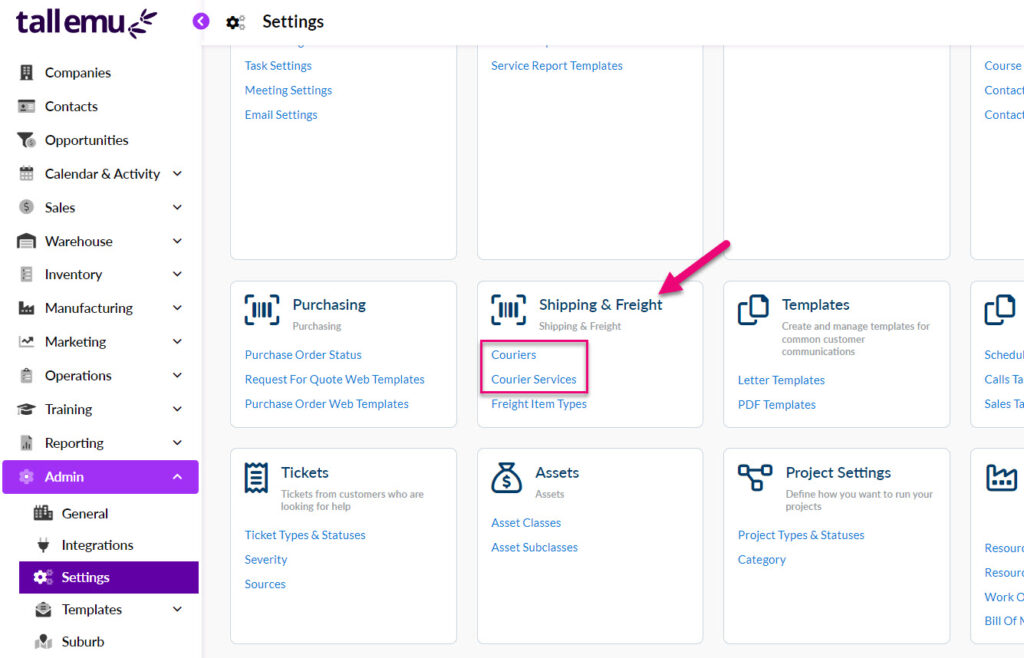
Note that if you have integrated CRM with Machship, this area will automatically populate with service providers that you have linked to your account, and you will not need to add them manually.
To manually add a Courier, navigate to Admin> Settings > Couriers.
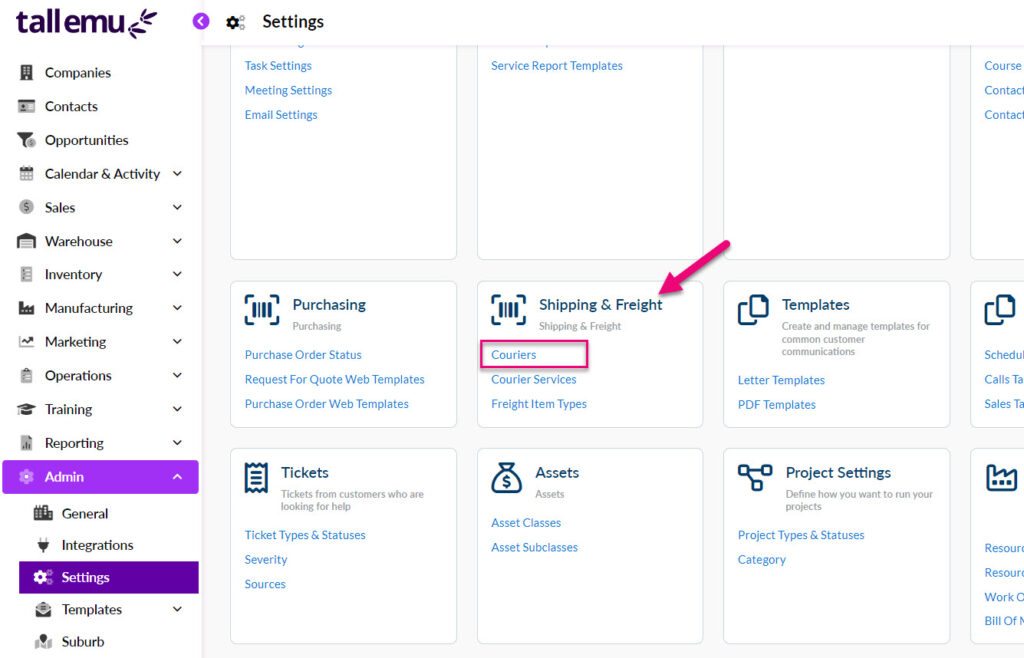
Click New Courier.

You will be able to add:
- The Name of the freight provider e.g. Australia Post
- A Tracking URL (at present, the tracking URL doesn’t perform a function within CRM).
- Whether or not the provider Is Active – you can deactivate one by de-selecting the box.
- Is Default – tick this box if this is your main freight provider, CRM can then pre-fill this information on some of your orders & shipments.
- Pickup – this means that rather than adding a freight provider, you are adding a pick-up option i.e. no freight provider. See the section below for more information.
- Click Save when you are done.

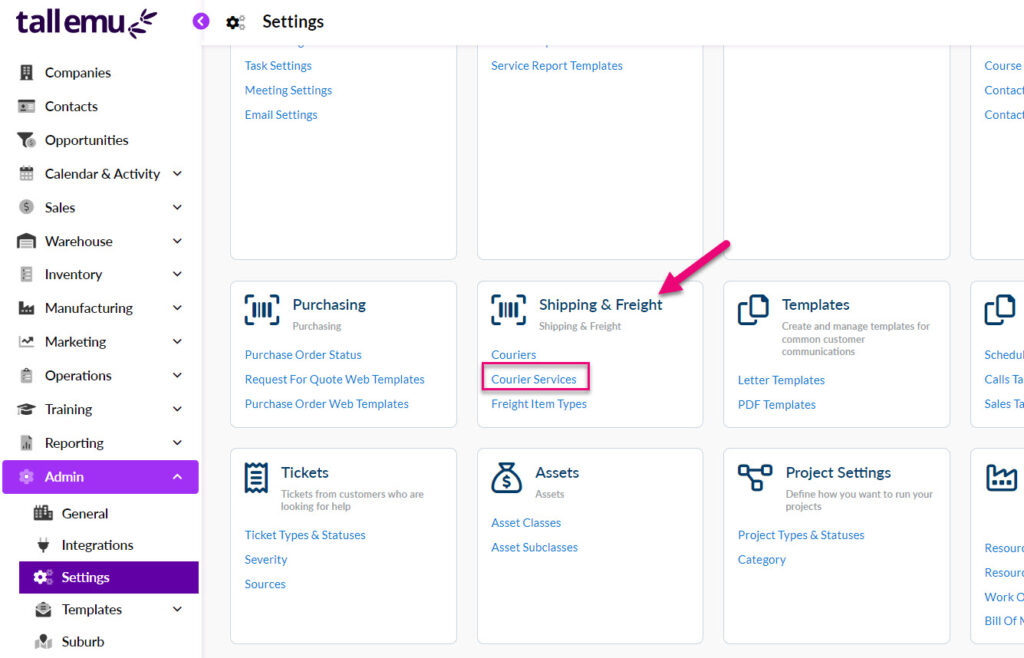
You can now add services and link them to the Couriers you have set up e.g. you may use Australia Post and want to differentiate between standard, express and platinum services.
Navigate to Admin > Settings > Courier Services.
Click on New Courier Service.
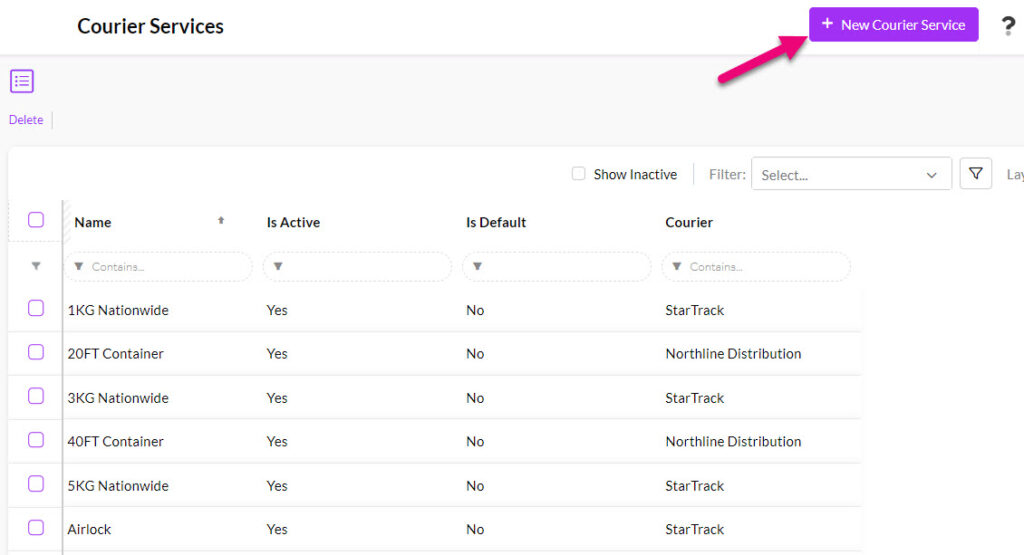
You can then enter:
- The service Name e.g. Express Post.
- Whether or not the service Is Active – you can deactivate one by de-selecting the box.
- Is Default – tick this box if this is the main service you use with a freight provider, CRM can then pre-fill this information on some of your orders & shipments.
- Click Save when you are done.
- Link the service to a Courier using the dropdown field. This means that when I select the Courier, the Courier Service field will automatically populate with a list of related Courier Services.


Selecting a Courier on a Courier Service

Courier Service options are populated based on the chosen Courier
In the event that either:
- Have customers picking up orders from you.
- You pick up orders directly from Suppliers.
You can use the “Pickup” option to create Courier options where there is no freight provider. You can create multiple pickup options if you want e.g., you may have different locations that customers pick up orders from such as a warehouse, office, showroom etc.

Pickup option when adding a Courier
On an Inbound Shipment of goods I’ve ordered from a Supplier, I would then choose the Courier option I’ve set up for Warehouse Pick-Up.

Pickup option on an Inbound Shipment
If a customer was picking up an order from me, I’d select Customer Pickup in the courier field on the Sales Order.
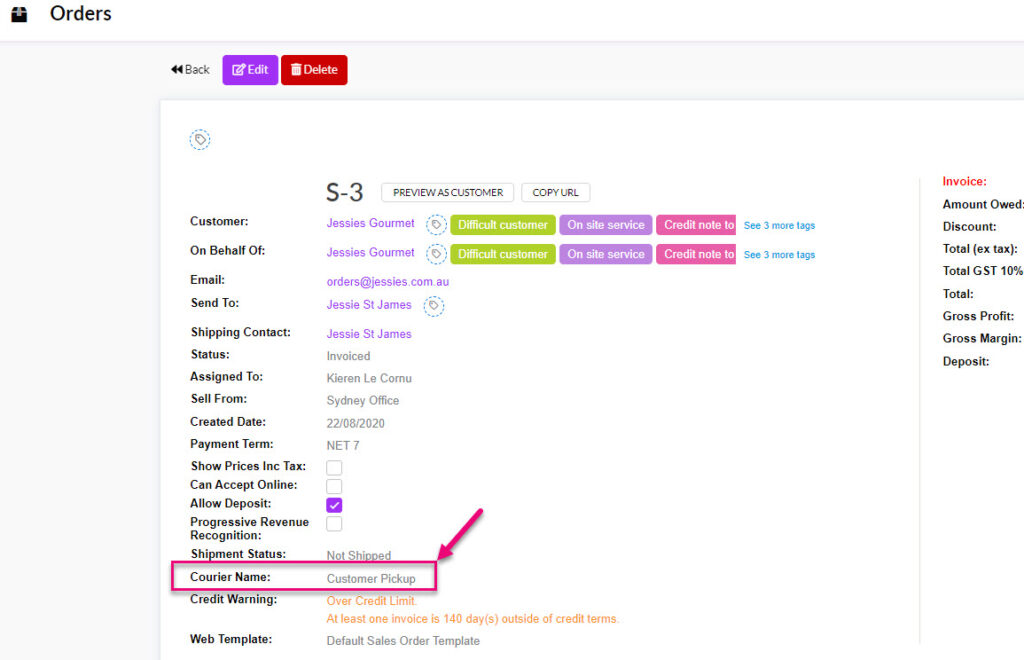
You can then mark the order as being picked up.
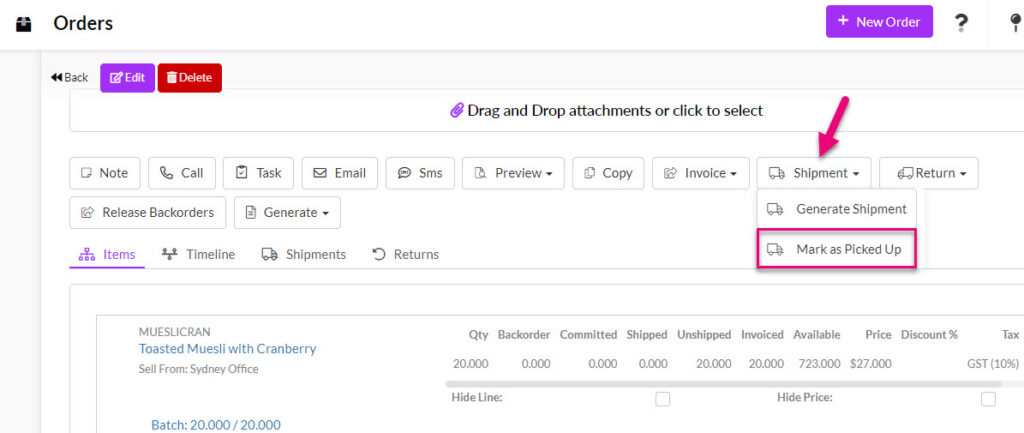
Marking a Sales Order as picked up
In a Sales Order you can then select the applicable service and add tracking details using the following fields.
When you generate an Outbound Shipment from the order, the shipping information will automatically pull through to the shipment record.
The same applies to Purchase Orders and Inbound Shipments.

Shipping details on a Sales Order
When adding Couriers and Courier Services, you can select the default options to apply when creating new Sales/Purchase Orders or Inbound/Outbound Shipments.
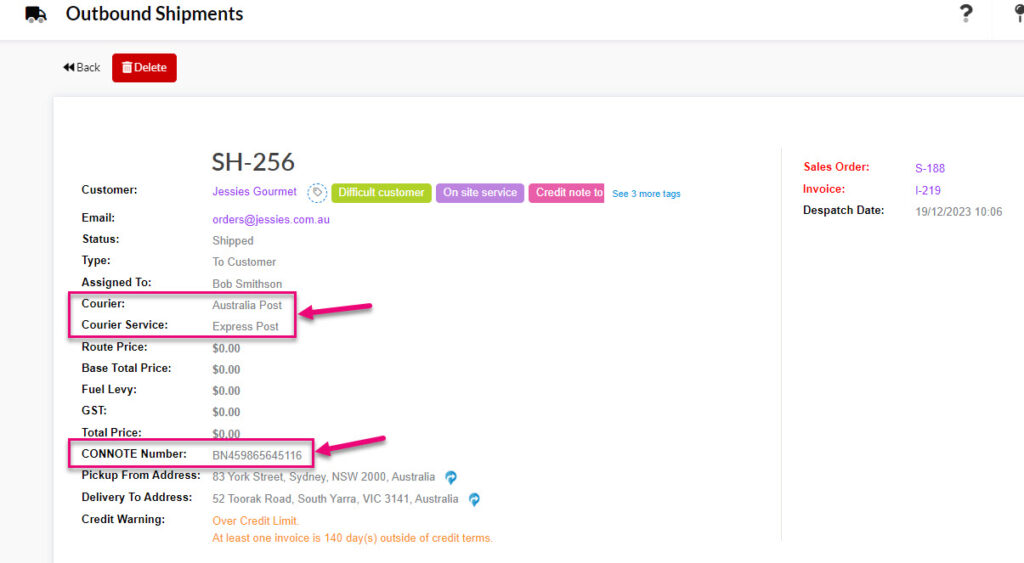
Shipping details on an Outbound Shipment record
This area is only applicable if you have integrated with Machship – these details are used to generate Freight Quotes in CRM.