Creating a Service Job
Once we’re ready to carry out a service, it’s time to create a Job. There are a number of ways to create a service job:
- You can do so from the Asset record itself by clicking the small Add Job button in the action bar.
- You can also create a new Job manually from the Jobs module.
See also:
Head to the Operations > Assets and open the relevant Asset record.
- Click the Add Job button in the action bar.

- This will add a new Job to the Jobs tab on the Asset record.

- By clicking the appropriate line within the grid above, you’ll be able to open the job sheet and edit it as required.
- Head to the Operations > Jobs. This will reveal a list of all the existing Jobs within your system.

- To create a new one, you’ll just need to hit the New Job button in the upper right.
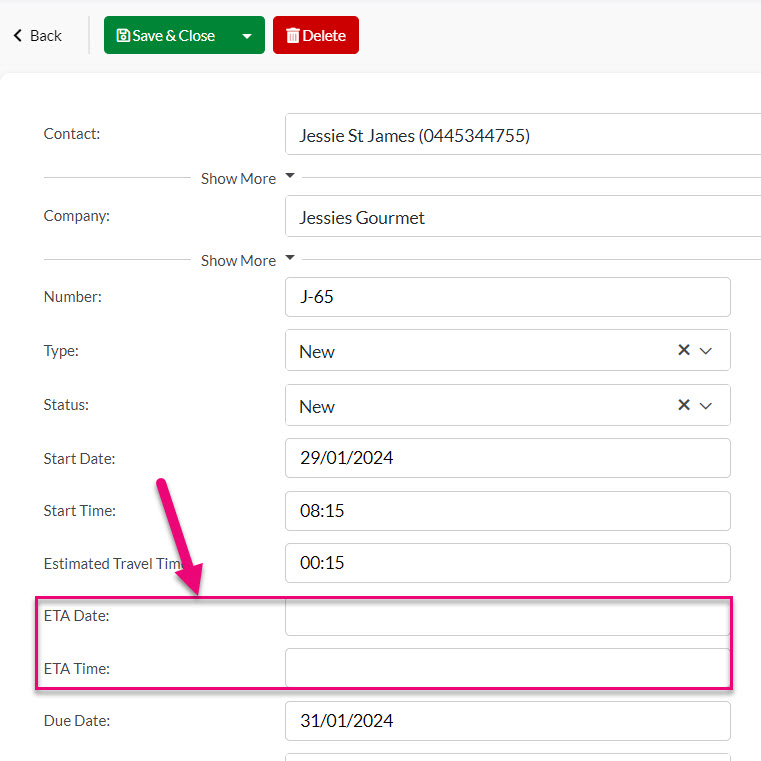
For service management, there are a few key fields that should be noted on the job sheet.
The first is the Due Date. This is the date a job (or service) may be due.
If we take a car service as an example, you may require a 10,000km/annual service on the 30/06/21.
Note: this date is not mandatory, you are able to create an unscheduled Job at any time.

For service management, there are a few key fields that should be noted on the job sheet.
You’ll notice there Start Date and End Date fields. These differs from the Due Date in that it would be used to record the date the service is actually completed (or initiated).
For example, the service may be due on the 31st, but it might be completed a number of days before or after, depending on customer requirements.

Before you have committed to a Start Date & Start Time for a job, you can use the ETA Date and ETA Time fields to enter in an approximate start date.
Once the job has been scheduled, you would use the Start Date & Start Time fields, in conjunction with the Due Date.
On the job sheet you’ll also have the ability to add an Asset (this will pre-fill if you create the job directly from the asset record).
If you are creating the Job from the Jobs module, you can add an Asset by clicking the small Add Asset button in the Job Items section.
Note: if the button does not say ‘Add Asset’, click the small arrow beside the button and select Asset.

Once you’ve clicked to add an Asset, you should reveal an Asset and Service selector.
Simply use the dropdown list to select an Asset and an associated Service Type.

When you select the service type, you’ll notice the job is automatically populated with the Service Parts associated with that particular service type (these are the default Parts you added on the service product).
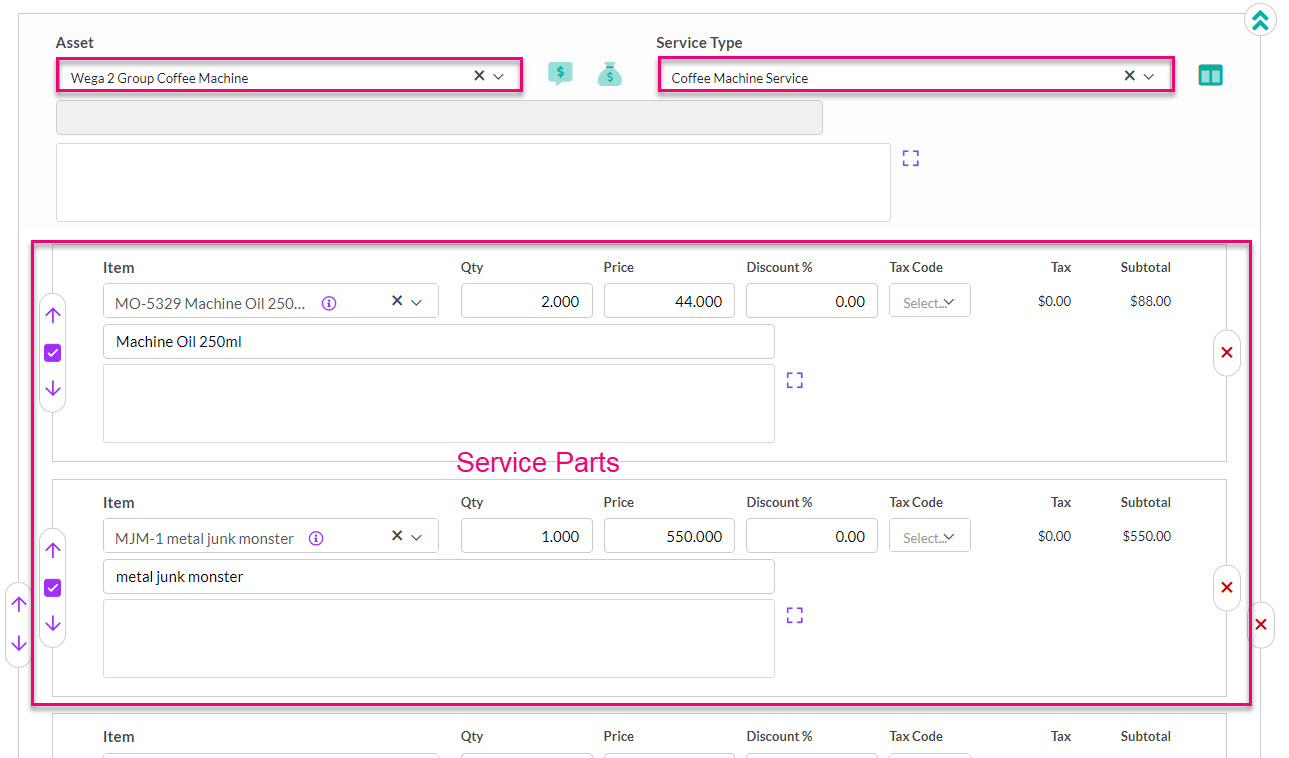
If desired, you’re able to remove or add additional parts to the service using the small red cross to remove items and the small job-sheet/paper icon to add additional items.

You can edit the pricing and quantity fields on any of the items on the record.
Note: if you have set specific pricing for the Service Parts on their individual product records, this will be automatically populated.

And you’re able to add Time (labour) and Comments to the job using the small arrow beside the Add Asset button.
Add Time

This will allow you to add a Time Product, into which you can enter a Start and End time – CRM will then calculate the duration and charge for the time spent.

Add Comments

This adds a comment line item to the record, into which you can add any applicable notes or comments.

You can also click on the green square to open up the text editing window, then click the green square to close the window when you are done.

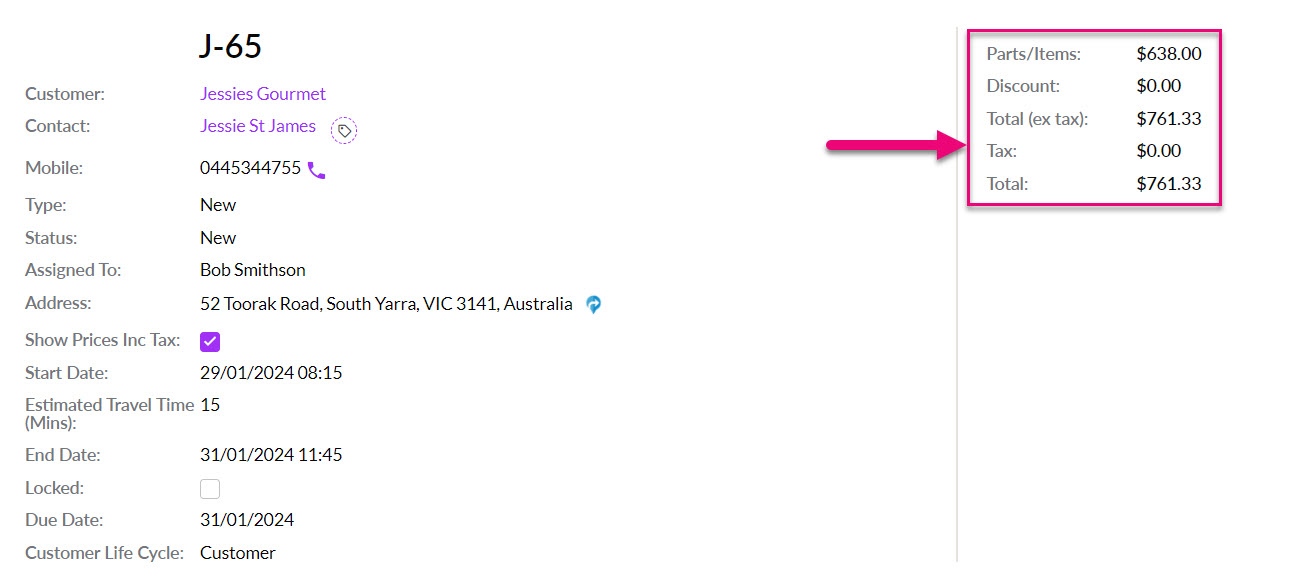
Once the job setup is complete, hit Save and Close at the very top. You’ll be taken to the job record where you can see an overview of the costs, scheduling information and job details.
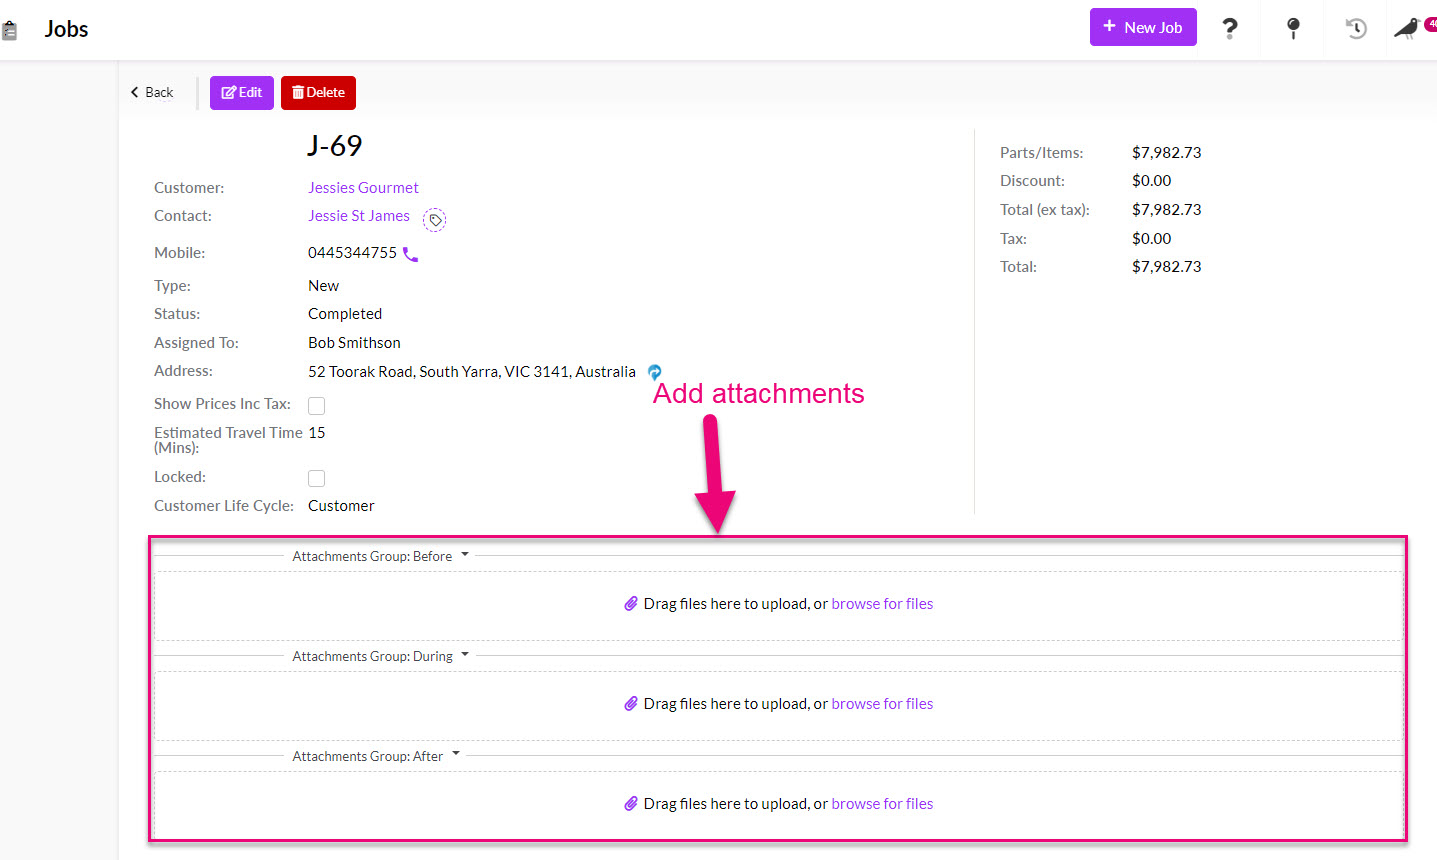
You can also now add attachments to the record. See our guide on adding notes & attachments for more detail.
You can also add Activities to the record using the toolbar buttons.
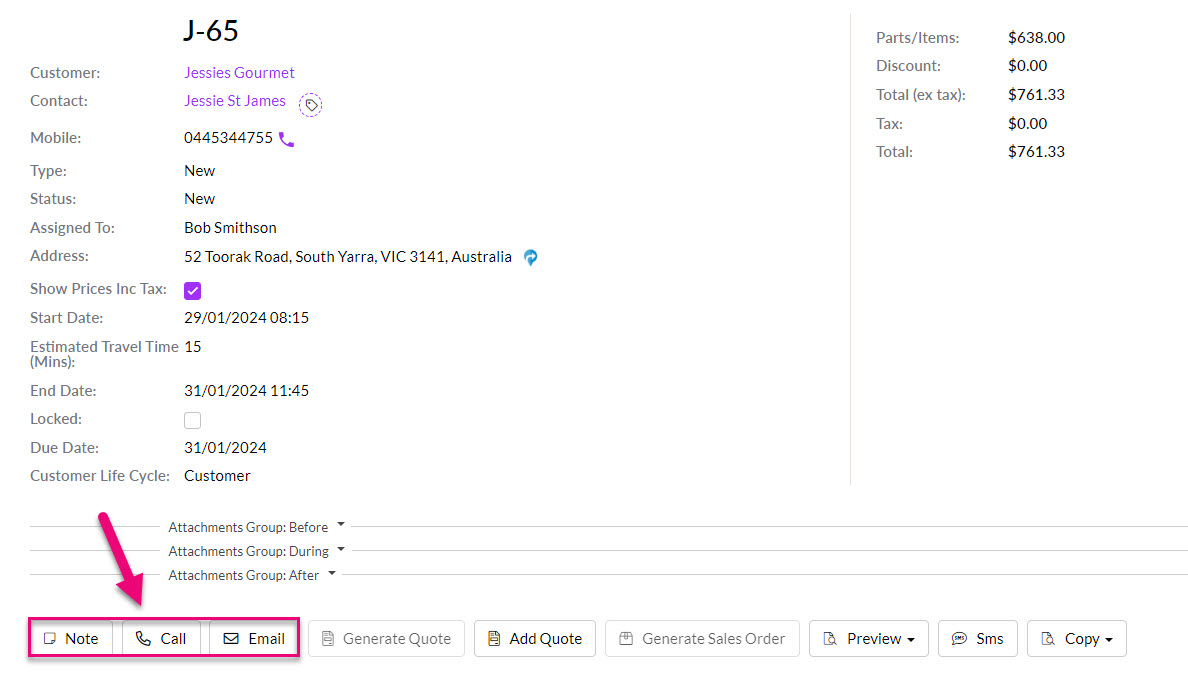
These will then show on the Timeline of the record.
