- Companies
-
- Inventory
- Multi-currency for Purchasing
- Backorders
- Bay Locations
- Features
- Stock Tracking
- System Products
- Accounting details for Products
- Deactivating Products
- Products in Portal
- Suppliers
- Supplier Pricing
- Suppliers & Products
- Products
- Stock Transfers
- Barcodes
- Product Inventory Details
- Importing & exporting Product data
- Virtual Products
- Stock Adjustments
- Purchase Orders
- Enable or disable Stock-Tracking
- Training Products
- Units of Measure (UoM)
- Freight Products
- Working with Landed Costs
- Configuring Product Settings
- Stock Locations
- Stocktakes
- Product Batches
- Serial Numbers
- Different Price Types
- Purchase Orders
- Managing Stock
- Configurable Products
- Variable Products
- Time Billing
- Manufacturers and Suppliers
- FROM Location-based pricing
- TO Location-based pricing
- Requests For Quote
- Time Products
- Quantity-Based Price Breaks
- RFQ Web Templates
- PO Web Templates
- Location-based Price Breaks
- Customer-Specific Pricing
- Deleting Special Prices
Virtual Products
Virtual Products allow you to stock and sell a single product using multiple different names or labels for the same underlying product.
For example:
I sell a car tyre of a certain size that fits 20 different models of car.
I want to sell the tyre using 20 different names/labels e.g. “Tyre for a Hyundai Kona”, “Tyre for a Nissan Qashqai” etc.
They are all the same product, and it would be incorrect to say that I have 30 in stock of each tyre; I have 30 in stock of the underlying tyre, which I will sell with 20 different names.
To make this work in CRM, I would create a product called “Tyre” which has stock on hand of 30 – this is my Master Product.
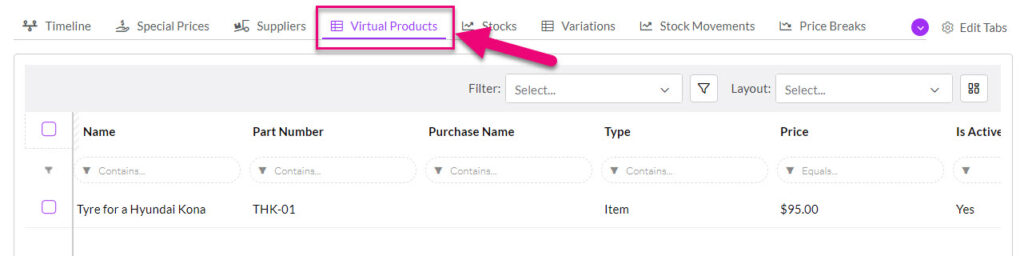
I then create 20 Virtual Products that are linked to the Master Product e.g. Tyre for a Hyundai Kona, Tyre for a Nissan Qashqai etc. Whenever I sell a Virtual Product, the stock is taken from the Master Product.
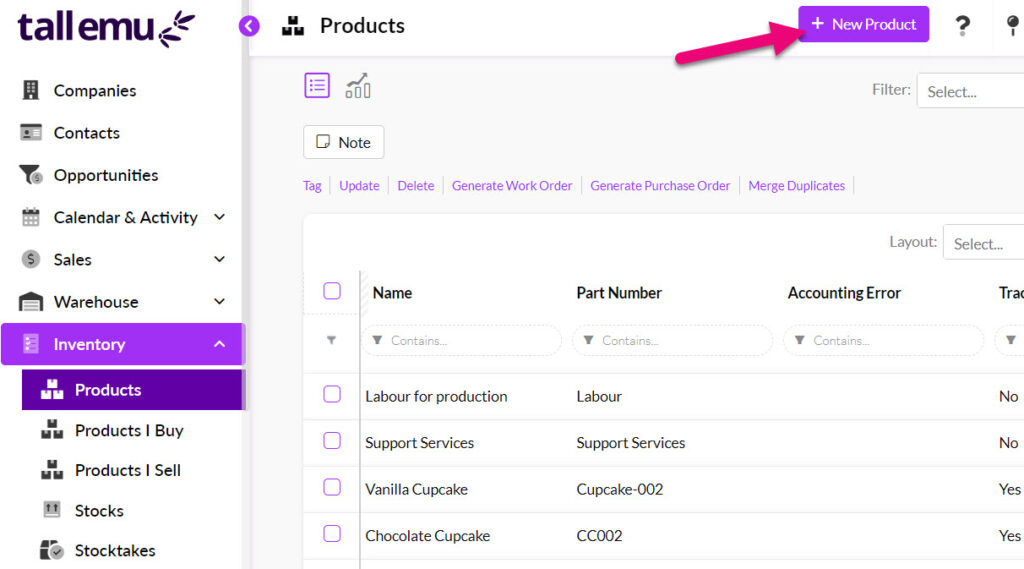
1. Create a Master Product
Go to Inventory > Products > New Product.
The process is the same as creating any other product in CRM, so you can refer to our guide on the subject here.
On the form:
- Give the item a Name, Accounting Name and Part Number.
- Tick the boxes for Sellable and Purchasable and then enter in the applicable GL Codes.
- Ensure the Track Stock and Physical have been selected – the boxes for Asset GL Code and Cost Of Sales Code will then appear and need to be populated.
- Add a Price and Cost Price.
- Ensure the Active box is ticked.
- Enter in the applicable tax rate for sales and purchases.
- Click on Save & Close when you are done.
Following is an example of a saved Master Product for “Tyre”.

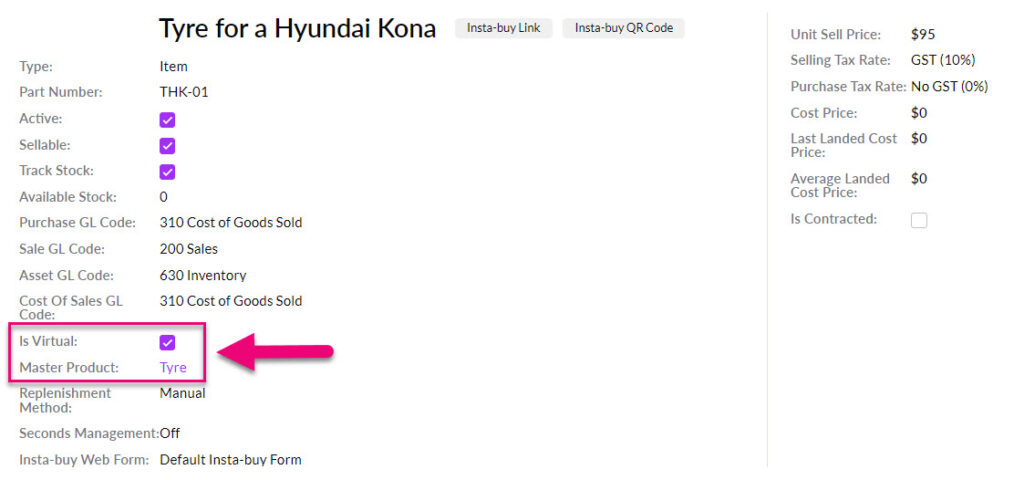
2. Create a Virtual Product
Go to Inventory > Products > New Product.
On the form:
- Give the item a Name, Accounting Name and Part Number.
- Ensure that the Is Virtual box is ticked.
- A field for Master Product will then display – select the product you want to use as the underlying master for stock.
- Once the Master Product has been selected, the boxes for Sale GL Code, Asset GL Code and Cost Of Sales Code will appear and need to be populated.
- Add a Price and Cost Price.
- Ensure the Active box is ticked.
- Enter in the applicable tax rate for sales.
- Click on Save & Close when you are done.

Following is an example of a saved Virtual Product that is linked to the Master Product for “Tyre”.