Managing Freight & Shipping
The following Warehouse modules in CRM are designed to manage your incoming and outgoing deliveries:
- Outbound Shipments – this module populates with shipping records that are automatically created when you generate shipments for items on Sales Orders.
- Inbound Shipments – this module populates with shipping records that are automatically generated when you receipt items on Purchase Orders.
- Stock Transfer Shipments – this module populates with shipping records that are automatically generated when you create Stock Transfers.
- Freight Quotes – this module integrates with Machship to provide you with freight quotes based on your existing contract rates. You can also create a freight quote while you are preparing a customer Quote.
You can also refer to our guide on managing your own deliveries using the Sales Order module.
Delivery settings
There are a range of settings in different areas of CRM that relate to freight and shipping, so here is a consolidated list.
Invoice Settings
Click here to see our full guide on Invoice Settings.
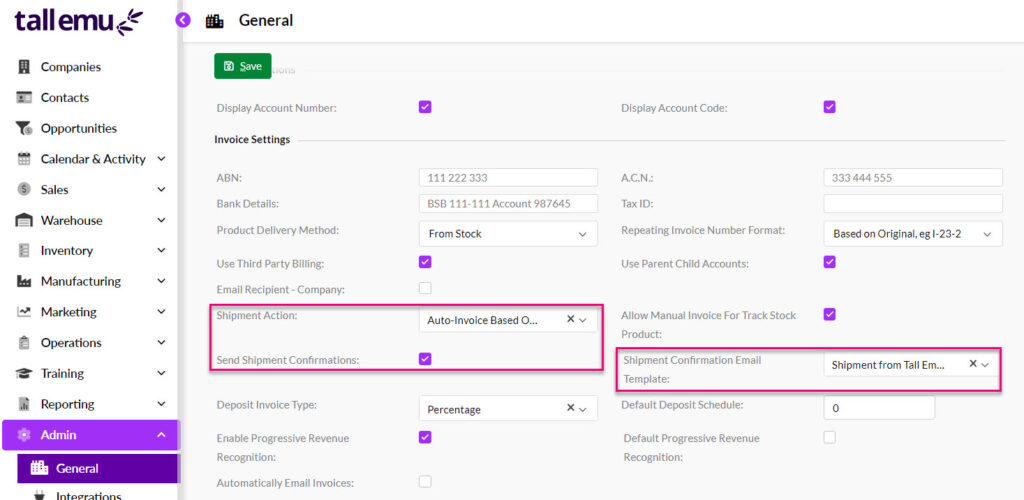
Shipping options in Admin> General> invoice Settings
Shipment Action
Auto-Invoice Based on Shipped Quantity – when a shipment is generated from a Sales Order, an Invoice will automatically be created for the shipped quantity.
Send Shipment Confirmation
When a shipment is generated, a confirmation email will automatically be sent to the recipient. Once you have ticked this box, the Shipment Confirmation Email Template field will become visible, and you can select an Email Template to use for this purpose.
Shipment Confirmation Email Template
The Send Shipment Confirmation box needs to be ticked for this field to appear – this is where you choose which Email Template to apply when a shipment confirmation is sent.
This setting assumes that you have previously set up an Email Template for this purpose – for help doing this, see our pages on Creating Email Templates and Using Email Templates.
Manufacturing Settings
Click here to see our full guide on Manufacturing Settings.
Auto-ship Stock When Available
If you check this box, manufactured Products that are out of stock when they are added to a Sales Order will be automatically have a shipment created as soon as stock becomes available.

Auto-Ship Stock setting in Admin> General> Manufacturing
PDF and Email Templates
Click here to see our full guide on PDF and Email Template Settings.
The default templates that are used for a range of shipping activities are controlled from Admin> General> PDF And Email Templates.
At present, you cannot modify these templates, but can choose a different system template from the current default e.g. in the Delivery Docket PDF Template and Picking List PDF Template fields you can use either the Delivery Docket or Picking List template as the default option.
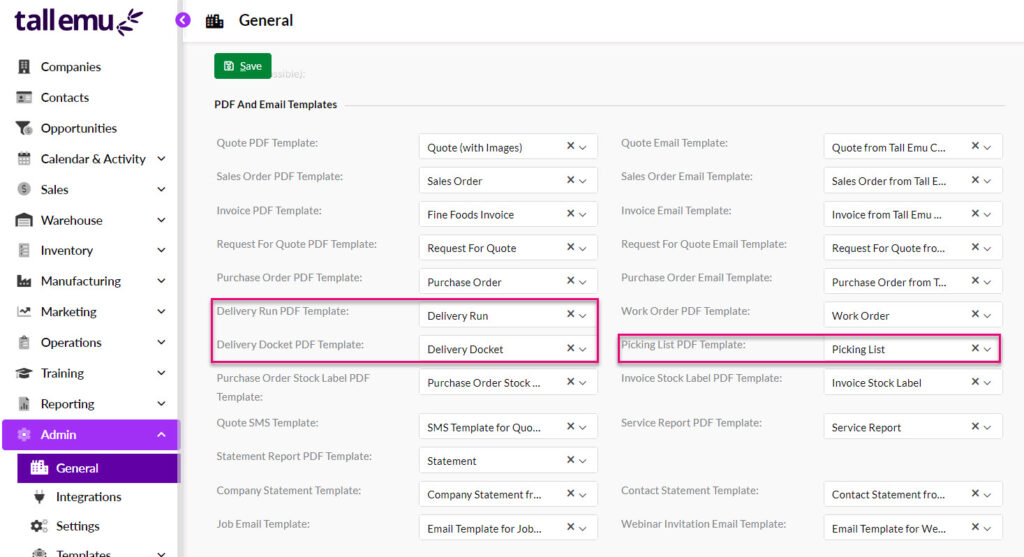
Various shipment templates in Admin> General> PDF & Email Templates
The Email Template used when shipment confirmations are sent is as per the Invoice Settings section above.
Delivery Options
Click here to see our full guide on Delivery Options.
From Admin > General > Delivery Options you can set preferences to do with managing your own deliveries using Sales Orders.
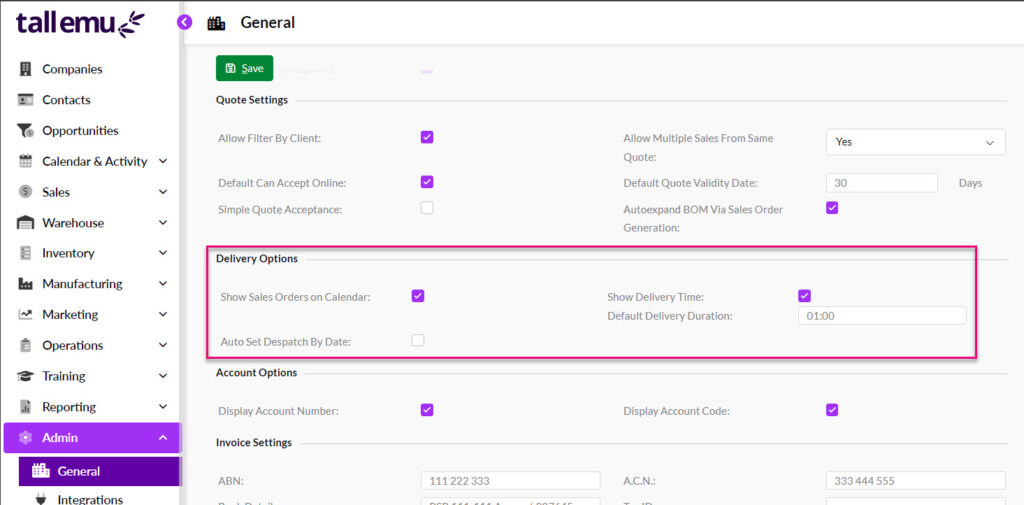
Following is the purpose of each field:
- Show Sales Orders on Calendar – ensure this box is ticked so that you can view and schedule your deliveries in Calendar View within the Sales Order module.
- Show Delivery Time – ensure this box is ticked so that the Delivery Date and Delivery Time fields are shown on the Sales Order. Values added to these fields, in conjunction with the Default Delivery Duration field value will mean that the time allocated to the delivery is shown as a calendar Meeting.
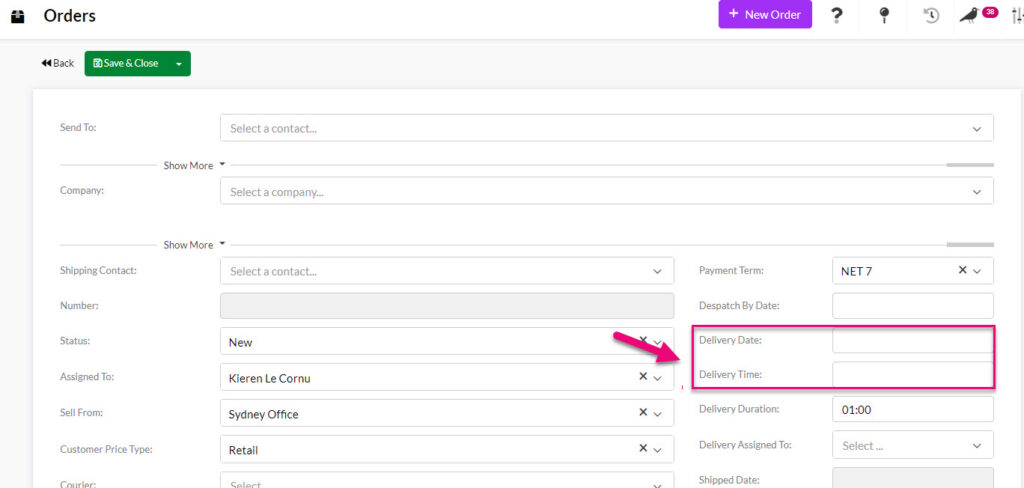
Delivery Date & Time fields on a Sales Order
- Default Delivery Duration – this field is in HH:MM format and allows you to select a period of time that will apply as default for each delivery in the Delivery Duration field on Sales Orders.
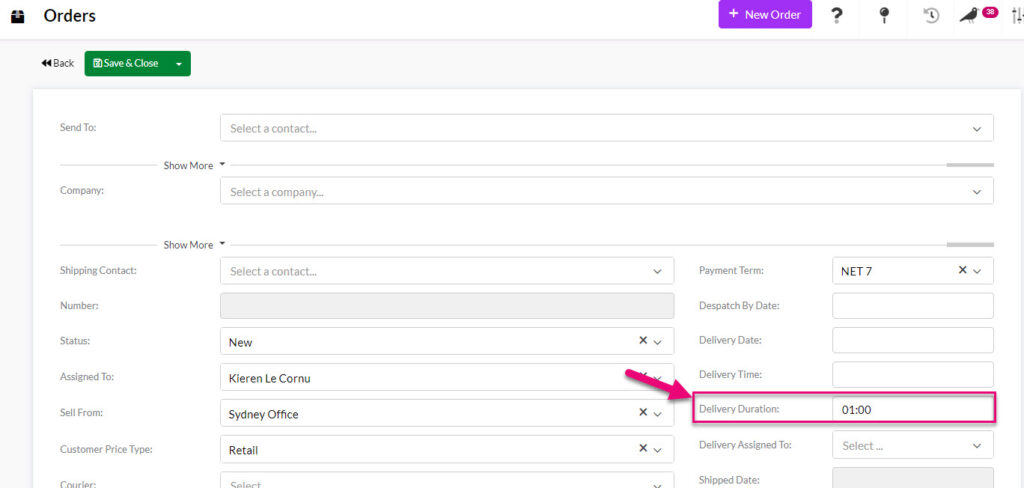
Delivery Duration field on Sales Orders
- Auto Set Despatch By Date – once this box is ticked, the field for Default Despatch Lead Time will be visible and you can input a number of days.

The value input here will populate into the Despatch Date field on Sales Orders.
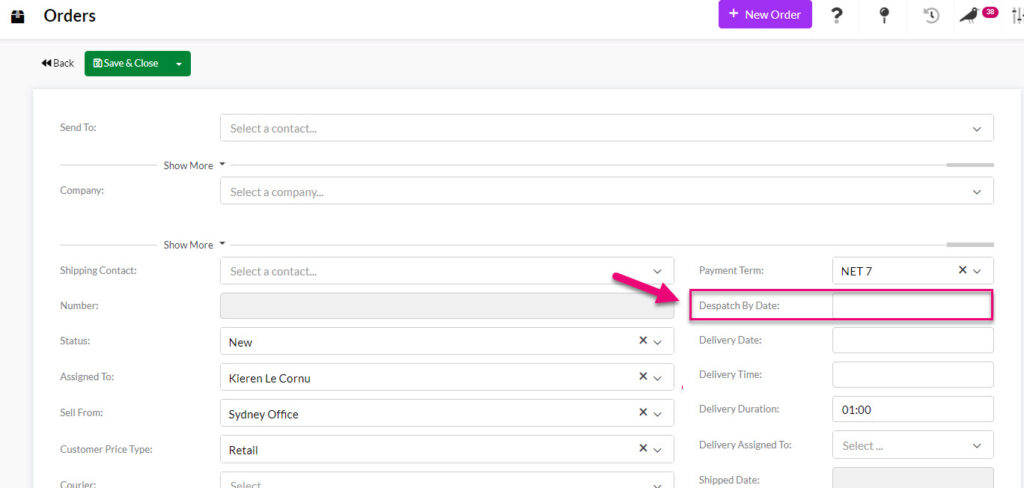
Despatch By field on a Sales Order
Delivery instructions for customers
On Contact and Company records there is a text box called Delivery Instruction where you can enter in notes or instructions that will pull through to a Delivery Instruction box on all Quotes, Sales Orders and Invoices that you create for the customer.
In addition, when you generate shipments from a Sales Order, the details will also pull through to the Delivery Instruction box on Outbound Shipments.

Delivery Instruction box on a Company record

Delivery Instructions pulled through from the customer record to a Quote
Delivery Resources
Click here to see our full guide on Shipping Resources.
You can add Resources and Resource Groups to your system to manage internal resources like cars, vans, motorbikes and trucks and then add them to your Shipments.

Delivery assignment field on a Sales Order
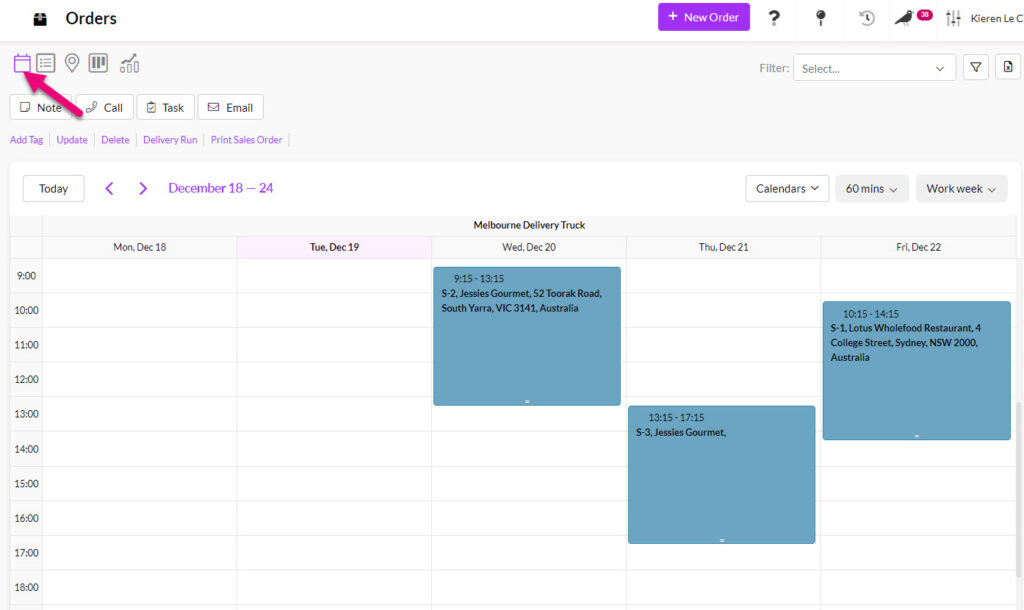
When you create a new Resource or Resource Group, you can tick the Add on Calendar box to make the information available to view in the Calendar module.
This feature allows you to visually track and adjust the scheduled use of your Resources.
Calendar showing the delivery truck Resources
Click here to learn how to use Resources for Manufacturing.
Resource Groups
These are high-level groups that you can add any number of Resources to.
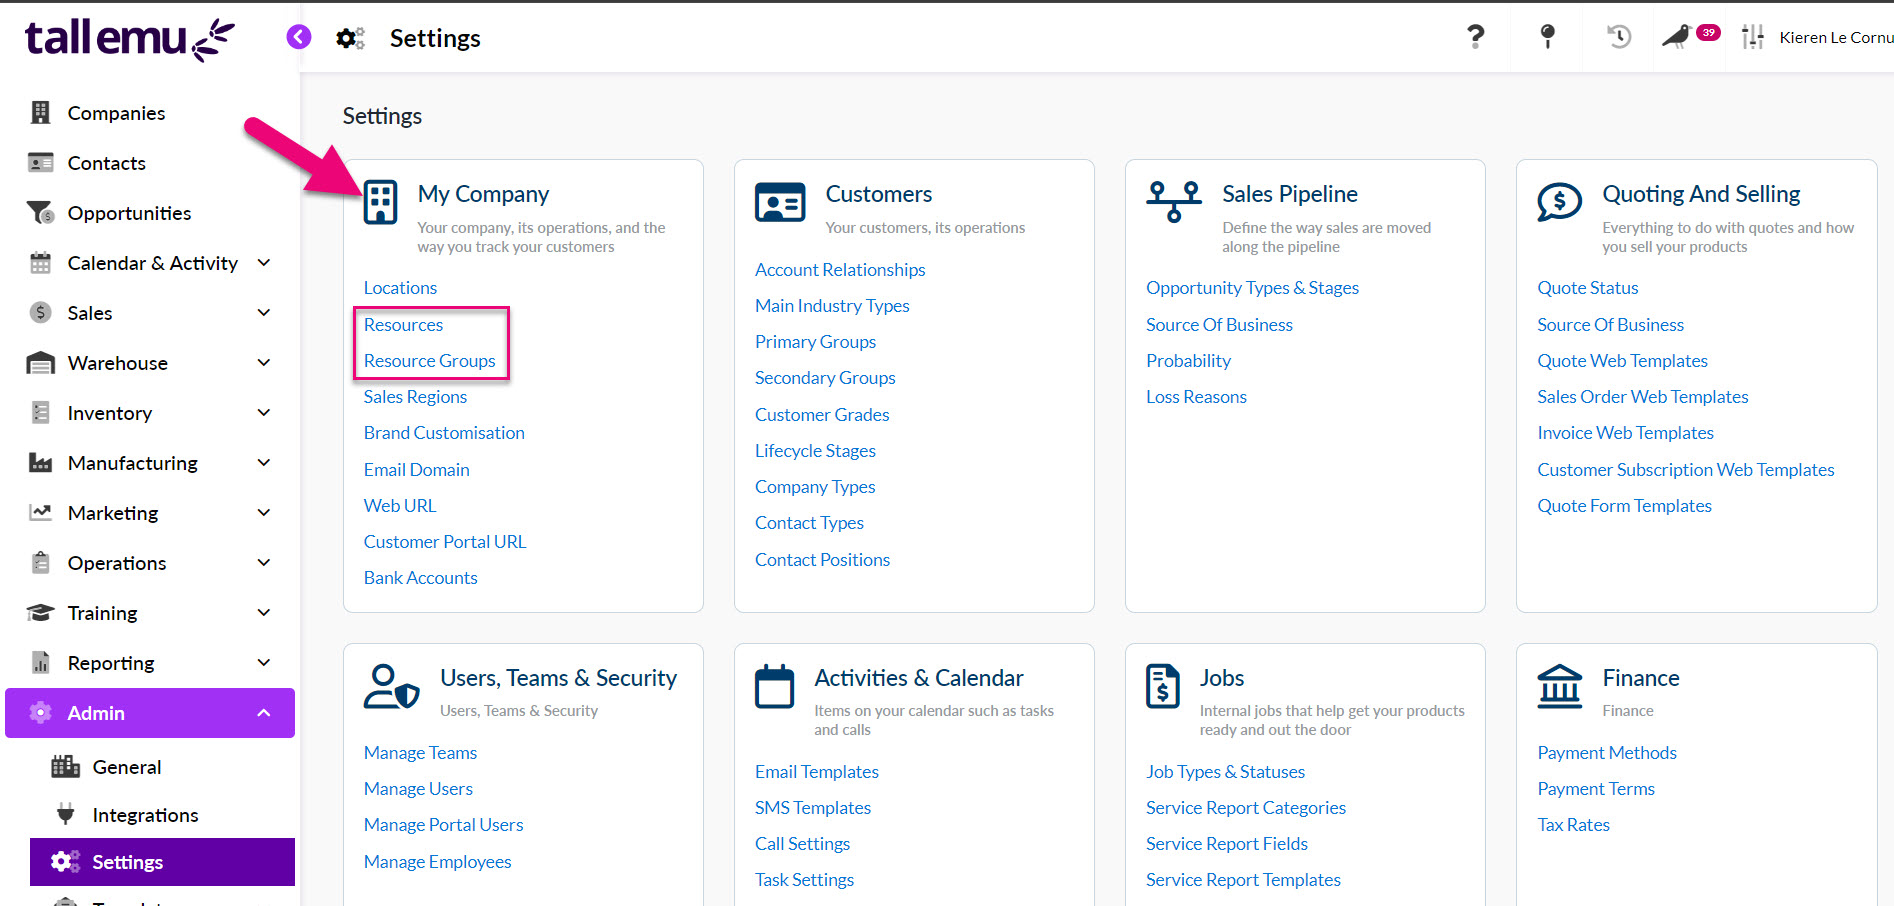
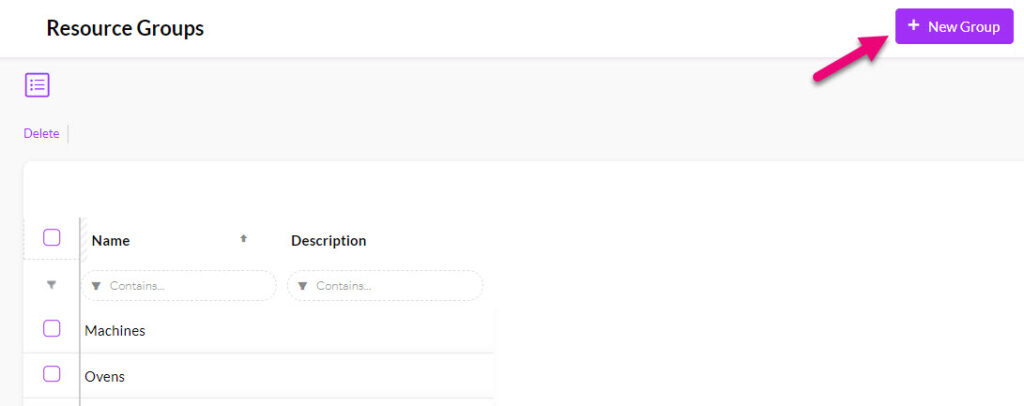
- Go to Admin > Settings > My Company > Resource Groups.
- Click on the New Group button.
- Give the group a Name e.g. cars, trucks, vans etc. and then ensure the Show On Calendar box is ticked. You can also add in a Description with further details about the group (this is optional).
- Click on Save & Close when done.

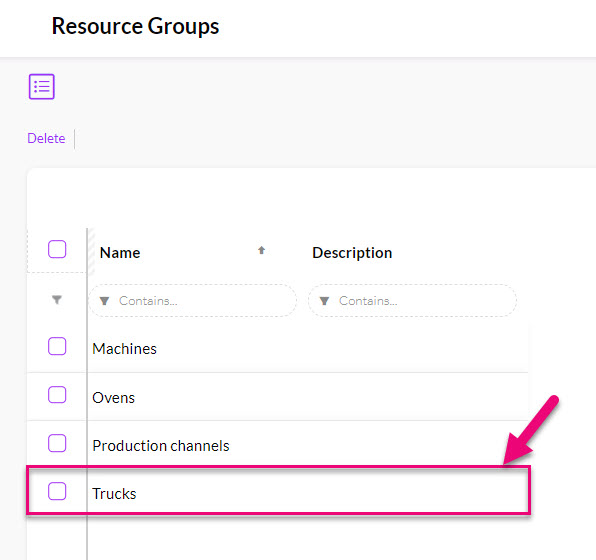
The example below shows a group for delivery trucks that will used to ship orders to customers – you can add any type of resource groups your business uses.
Resources
The example below shows the Resource Group ‘Trucks’ and Resources ‘Melbourne Delivery Truck’ and ‘Sydney Delivery Truck’.
- You can create any number of Resources and associate them with Resource Groups from Admin > Settings > My Company > Resources.
- Just click on the New Resource button to create a new Resource.

- Give the resource a Name e.g. Sydney Truck, Red delivery van, purple Ute etc.
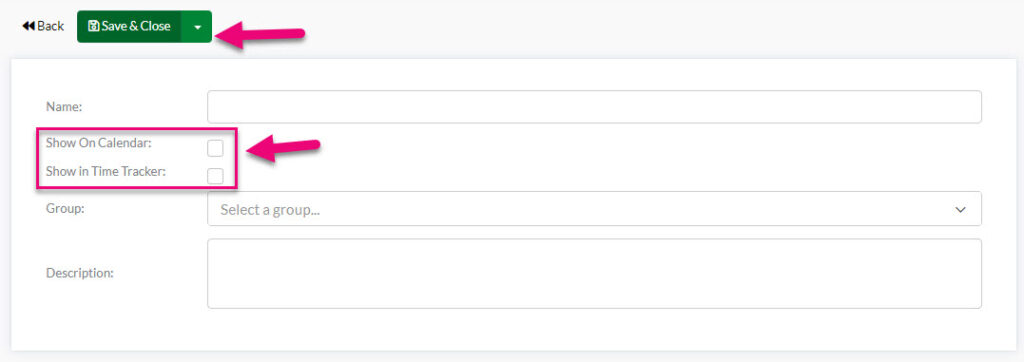
- Ensure the Show On Calendar box is ticked.
- If you want to be able to perform stop/start time tracking for your deliveries, tick Show in Time Tracker.
- In the Group field, select the Resource Group you created earlier e.g. “Trucks”.
- You can also add in a Description with further details about the group (this is optional).
- Click on Save & Close when done.
The example below shows 2 trucks that have been linked to the Resource Group “Trucks”.

Couriers & Courier Services
Click here to see our full guide on Couriers.
You can add delivery couriers and carriers that you use to your system and then apply your choices to Sales Orders and Shipment records.
Add a Courier
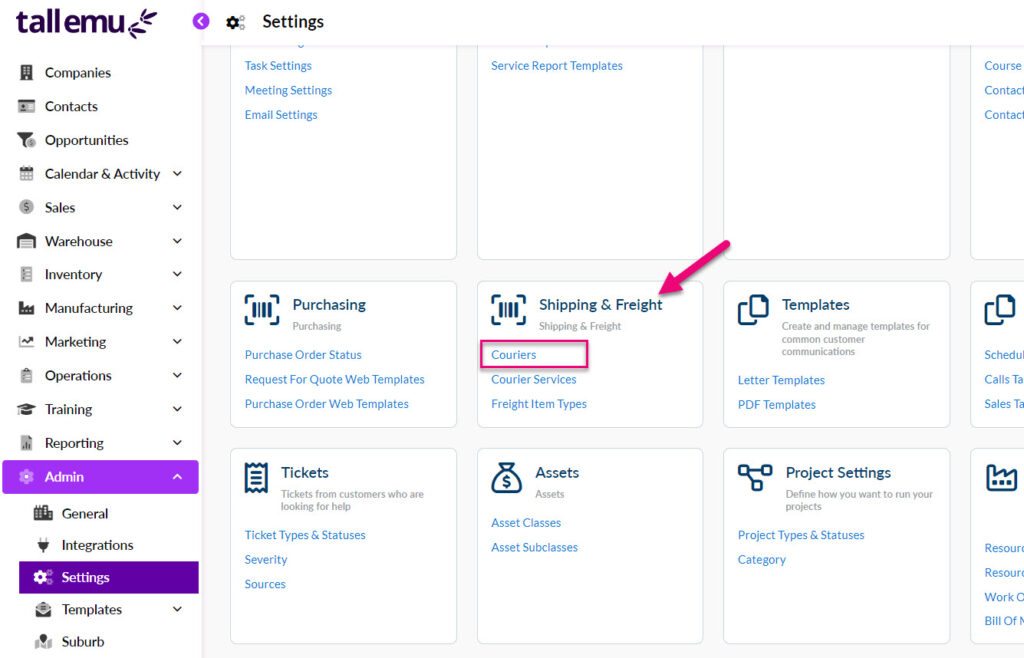
To manually add a Courier, navigate to Admin> Settings > Couriers.
Click New Courier.

You will be able to add:
- The Name of the freight provider e.g. Australia Post
- A Tracking URL (at present, the tracking URL doesn’t perform a function within CRM).
- Whether or not the provider Is Active – you can deactivate one by de-selecting the box.
- Is Default – tick this box if this is your main freight provider, CRM can then pre-fill this information on some of your orders & shipments.
- Pickup – this means that rather than adding a freight provider, you are adding a pick-up option i.e. no freight provider. See the section below for more information.
- Click Save when you are done.

Add a Courier Service
You can now add services and link them to the Couriers you have set up e.g. you may use Australia Post and want to differentiate between standard, express and platinum services.
Navigate to Admin > Settings > Courier Services.
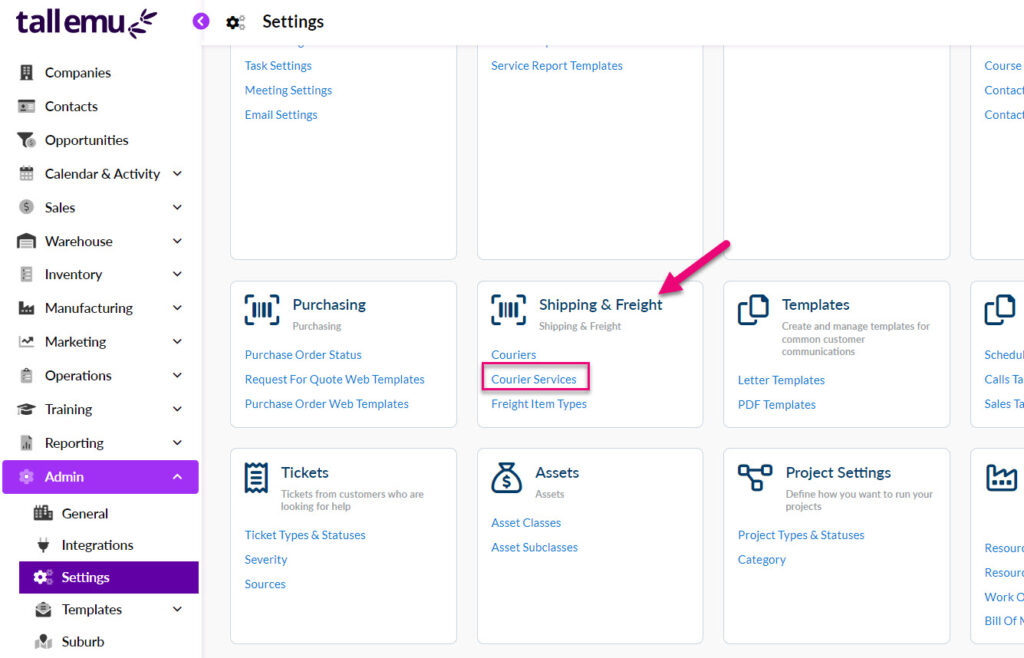
Click on New Courier Service.
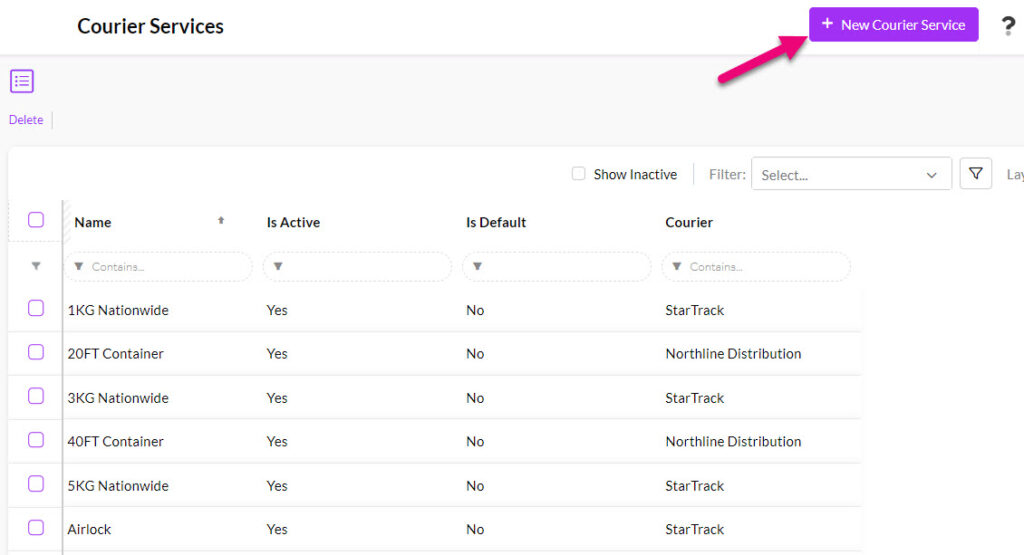
You can then enter:
- The service Name e.g. Express Post.
- Whether or not the service Is Active – you can deactivate one by de-selecting the box.
- Is Default – tick this box if this is the main service you use with a freight provider, CRM can then pre-fill this information on some of your orders & shipments.
- Click Save when you are done.
- Link the service to a Courier using the dropdown field. This means that when I select the Courier, the Courier Service field will automatically populate with a list of related Courier Services.
