-
- Getting Started
- Record Tabs
- Managing Duplicate Records
- Setting Up Grid Layouts
- Show and Hide Columns
- Key setup steps
- Additional setup steps
- Tips & Tricks
- Pinning Activities
- Bulk update
- Timeline
- Bulk uploading images
- Advanced Filters
- Automated Workflows
- System Admin in CRM
- Search, sort and report
- Calendar View
- Dashboard View
- Using Views
- Import troubleshooting
- List View
- Set up your customers in CRM
- Working with Activities in CRM
- Basic Navigation
- Using the Map View
- Using the Kanban View
- Configuring Dropdown Lists
- Creating New Records
- Open or Edit Existing Records
- View Details on Map Pins
- Syncing Your Accounting System
- Change the Column order
- Setting up your CSV file for Import
- Filter Map Records
- Company Information
- Sorting Records
- Export data
- Filtering Records
- Import Data from Excel or CSV
- Colourise Map Records
- Set Up Security Groups
- Invite Other Users
- Connect Outlook
- Connect to Mailchimp or Campaign Monitor
- Set Up Other Reference Data
- Configure Online Quoting
- View Reports and Dashboards
- Connect Burst SMS
- Viewing Tags
- Adding and Editing Tags
- Sorting and Filtering with Tags
- Jobs, Assets & Service Management
- Manufacturing
- Operations
- Reporting
- Training
- Workflow Management
- Quoting & Selling
Basic Navigation
Before we jump into it, it’s important you know how to navigate the system. Below is a brief description of the major navigations you’ll need to be familiar with.
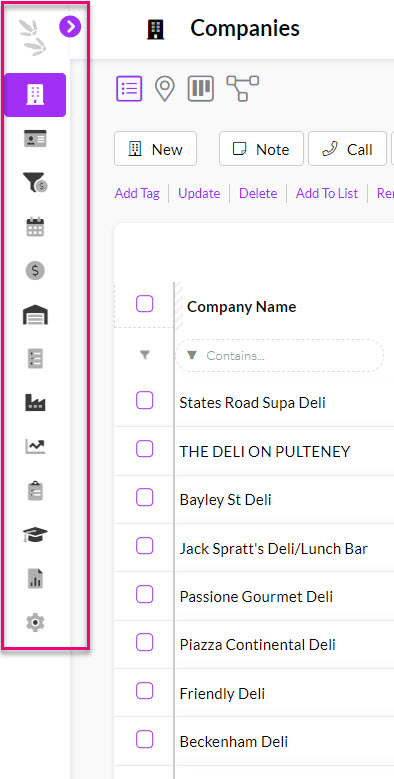
- The Main Menu: is an expandable menu on the left of the window that provides access to every element of the CRM. Hovering over the menu will expand and contract it.
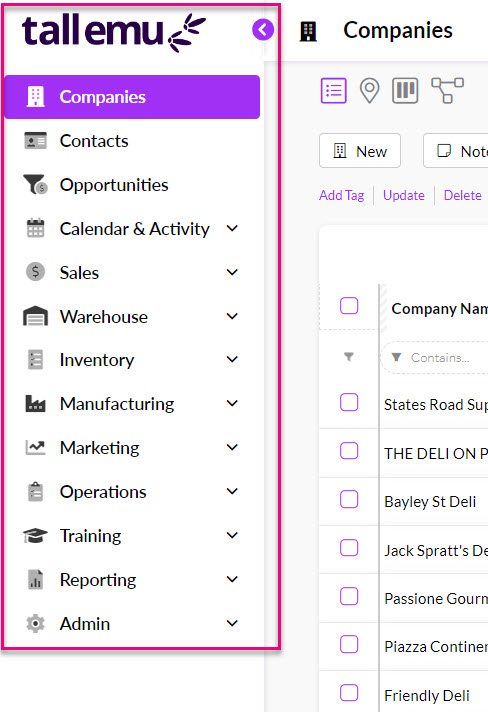
To permanently expand the menu, just click on the arrow.
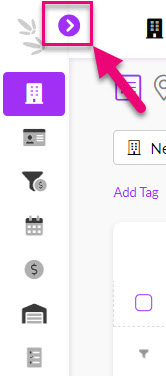
This locks the menu into the expanded position.
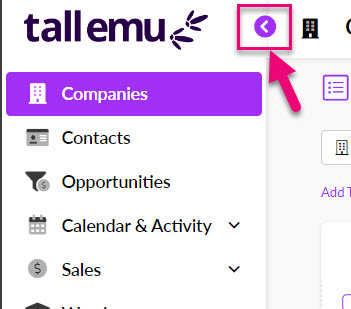
To permanently contract the menu, just click on the arrow.
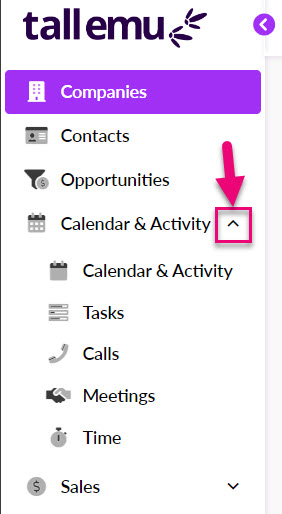
To access module groups, click on the arrow to expand a group.
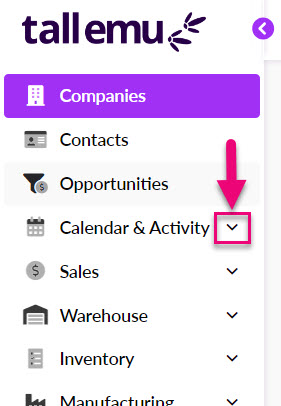
To contract a group, click on the arrow again.
- View Modes: will be seen at the top of every module. They include Grid, Map, Kanban, Dashboard, Merge Duplicates and Calendar views. Switch between the views to visualise your data in a way that works for you. Depending on which area of CRM you are in, you may see different view options.

- Activity Buttons: are listed just below the View Modes and can be used for quick, on-screen recording of activities that have taken place or that are being planned. Click here to learn more about Activities.
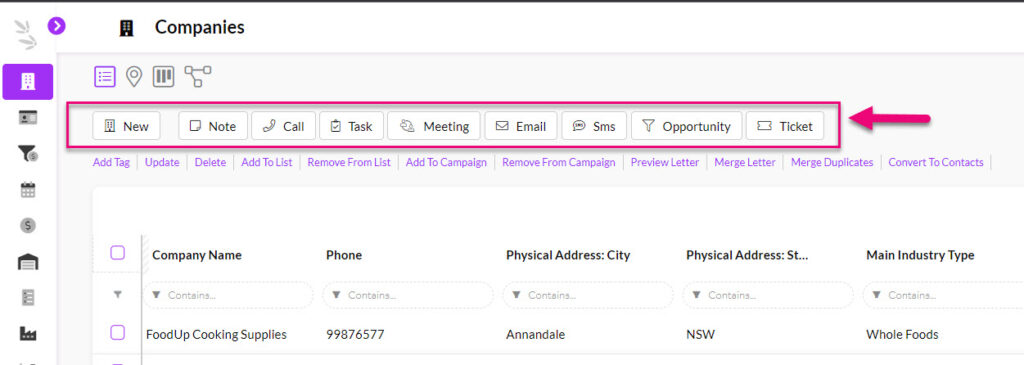
- Activity shortcuts: below the activity buttons there are a range of activity shortcuts you can deploy for single records, or in bulk.

- Selecting records: you can select multiple records by selecting the master box, de-select this to remove the selection.
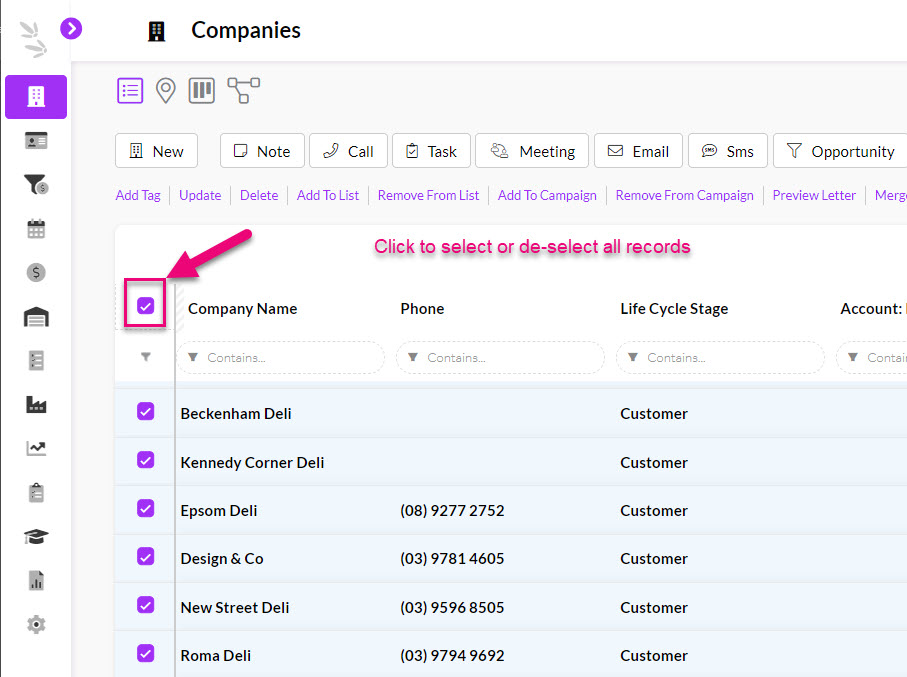
You can also select single records, as required.

- Filter & Layout: are used to customise your views to suit you. Use the filter icons (shown in red) to filter the data that appears on the screen and use the layout options (shown in green) to customise the system, so it shows you what you need in a set up that works for you. Click to learn more about Filters and Layouts.

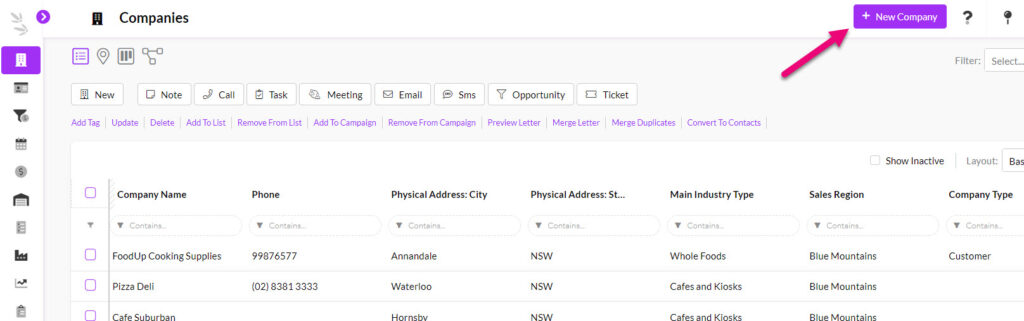
- New record button: will always appear on the upper right-hand side, beside your username. It lets you create new records in any available screen.
- Exporting & importing data: depending on where you are in CRM, you can export and import data by clicking on the Excel icon to reveal options. Click to learn more about exporting or importing.

- Recent records: you can quickly access records you’ve recently had open.

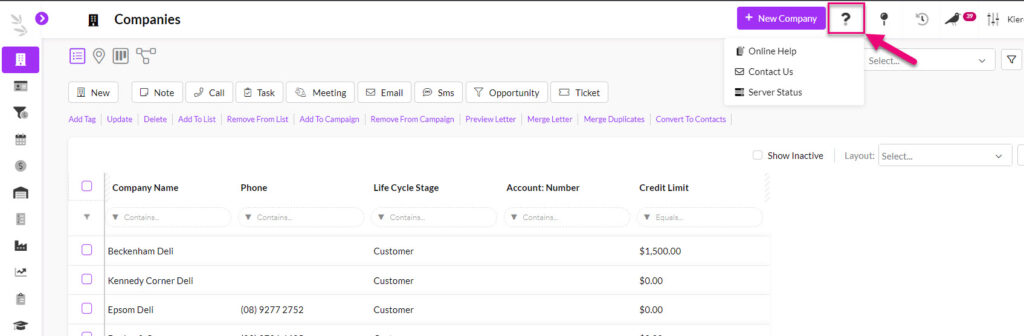
- Getting help: you can quickly send us an email, check the status of CRM or access online help.
- Notifications & reminders: can be accessed by clicking on the bird icon. You can learn more about how this area works here.

Related articles