-
- Getting Started
- Record Tabs
- Managing Duplicate Records
- Setting Up Grid Layouts
- Show and Hide Columns
- Key setup steps
- Additional setup steps
- Tips & Tricks
- Pinning Activities
- Bulk update
- Timeline
- Bulk uploading images
- Advanced Filters
- Automated Workflows
- System Admin in CRM
- Search, sort and report
- Calendar View
- Dashboard View
- Using Views
- Import troubleshooting
- List View
- Set up your customers in CRM
- Working with Activities in CRM
- Basic Navigation
- Using the Map View
- Using the Kanban View
- Configuring Dropdown Lists
- Creating New Records
- Open or Edit Existing Records
- View Details on Map Pins
- Syncing Your Accounting System
- Change the Column order
- Setting up your CSV file for Import
- Filter Map Records
- Company Information
- Sorting Records
- Export data
- Filtering Records
- Import Data from Excel or CSV
- Colourise Map Records
- Set Up Security Groups
- Invite Other Users
- Connect Outlook
- Connect to Mailchimp or Campaign Monitor
- Set Up Other Reference Data
- Configure Online Quoting
- View Reports and Dashboards
- Connect Burst SMS
- Viewing Tags
- Adding and Editing Tags
- Sorting and Filtering with Tags
- Jobs, Assets & Service Management
- Manufacturing
- Operations
- Reporting
- Training
- Workflow Management
- Quoting & Selling
Syncing Your Accounting System
Once you’ve set up your basic company settings, we’d recommend getting connected with your accounting system. If you’re running MYOB AccountRight or Xero our software integration will save you time and resources.
Linking with your accounting system will also provide in-field access to all sales and product data that your team might need, as well as reducing data entry requirements through auto-sync of key information – so you’ll get to experience the true benefits of the product.
The accounting link is the cornerstone of most CRM systems because when you’re successfully connected, you’re able to easily sync:
- All tax codes and GL codes.
- All employees.
- All products.
- All companies and contacts.
- All historic sales, invoices and payments.
Importing data from an accounting system is non-destructive. Your accounting software won’t update or overwrite unless you push data over to it – and if you choose to do so, it’s perfectly safe.
To connect to an accounting system, navigate to the Admin > Integrations.

You’ll be asked to log in using your system credentials and from there you’ll be able to begin importing data. The following example shows doing this for a MYOB connection.

We’ve created dedicated help files for accounting system syncs so be sure to visit our connection guides in Accounting.
If you’ve imported your data successfully, why not head to the Company screen in your CRM and choose Map View. If the import was completed correctly, you’ll be able to visualise all your customers and contacts by location, giving you an overview of your imported records.
Note: by default, the locations will aggregate at suburb level, however within 1-2 hours the system will update the pins to street level addresses automatically.
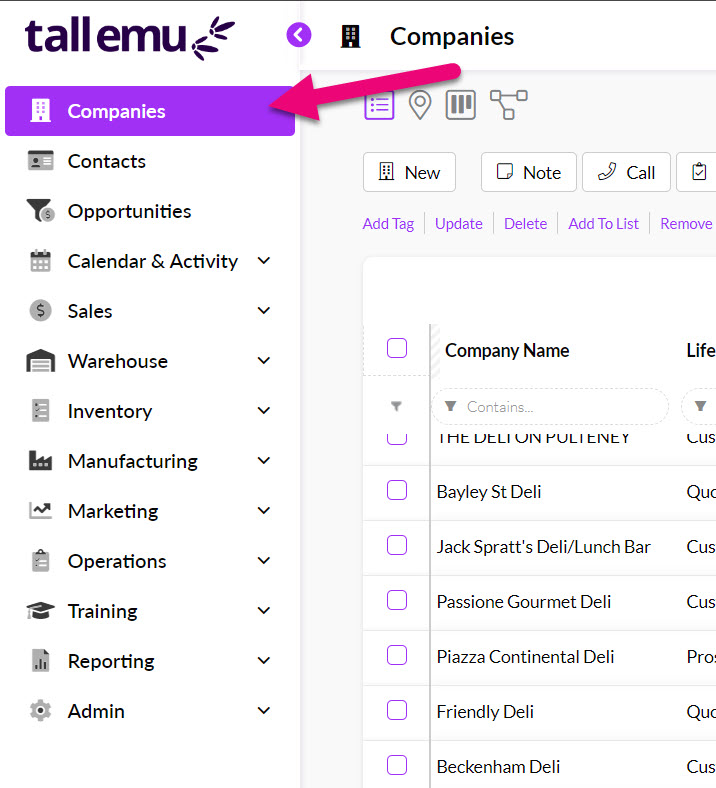
- Navigate to Companies at the top of the Main Menu.
- Then select the Map Pin Icon in the view selector toward the top to change to the visual map view.
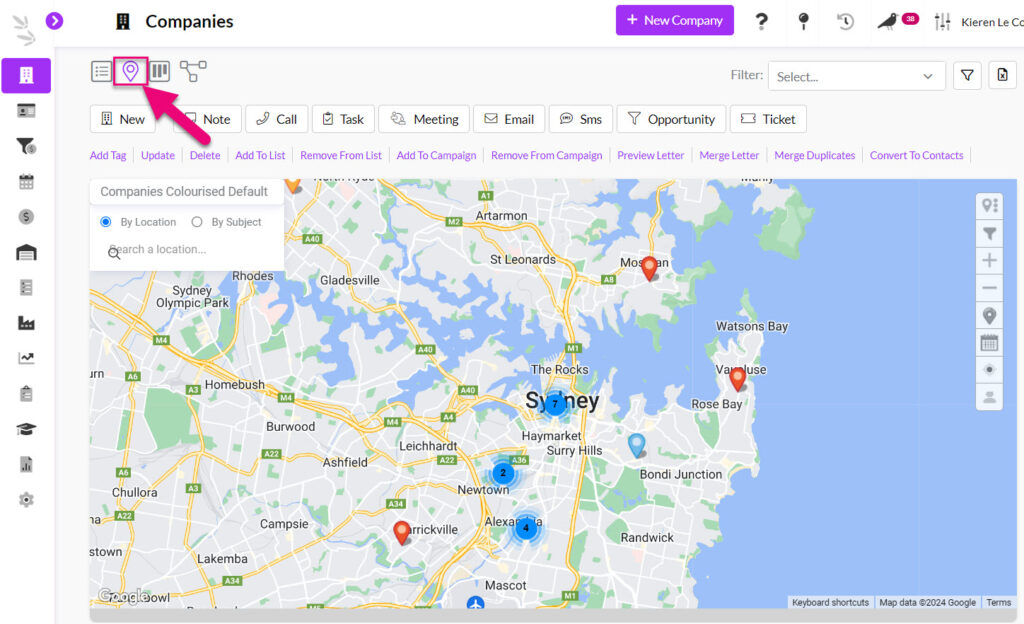
Switching to Map view in Companies
- The view will switch to a Map View, with your Company records imported from Xero able to be viewed as pins on the map. Hover over one of the pins to see more information about a Company.