-
- CRM Integrations
- Customer Portal
- Novum Networks
- Connecting with WooCommerce
- Time Tracker
- Connecting with PayWay
- VOIPLine
- Setting Up Emails
- Google Maps
- Novum Networks
- WooCommerce integration
- WooCommerce integration settings
- Customer Portal for customers
- Connecting with BurstSMS
- Payment Gateways
- Connecting Stripe
- Troubleshooting the Outlook Add-In
- Syncing Your Outlook Emails, Calendar & Contacts
- Installing Inbox Insights
- Connecting with WooCommerce
- Connecting with Mailchimp
- Connecting with Machship
- Connecting with Ezidebit
- Connecting with eWay
- Connecting with Campaign Monitor
- Jobs, Assets & Service Management
- Manufacturing
- Operations
- Reporting
- Training
- Workflow Management
- Quoting & Selling
Connecting Stripe
Setting up your Stripe integration will allow you to take credit card payments (either manually or automatically) from within your CRM.
Note that in order to proceed with these instructions, you will need access to a Stripe account that has Administrator permissions.
Get your Stripe API keys
- Log into your Stripe account.
- Navigate to the ‘Developers’ section of the Stripe dashboard (the account must have Administrator permissions to access this area).
- Click on ‘API Keys’.
- Copy both the ‘Publishable key’ and ‘Secret key’.

Stripe Developers area
Set up your Stripe integration in CRM
In your CRM, navigate to Admin > Integrations > Payments and then click on Activate next to Stripe.

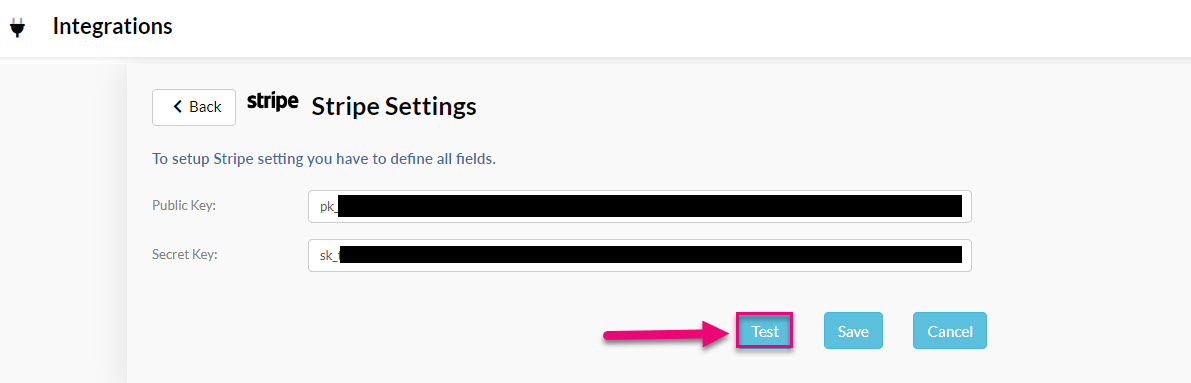
Enter the Public and Secret keys you obtained from Stripe and then click Test.
When a message displays to advise you that the test is successful, click on Save.
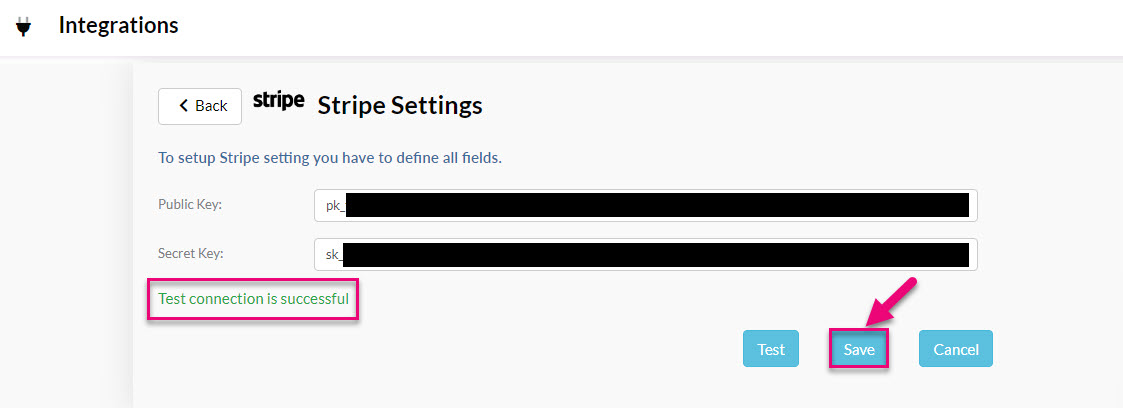
You’ll now be able to take credit card payments online, store credit card details safely and securely, and charge any credit cards associated with your contacts.
See also:
Related articles