Uploading Marketing Lists to Google Ads
the CRM is equipped with advanced list management functionality that helps you create, organise and utilise customer lists within the CRM. To learn how to create and manage lists, refer to the List Management section of our help file here.
With the CRM, you’re able to easily export lists from CRM for use in marketing campaigns on both Facebook and Google. These lists can be uploaded for targeting purposes, helping to improve the efficiency of your marketing efforts.
In order to export your list, navigate to the Main Menu -> Marketing -> Lists.

Here you’ll see a collection of all the lists that exist within your CRM. Select the desired list and you’ll be able to view list information and list members (note, only Contact lists can be exported for Facebook and Google marketing).

On the righthand side, you’ll notice a few buttons. If you’ve connected your system with an email marketing client (Campaign Monitor or Mail Chimp), you’ll first notice the option to export the lists to one of those services. This is handy when you’re sending email campaigns to specific groups of clients based on sales history, customer status and more. For more information on email marketing, click here.
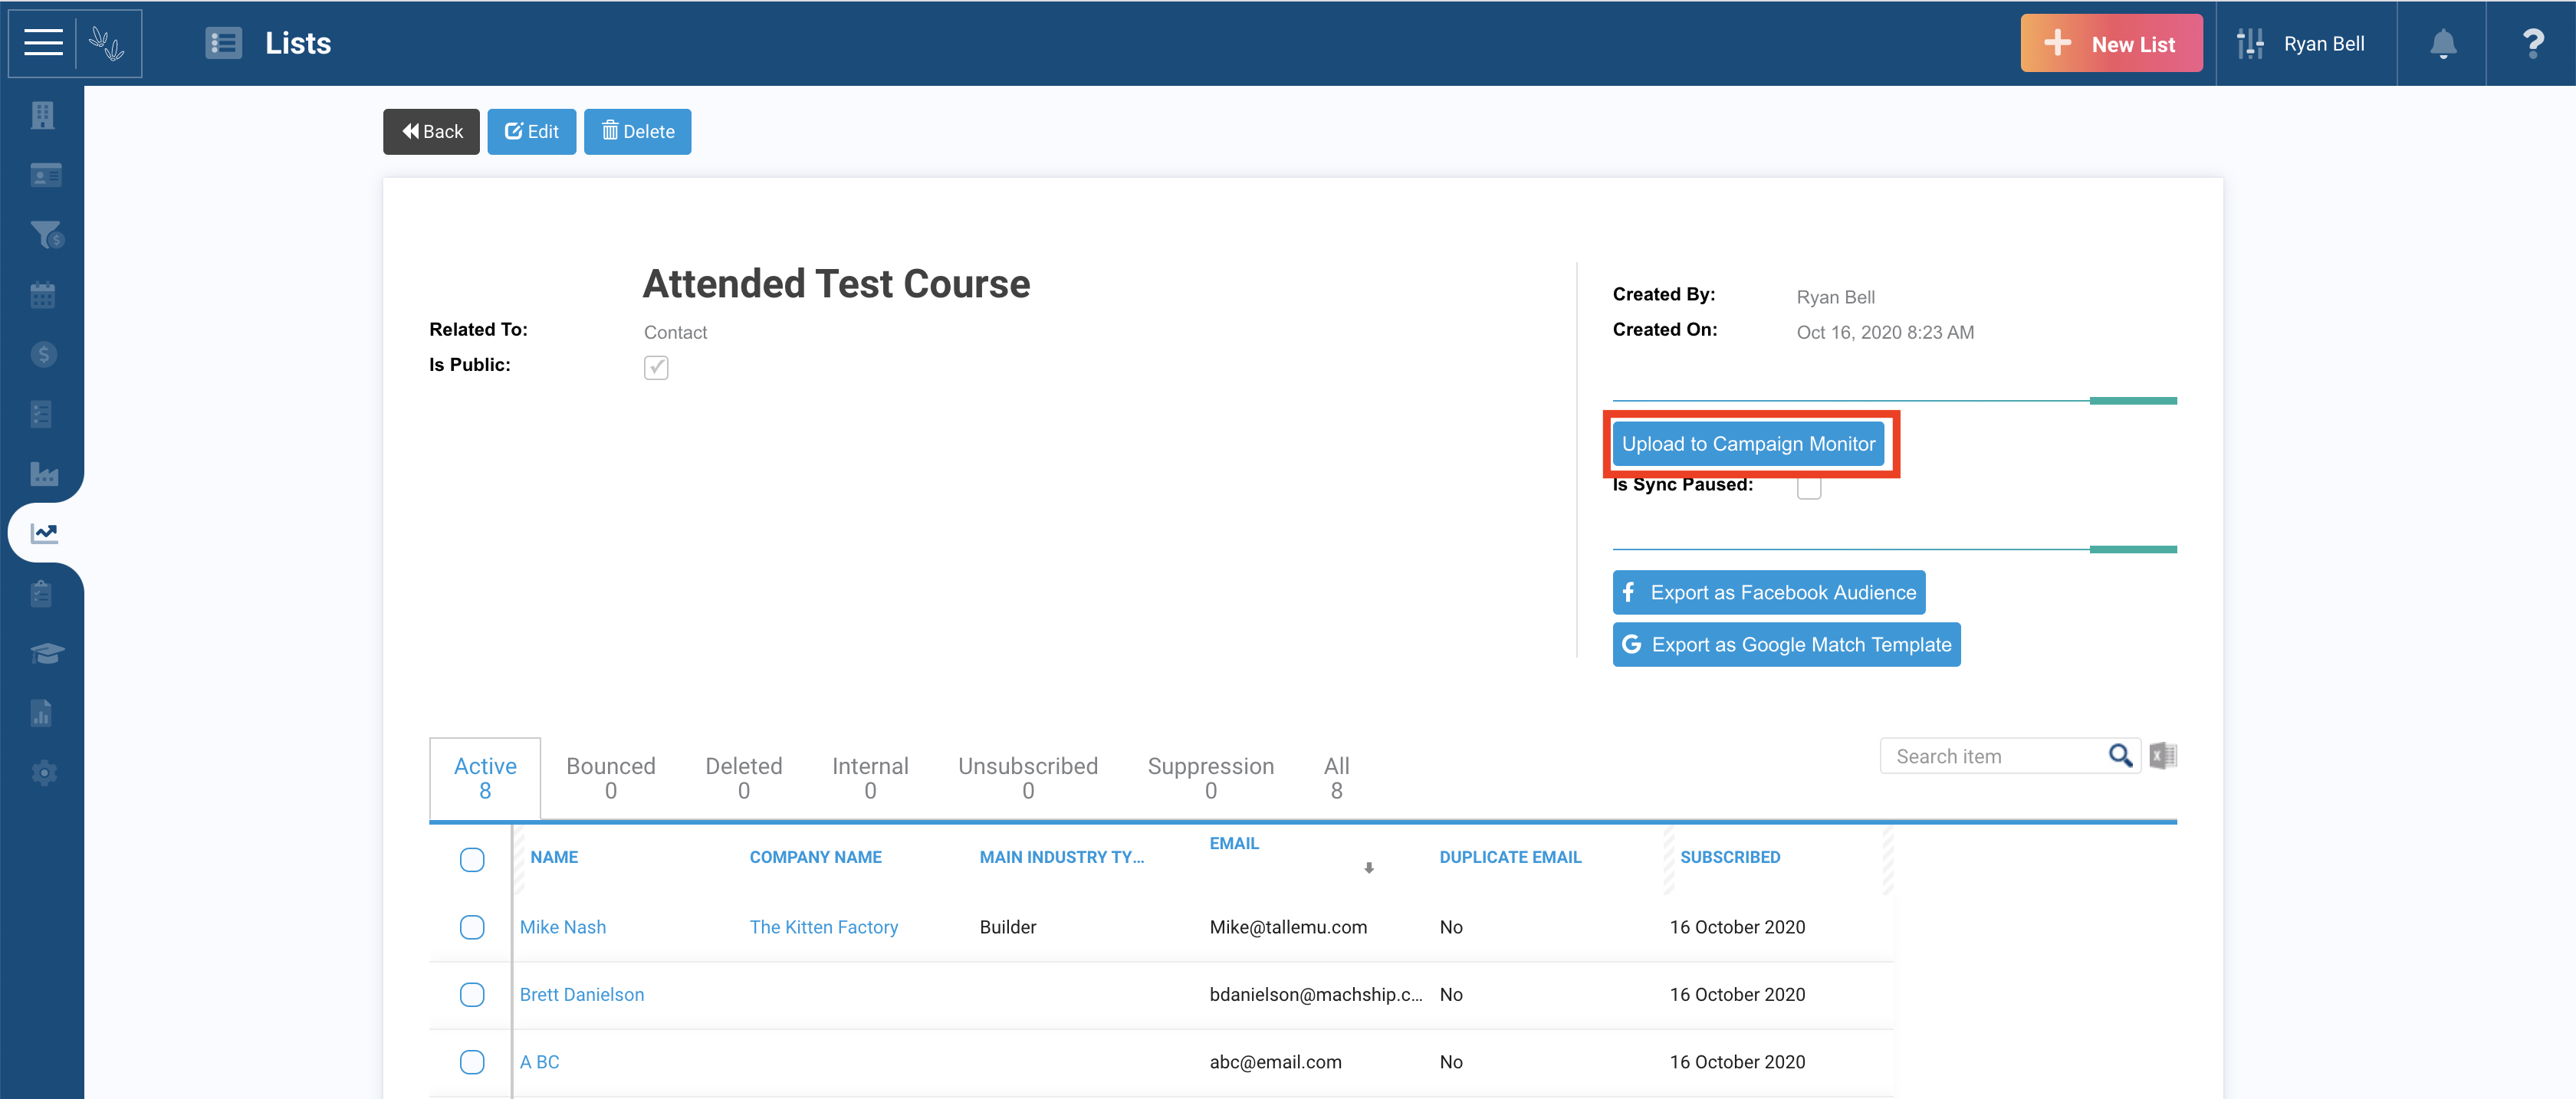
Below that, you’ll see two buttons: Export as Facebook Audience and Export as Google Match Template.

When you click either of these buttons, a CSV download will begin. Our export files are fully formatted and ready for upload into your chosen digital marketing platform.
For Google:
From the Google Ads Home Page (https://ads.google.com/aw/overview) click Tools and Settings in the upper menu bar.

Under the Shared Library heading, select Audience Manager.

This will reveal a list of existing Audiences associated with your Google Ads account. To create a new one, click the blue ‘+’ button.

When you’re prompted to select the list source, choose Customer List.

Firstly, give your list a name that is descriptive enough for you to remember the list members. (i.e. CRM Customers Tagged ‘Regular Buyers’, CRM Customers Spent $1000+, etc.). Then, ensure you select Upload Plain Text Data (unhashed) from the ‘Data to Upload’ section. Click Choose File, select the appropriate CSV and then hit Upload.

Scroll to the bottom of the page and Accept the Terms and Conditions, then hit Upload and Create List.

You’ll then be taken to a confirmation screen, outlining the success. Click Done to return to the audiences list where you’ll be able to see this newly created Audience, ready for use in campaigns, or in the creation of lookalike lists based on matching criteria.
