Import from CSV Files
When you start using the CRM your database will be empty. If you have historic data, including company and contact information, that you want to be made available in the CRM you’ll need to complete an import.
It’s easy to import your data and it’s done in a few simple steps. You’ll just need to make sure your data is formatted as a CSV file and you’re good to go.
Say, for example, we’re importing company records. The first thing you’ll want to do is set up your spreadsheet with all the required information. If you already have a spreadsheet with company data, all you’ll need to do is save it as a CSV file. If not, you’ll need to create a spreadsheet with the appropriate columns, using headings that you’ll recognise later. Then just populate your spreadsheet and save it as a CSV file.
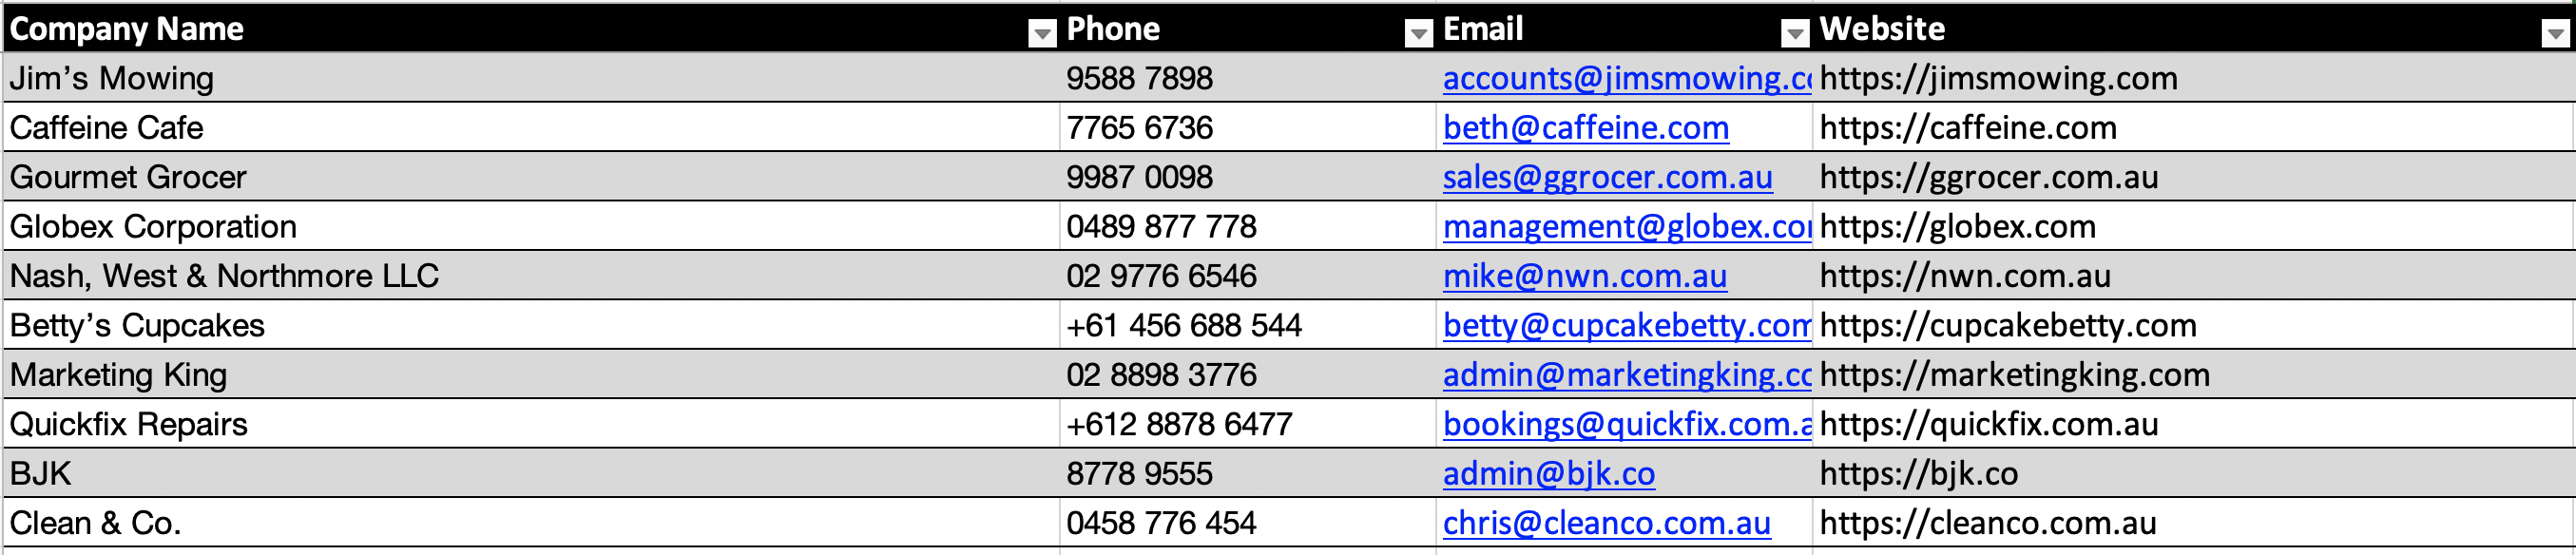
NOTE: If importing addresses, be sure to split the address into its appropriate parts. i.e. use a unique column for the Street Address, Postcode, Suburb, State and Country. This will make it super easy to match with the existing fields in CRM.
INCORRECT:

CORRECT: 
Once your CSV is formatted, head to the appropriate screen in the CRM and hit the small Excel icon in the top right-hand side, just under the question mark.
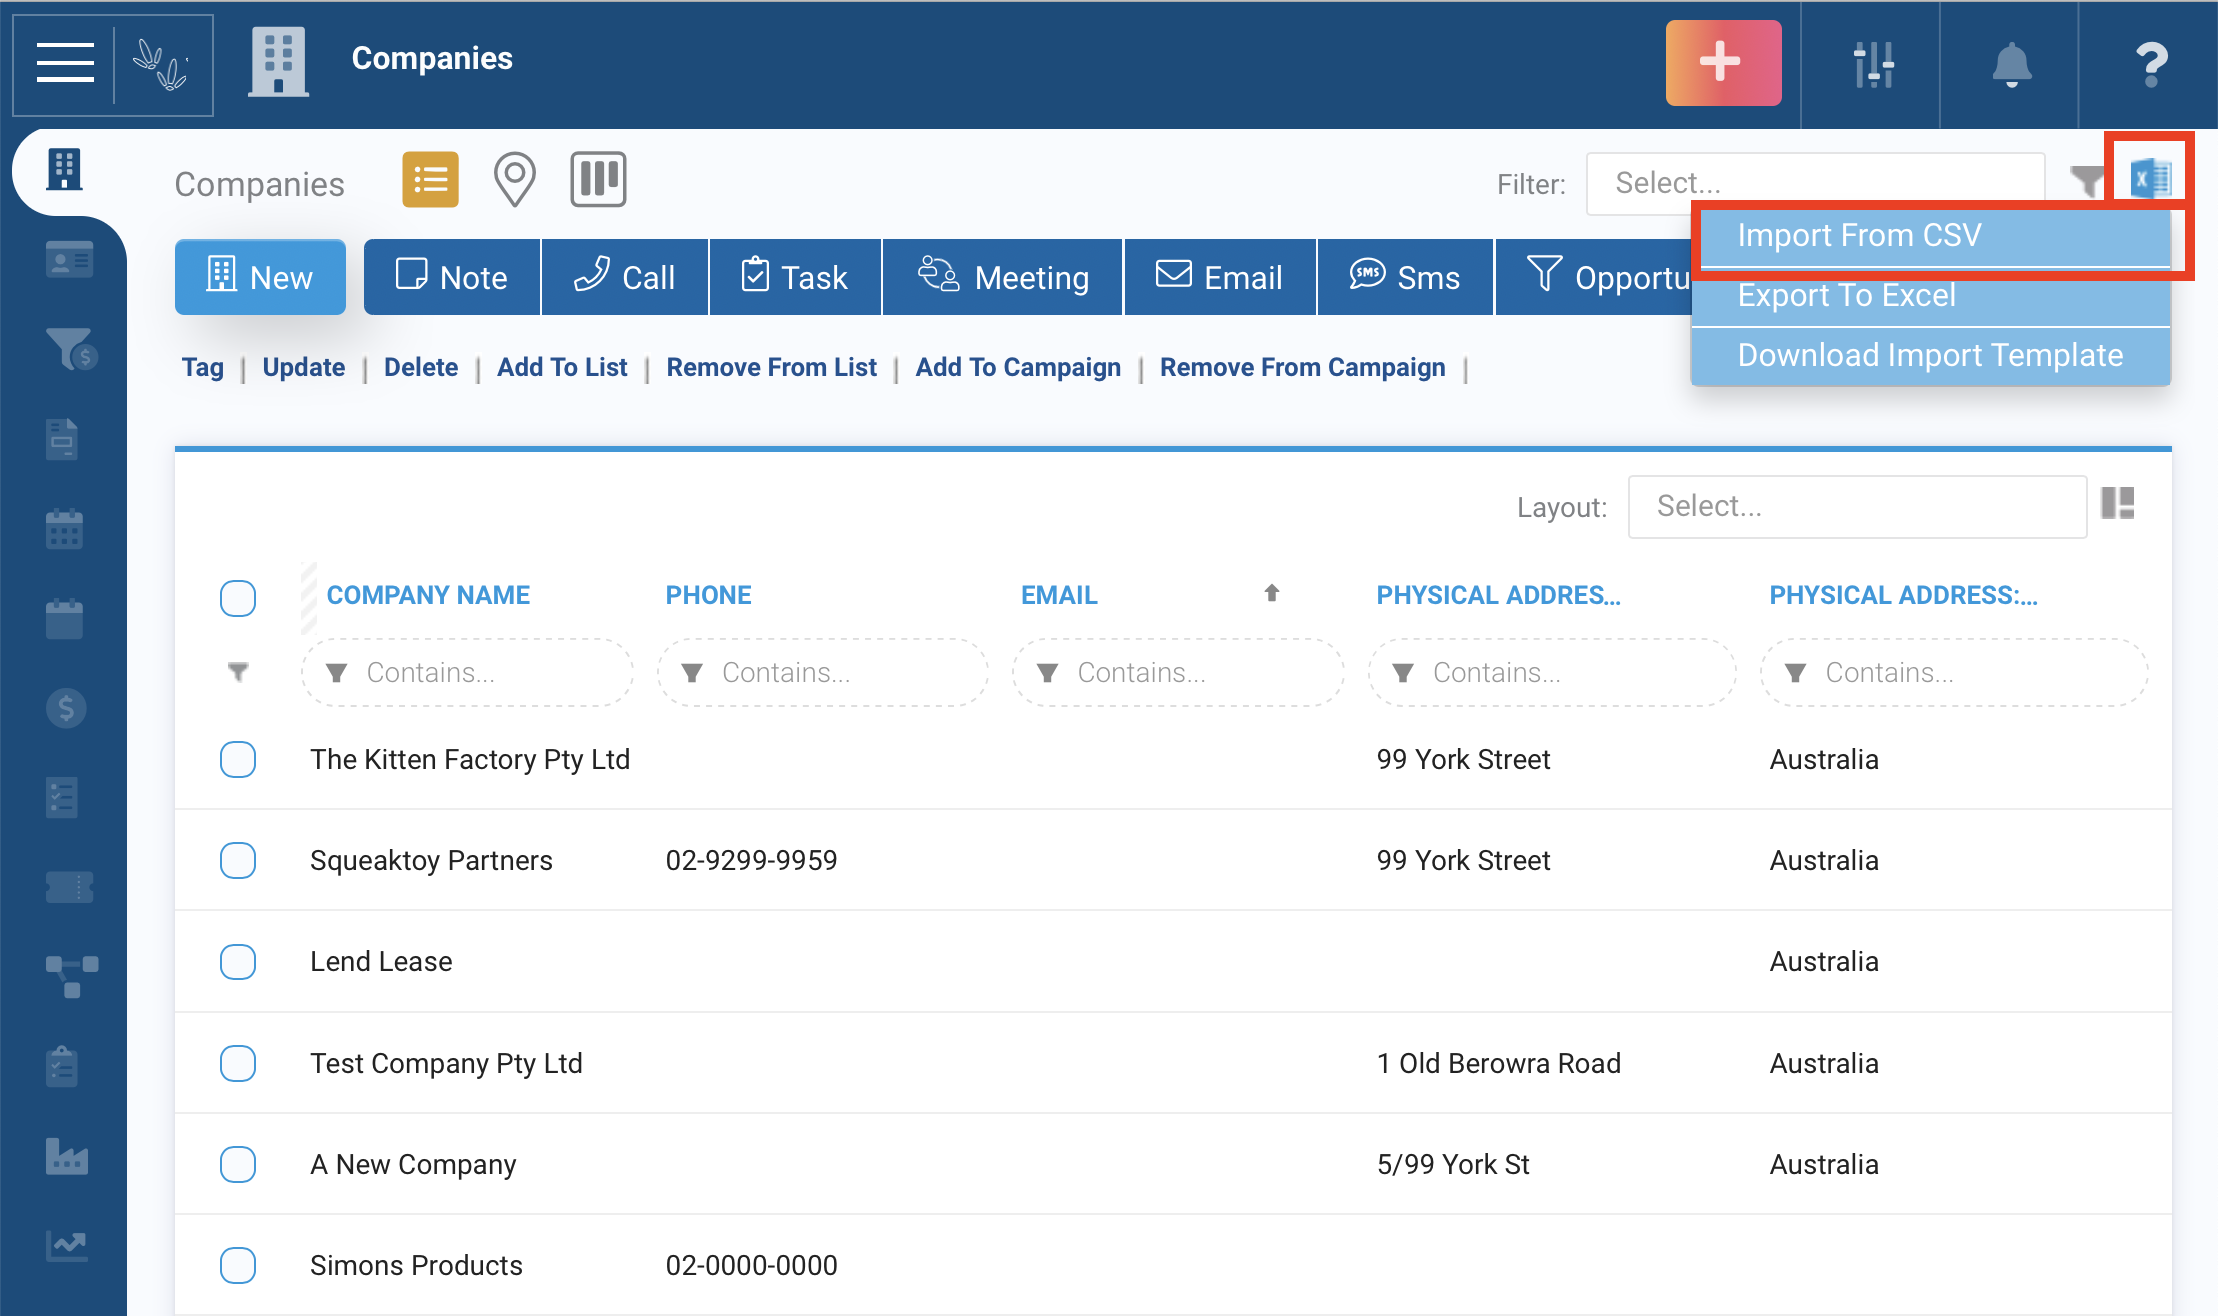
Then select ‘Import from CSV’ and drag your file into the Upload Region on the site. Alternatively, just click anywhere in the Upload Region and your system viewer will open for you to select the file.

Once the file has loaded, you’ll be asked to match the columns in your CSV to the appropriate fields in the CRM. Some may be linked automatically but you have the option to change the mapping if you desire. Once you’ve mapped your fields, click Upload.

The CRM will give you a time estimate as the upload is being completed. Once finished, you’ll be given a breakdown of failed and successful records. If everything is ok, simply hit Done and your records will be available in the CRM, showing all the items you’ve just uploaded.
